Last updated on
Tip Tuesday – How To Move Your Cake
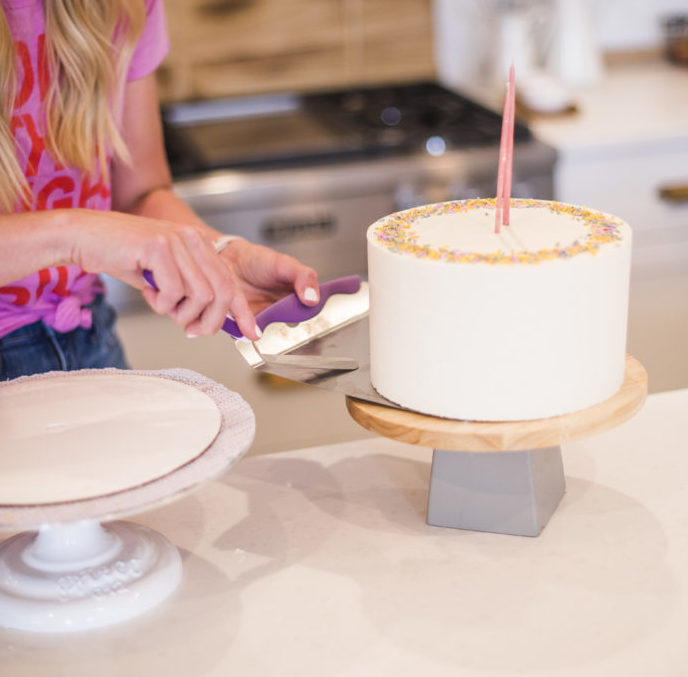
Tip Tuesday – How To Move Your Cake: Moving your cake around shouldn’t have to be nerve-racking! Today, I’m showing you just how easy it is to move your cake off the turntable and onto your beautiful cake stand.
Tip Tuesday – How To Move Your Cake
Tip #1: Use a Cake Lifter
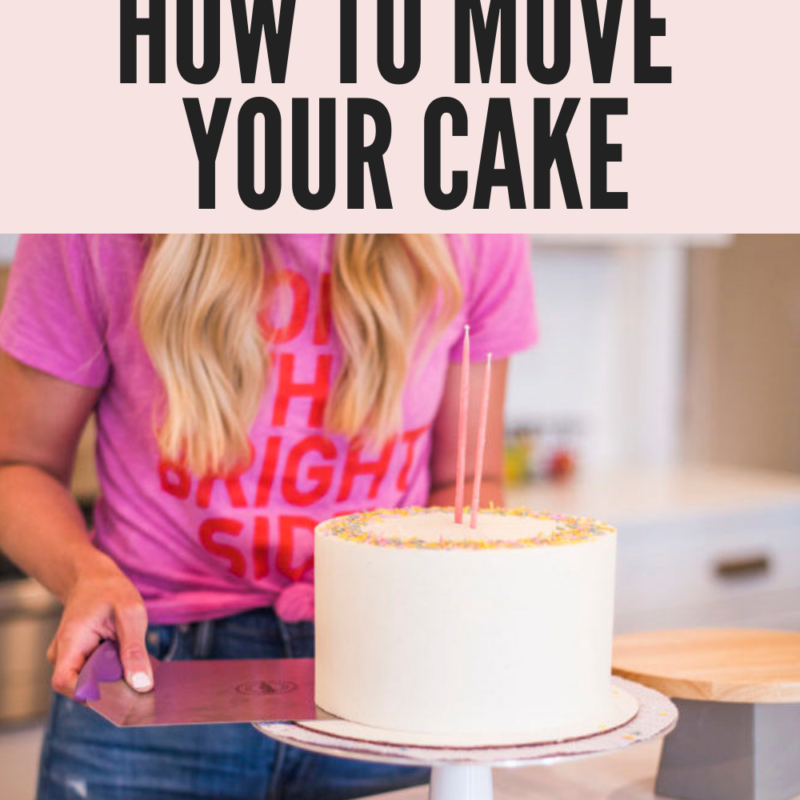
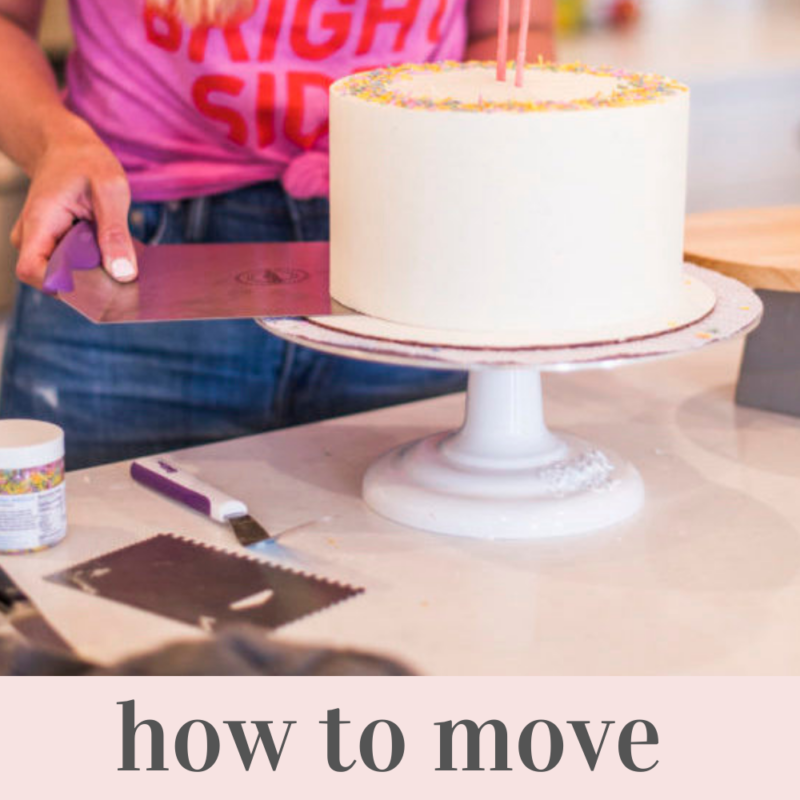
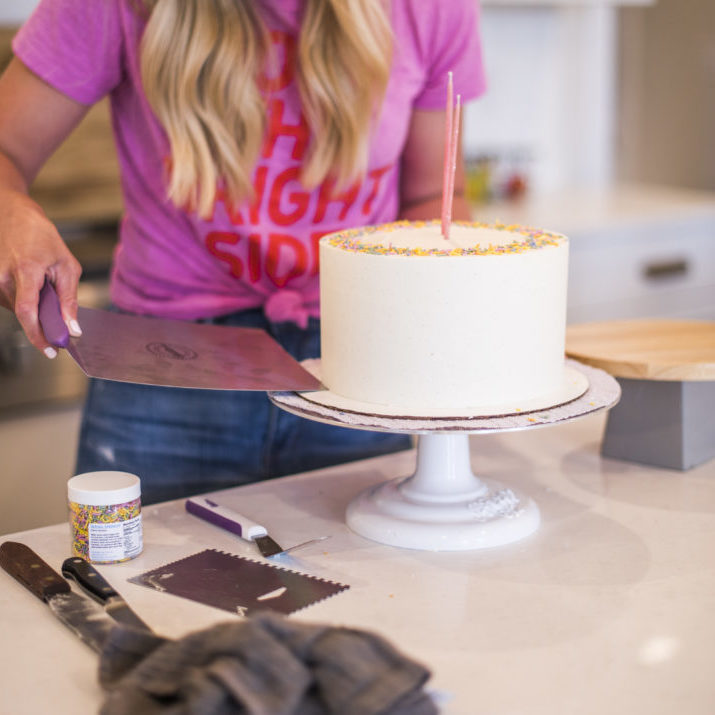
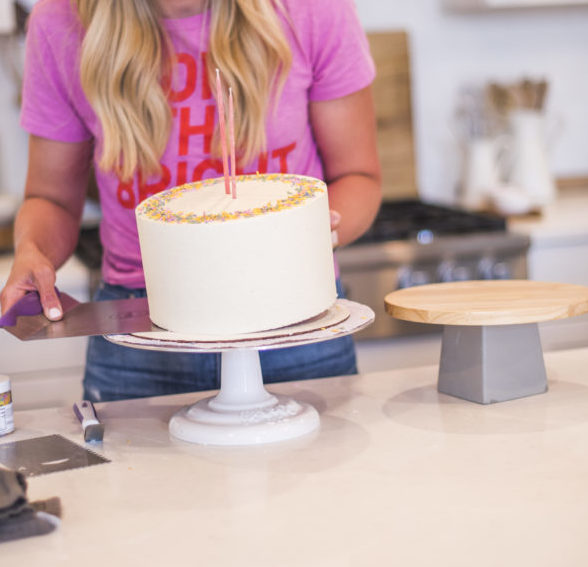
The key to making this task easy and stress-free is one little tool: a cake lifter. I have THIS one by Wilton. It’s worth every penny of the $8 it costs. It’s about 8-inches wide and long, which is the perfect base for all of my cakes (both 8-inch and 6-inch).
As you probably know by now, I tape a cake board (the same size as my cake) to a larger cake board. The larger cake board is just there to hold on to when I move the cake in and out of the freezer. I do this when setting the crumb coat and final coat of frosting with the acrylic disk. I only use a small piece of scotch tape to hold the boards together. This makes removing the boards from each other super easy.
Tip #2: Freeze the Cake
You’ll want the cake to be chilled before you move it off the larger cake board. This ensures your frosting stays intact while you move the cake around.
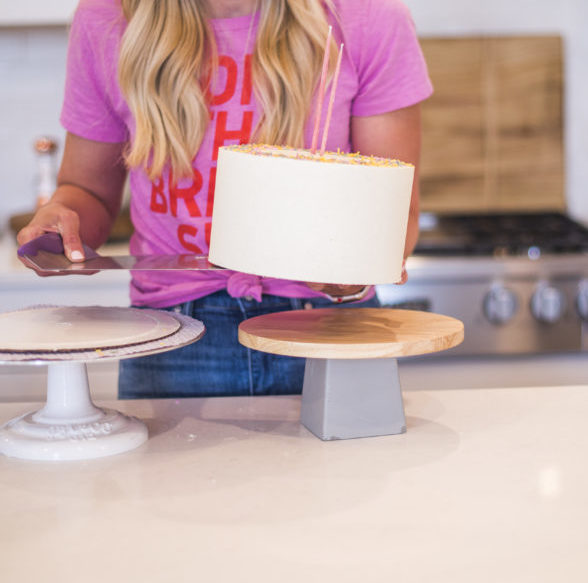
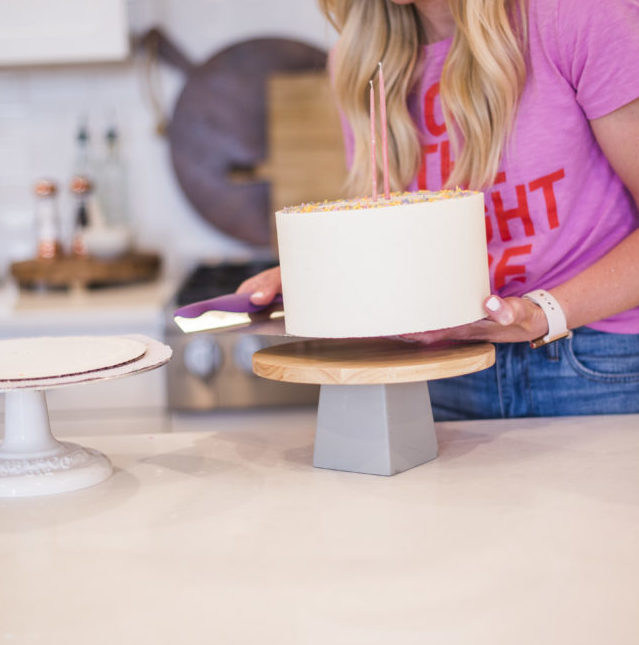
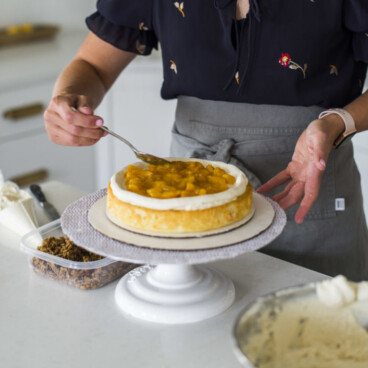
As you move the cake, make sure the cake lifter is nearly covering the base of the cake, but also use your extra hand to support the cake as well.
Tip #3: Use an Icing Spatula for Added Assistance
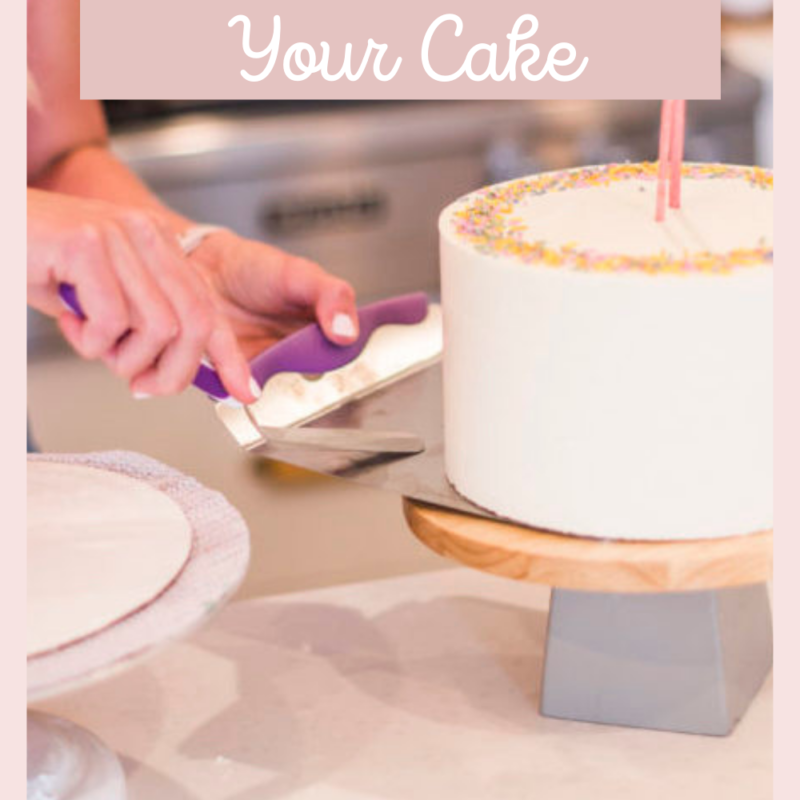
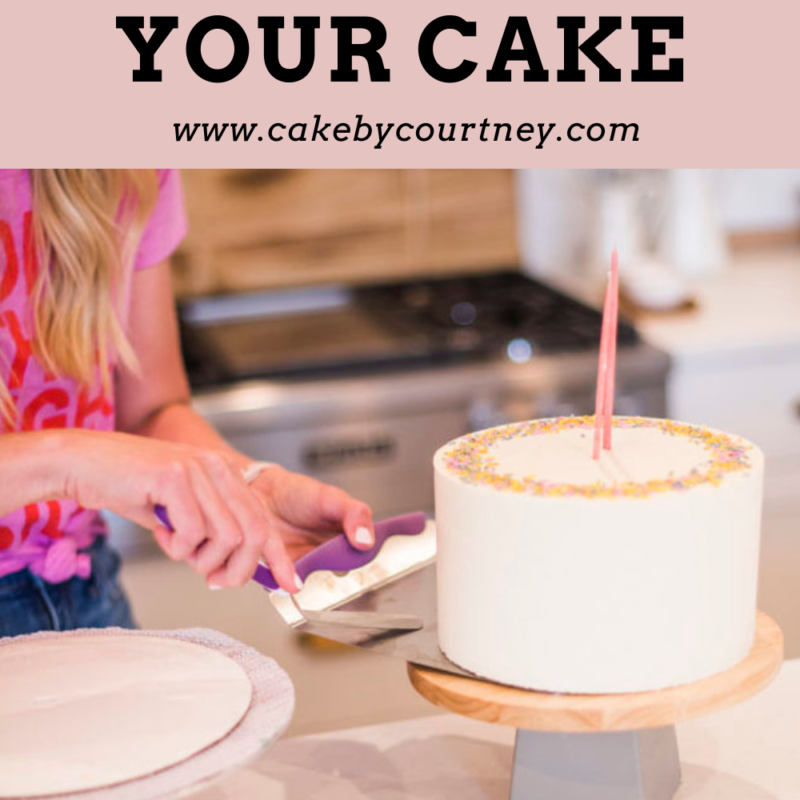
To slide the cake off the cake lifter, I use my offset icing spatula for a little assistance.
Tip Tuesday – How to Move Your Cake
I hope this Tip Tuesday – how to move your cake is helpful! I hope you at least see it’s not as tricky or scary as you think.
This quick video will also help give you a good visual of just how easy moving your cake can be.
For more tips and tricks on all things cake, follow me on Instagram @cakebycourtney. Here are a few other tutorial posts that you’ll love:
- How to Bake Tall Layers
- How to Use Acrylic Cake Disks
- Tip Tuesday: How to Freeze, Thaw, and Transport Your Cakes
- Tip Tuesday: Driving with Cake
- How to Turn Cakes into Cupcakes


Thanks for sharing this post! Your cakes are beautiful. Just to verify, you keep the 8 inch board underneath the cake when you move it and it stays underneath it on the cake stand?
Yes that’s right
Can this be done without the smaller cardboard underneath? I want to transfer my son’s smash cake (6 inches, 1 layer, butter cream icing) from the cake board to the plate. I don’t think there’s a smaller board underneath.
Yes
Id like to take two cakes from the store and stack them. An 8” and a 10”, does this work for removing the cardboard from the 8” and placing it without a cardboard, onto the 10”?
Also how long do you recommend freezing the cakes?
How does this work if you’ve piped a border on bottom of cake? I tried removing cake board from a cake with a piped border and the border separated from the cake. I then had to remove entire border and refrost bottom of cake. Any suggestions for how to remove a cake from a cake board without messing up the border? Thank you.
That’s tricky! I would say run a knife around the bottom first.
Hi, someone has asked me to transport their tiered cake and already have it on the cake stand. She doesn’t want the cake board to show. But I only use buttercream and I can not for the life of me, figure out how to transport a cake already on the cake stand safely.
Thanks in advance,
Sharon
Freeze the cake for awhile before driving with it. You might need someone to sit and hold it.