Last updated on
How to Use Acrylic Cake Disks
Today’s post will give you step-by-step instructions for how to use acrylic cake disks.
I first learned about acrylic cake disks when searching for reusable cake boards for my cakes. If you’ve watched my videos, you know I have been using (wasting) cardboard cake boards to get sharp edges on the top of my cakes. While searching for a solution to my problem, I came across Cake Safe. Cake Safe is a family-owned company from Rhode Island that specializes in cake transporting and decorating products. They are best known for their innovative cake transporting box, called the Cake Safe. (Check out my post HERE to learn how to use Cake Safe). They also sell acrylic cake disks, scrapers, work boards, and a number of other helpful tools for cake decorating.
Acrylic Cake Disks
I was immediately drawn to their acrylic cake disks, and knew I had to get my hands on some after watching their video tutorials. The disks looked simple enough to use and gave the cakes perfectly sharp edges.
This past weekend I gave the disks a try and recorded the whole experience so you could see first-hand how to use the disks!
Take a look….
What I learned from my first use of the acrylic disks
Overall, I really like the acrylic cake disks and I’ll continue to use them on all my cakes. As you saw in the video, I did have a couple of hiccups on my first try with the disks.
- In the Cake Safe video, they instruct you to put some frosting between the parchment paper and one of the acrylic disks. When you come to this step, just put about four small scrapes of frosting on the edge of the parchment. If you put too much frosting on the parchment, it will be hard to scrape off the acrylic disks.
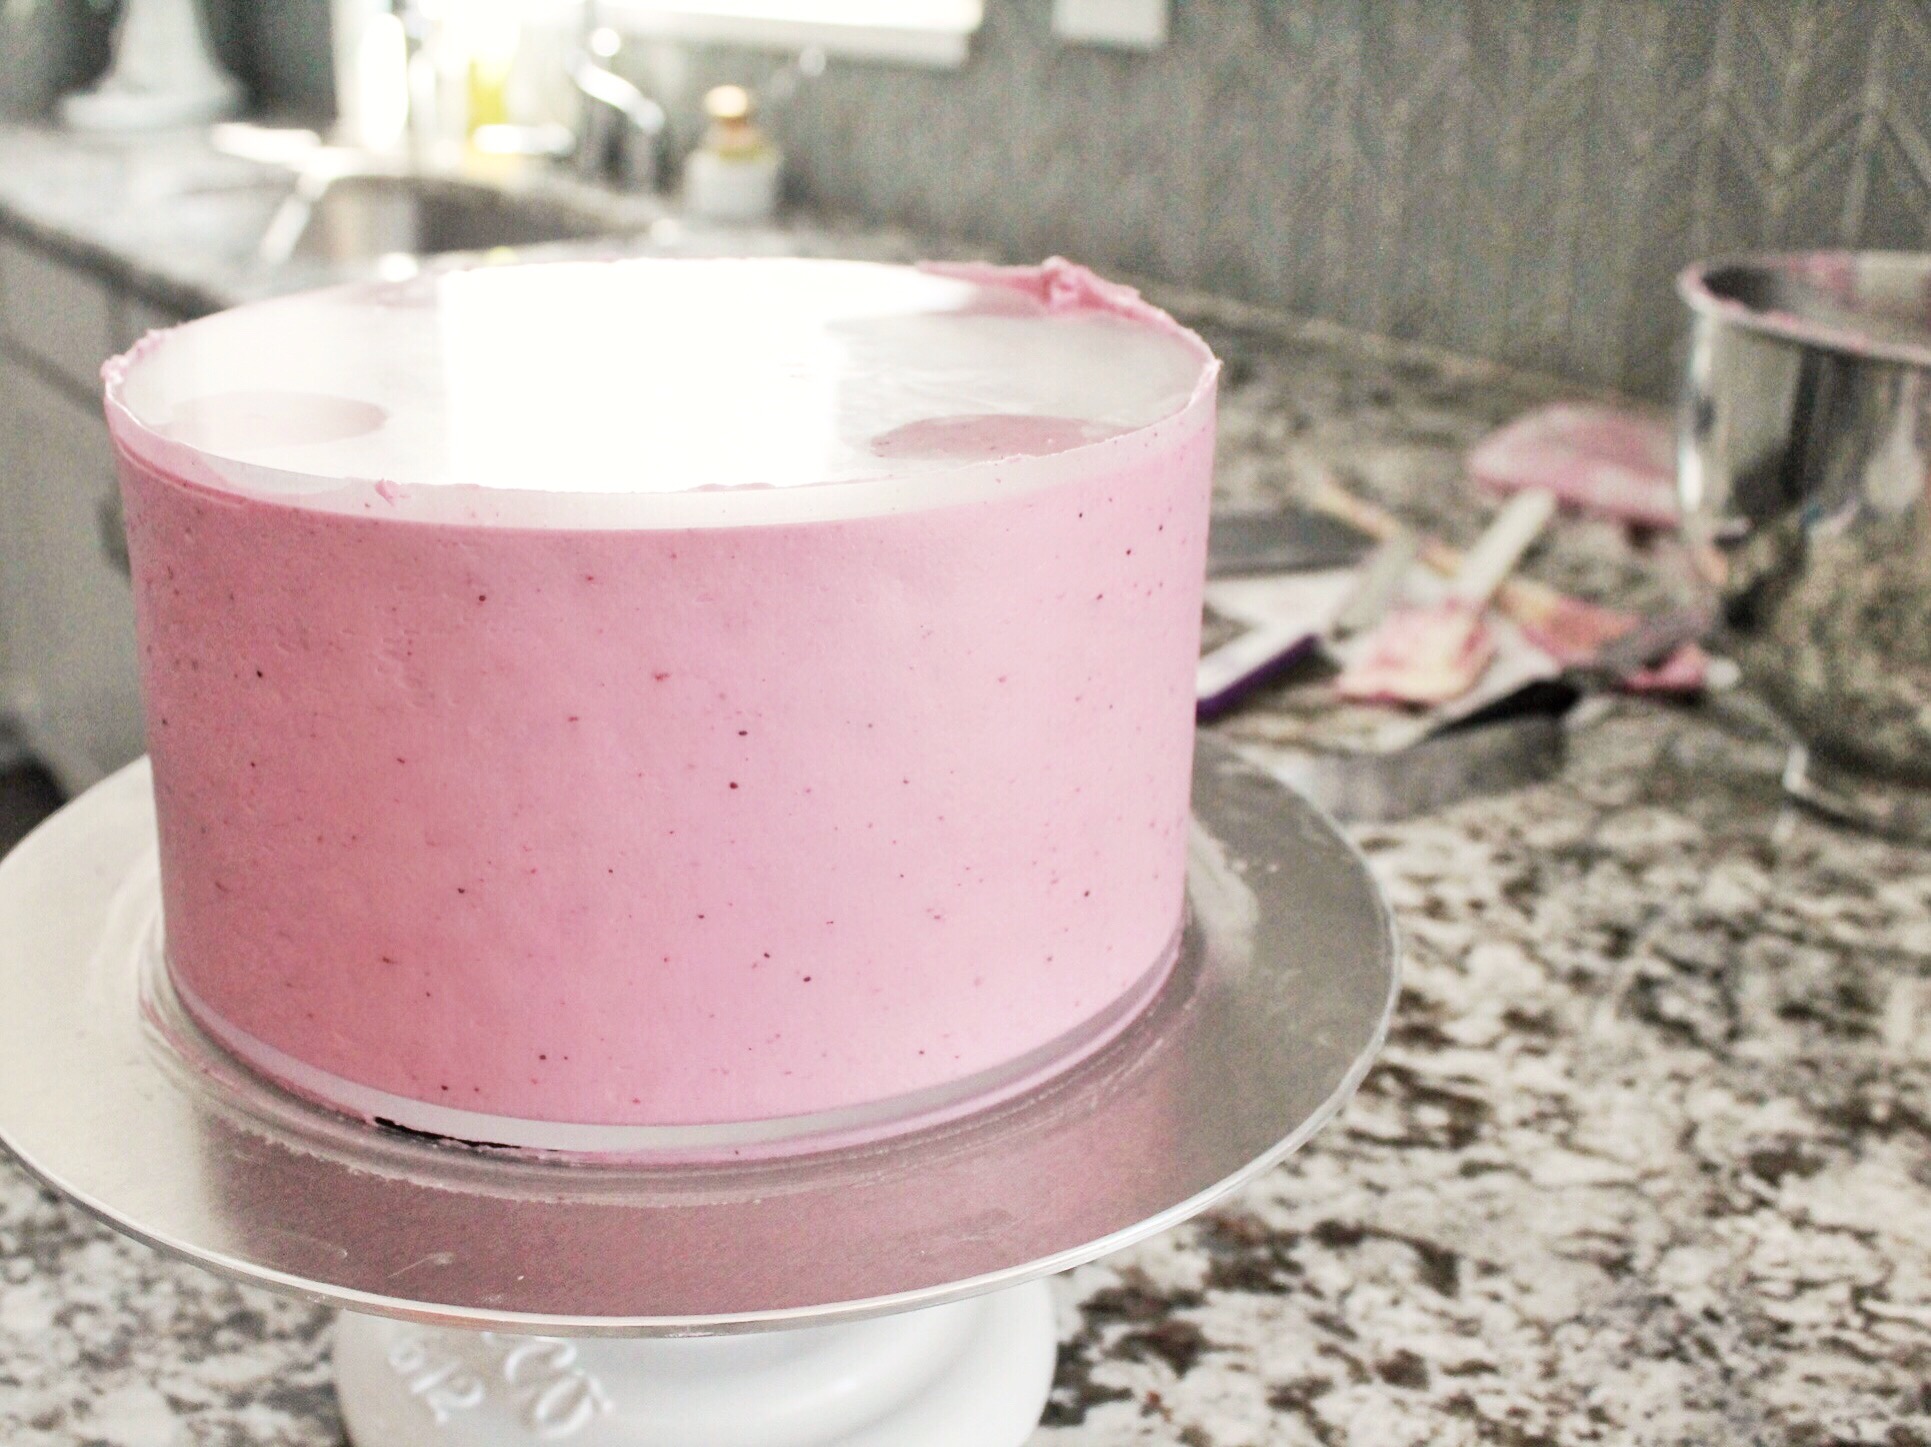
- The other hiccup I encountered was that I lost my crisp, sharp edge when I took the board off while the frosting was still “wet.” To prevent this, I suggest freezing your cake for about 20-30 minutes to set the frosting. As with my cardboard cake method, I found it easier to “cut off” the acrylic disk from the parchment using a sharp knife. This also kept my edges looking clean.
- If you get a few frosting crumbs after taking the disk off the cake, use the back of an icing spatula to clean up those areas.
Even with those minor issues, I’m really happy with the disks. I think with each use, they’ll be easier to use.
And because I’m so happy with the cake disks by Cake Safe, I want you to have a chance to try them too! Cake Safe is offering a special 10% discount to your order of acrylic cake disks with code “CakebyCourtney.”
More Recipes & Tutorials You’ll Love
I want to try these cake disks. I’m torn between the .5″ and the .25″. I don’t do fondant, but I’m not exactly sure how much my cakes will shrink. After trying the .25″, do you think that is the best size for your cakes? Or would you go up to the .5″ for thicker frosting?
I got the .25 and was happy with them. I think if I had done the .5, it would be a ton of frosting. My cakes shrink a little, so the .25 gave me just enough space to cover the entire cake completely. I would have to make extra frosting for the.5.
Great video! Love your tutorials and cake recipes! I’ve been using cake safe acrylic disks for awhile and love them for all the same reasons that you do. A couple of things that I love about them that are worth mentioning in addition to your thoughts: (1) I like that they are a tiny bit bigger than the cake board so when you put your frosting on, it hides the cake board completely, and it reduces the risk of having cake show through your frosting if it gets compressed at all or isn’t stacked completely straight; and (2) when I used to use the cardboard cake boards to scrape the sides of my cake, I would often get bumps in my frosting from the ridges in the cardboard which is eliminated by using acrylic disks!
Thank you. Totally agree with both of these. thanks!
Hi Courtney,
Thank you for the video, it was very helpful! What type of buttercream did you use in this video? American, Swiss?
Thanks!
Caren
I use American Buttercream
Thanks for this tutorial, my question is, when you are making a cake to be boxed up and sold, do still use a cake board the same size as the cake? I love the way cakes look on a board the same size as the cake but never know how to transfer them!
Yes i always keep a board the same size as the cake under the cake. You can purchase a cake lifter from amazon or a craft store to help you move the cake around.
Hi, Courtney! Thank you for your video! Do you find it to be an issue that the frosting hangs over the edges of the bottom cardboard cake board once you remove the bottom acrylic disk?
I found this to be an issue when I used the acrylic disks and was moving the cake to my cake plate… I was smudging up the bottom rim of frosting that hung over the cardboard cake board.
I actually started not using the board on the bottom for that reason.
Thanks for the reply! So, just to clarify, you place your first layer of cake directly on the acrylic cake disk without a cardboard cake board? Once you are done frosting, chilling, and removing the bottom acrylic disk, do you place the cake on a cardboard cake board or just directly on a cake plate?
You actually want to put a cake board on the acrylic disk and then start to stack your cake. When you’re ready to serve the cake, you want to remove it from the cake disk but keep the cake board on the bottom for support.
So which “board on the bottom” are you no longer using?
I take the acrylic disk off the bottom but keep the cardboard bake board on the bottom.
I have a doubt …when using acrylic board ,wat inch cake tin v have to use ..like for eg: if v are baking 8″ cake then v have to use 8″ acrylic board .pls do reply
You want an extra .25″ on the disk.
Hi Courtney! Any tips on cracking buttercream when I try to remove my disc? It always cracks when I’m trying to remove my disc. Thanks!
You might be keeping it in the freezer for too long. Try a few minutes less.
Hi,
I loved your tutorial on acrylic cake disks! And the subtitles with your suggested changes is so helpful.
I went to buy them from cake Safe. I saw they suggested using 1/4 disks for fondant icing and 1/2” for regular frosting. I saw someone else gave two different answers, first saying use the 1/2” for buttercream and then later said use the 1/4”. So now I am confused. I am in pie camp and so this cake stuff is foreign territory.
What’s your thoughts now that you used the 1/4” as far as final amount of frosting?
You might have this info on your site but also wondering if you have a favorite source for cake boards?
Can’t wait to explore your entire site!
Cheers,
Anne
Hi Courtney,
Sorry for asking a question about the disk size preference and frosting. See you already answered my question.
Ordering a 1/4” set now!
Cheers,
Anne
Do u have any good gluten free cakes cor cupcakes