Last updated on
Cotton Candy Cake
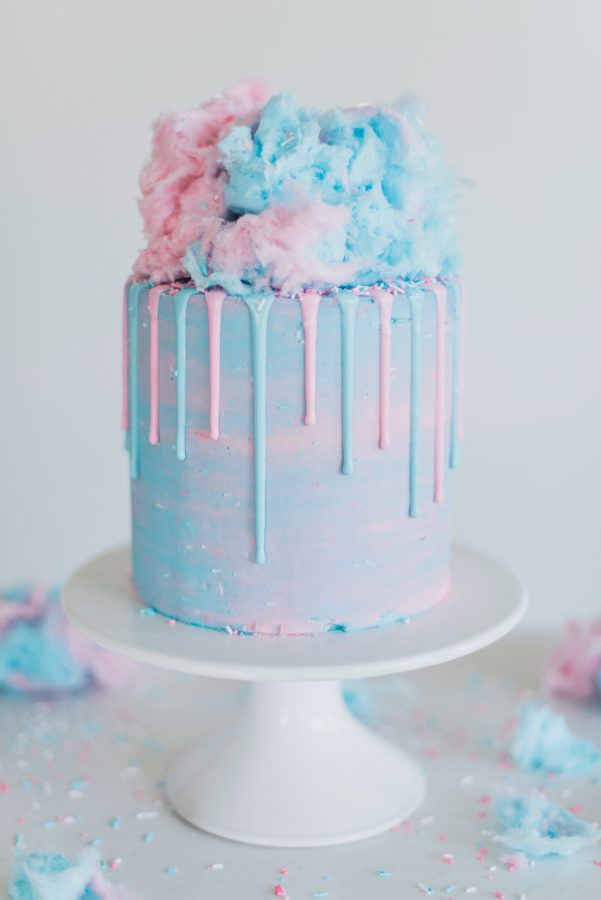
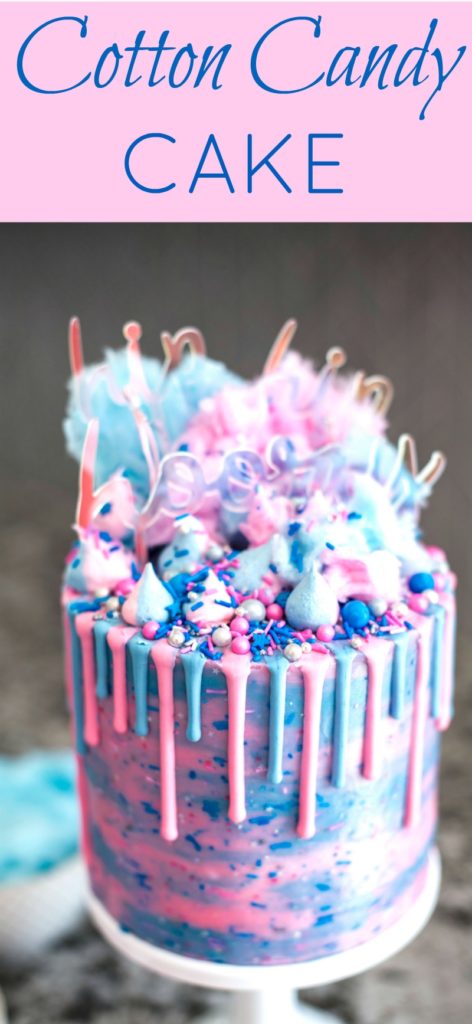
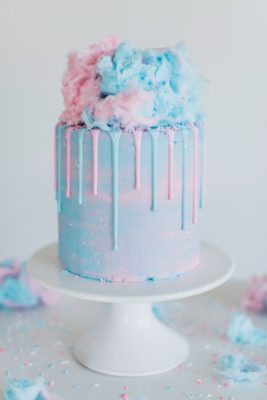
Cotton Candy Cake – A light and fluffy, cotton candy flavored cake that will make you think you’re at the summer state fair.
New Cake Flavor
A few months ago my little brother was trying to come up with new cake flavors for me. Among his suggestions was a cotton candy cake. It sounded interesting but honestly, I wasn’t feeling super excited about it. I set the flavor idea on the back burner and continued working on some other new cakes. In the meantime, I actually had several more of you request a cotton candy cake.
At that point, I thought, ‘alrigtht, I’ve gotta try this out!’.
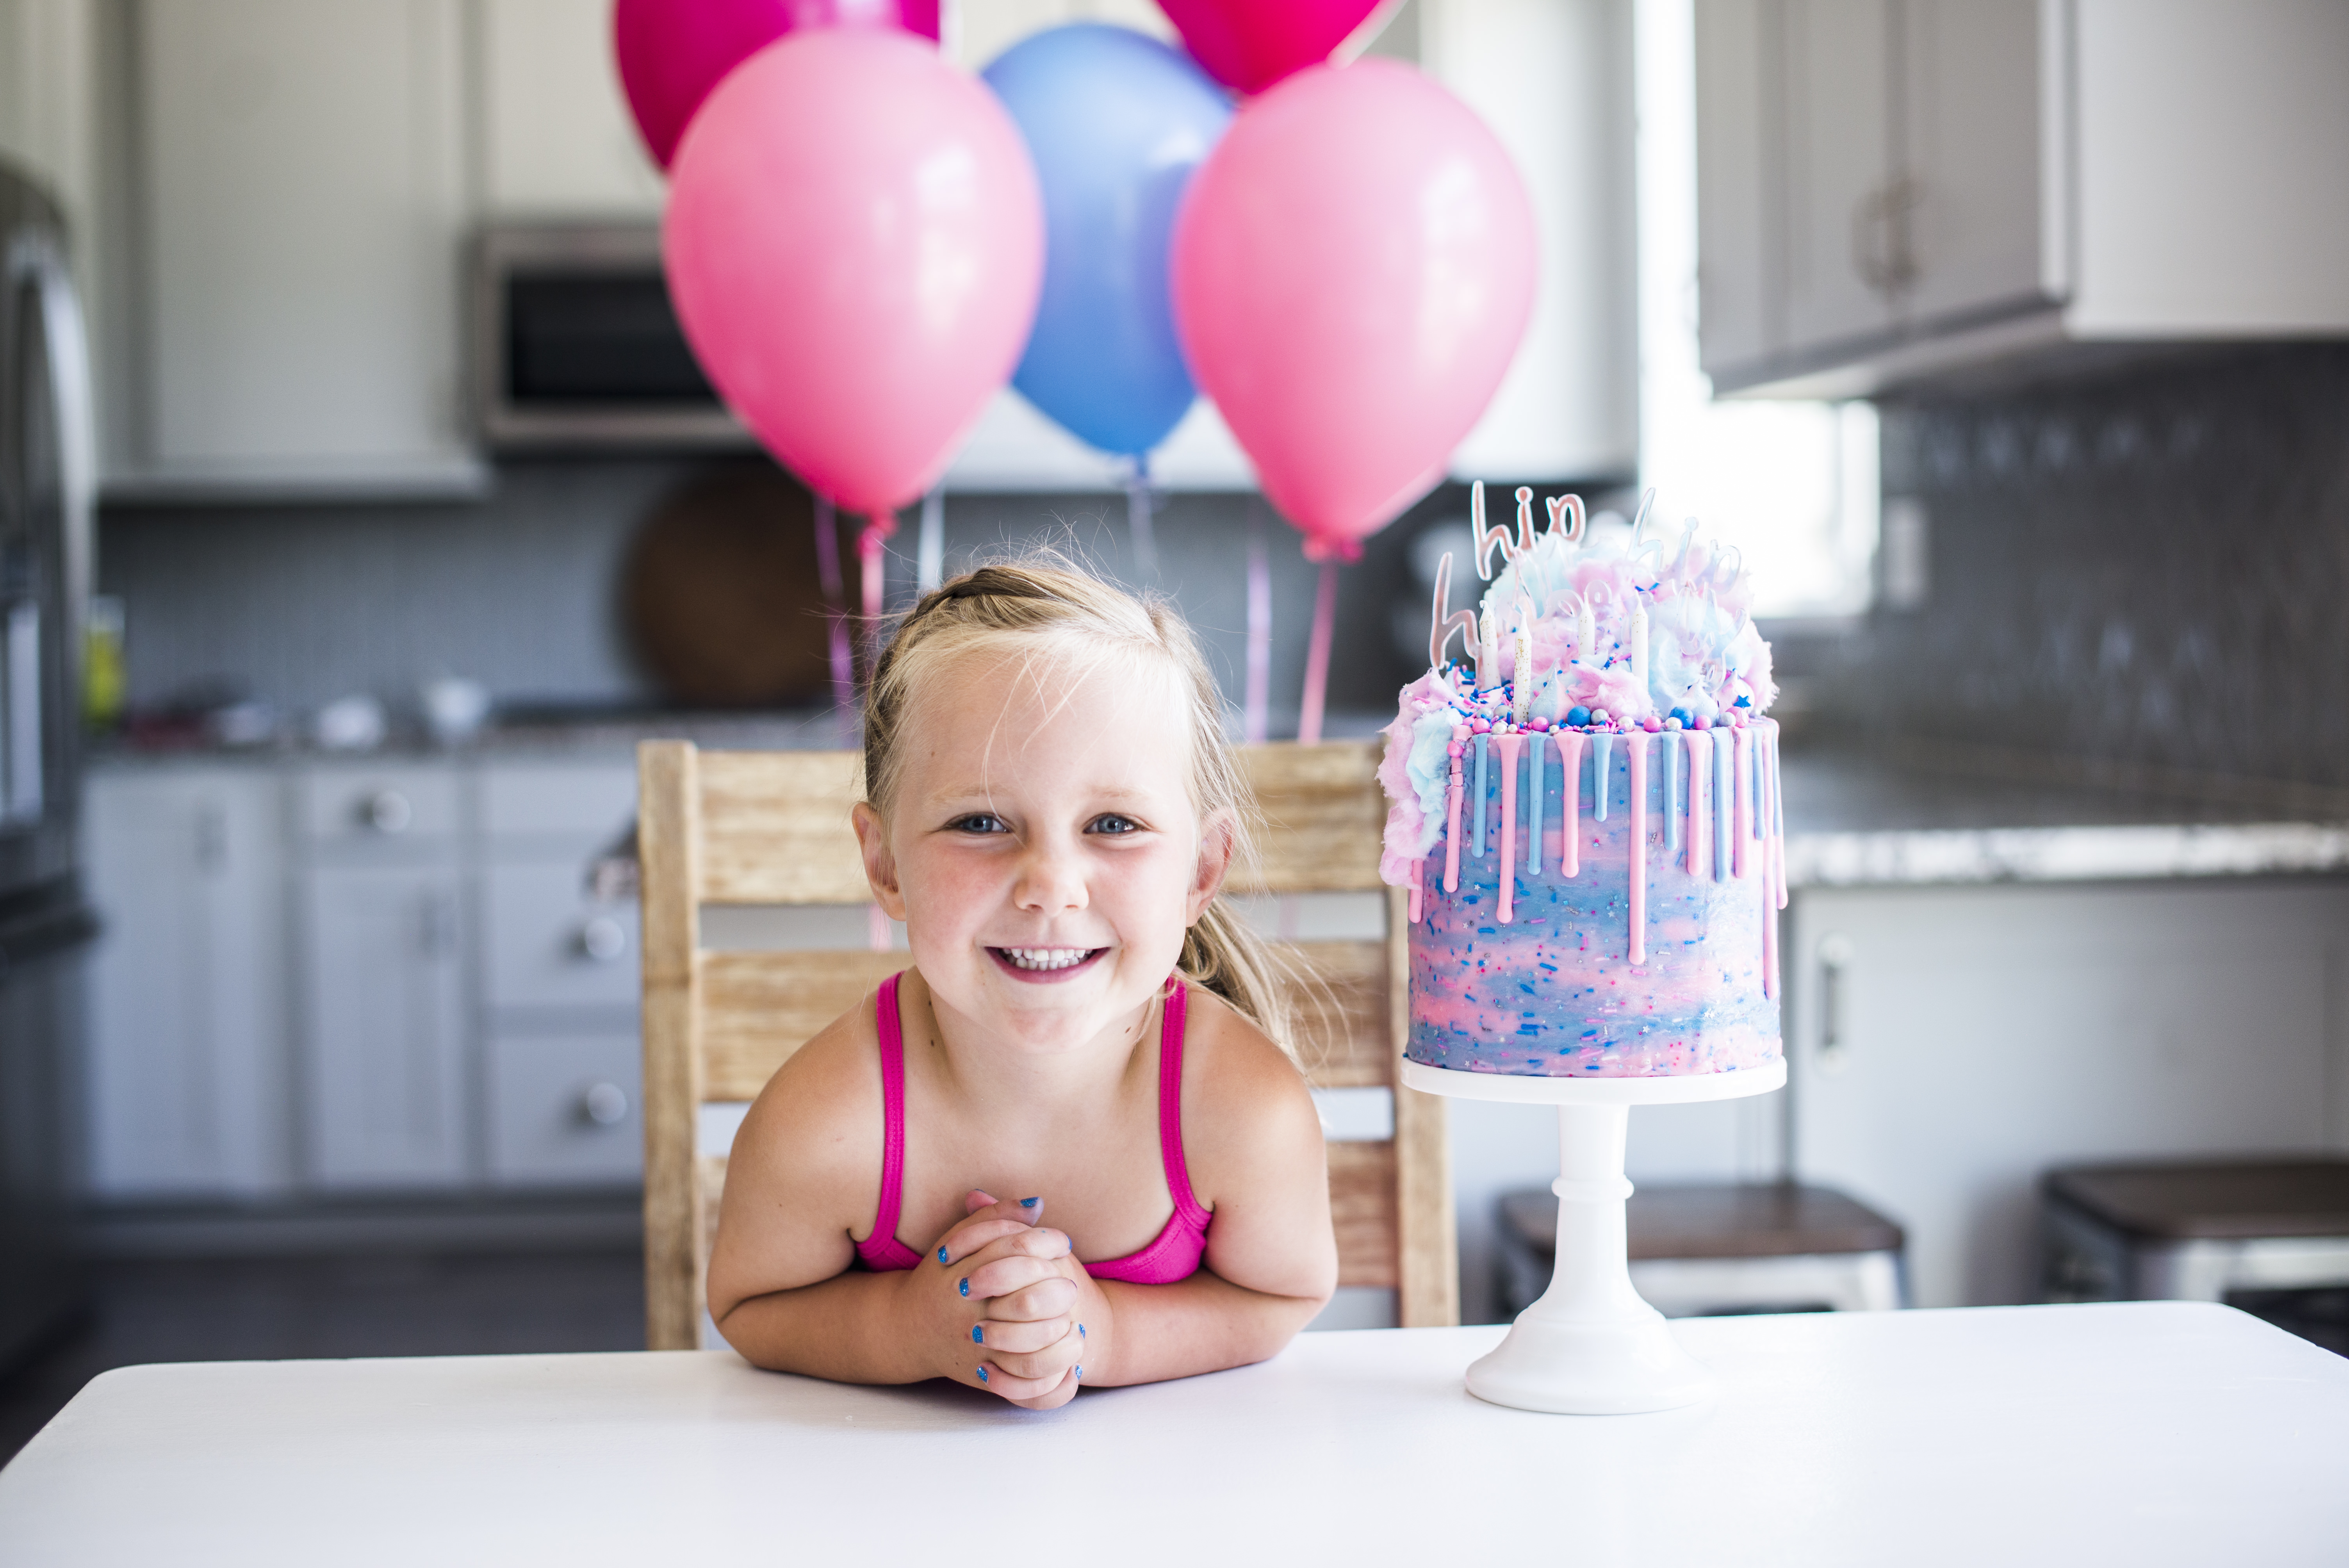
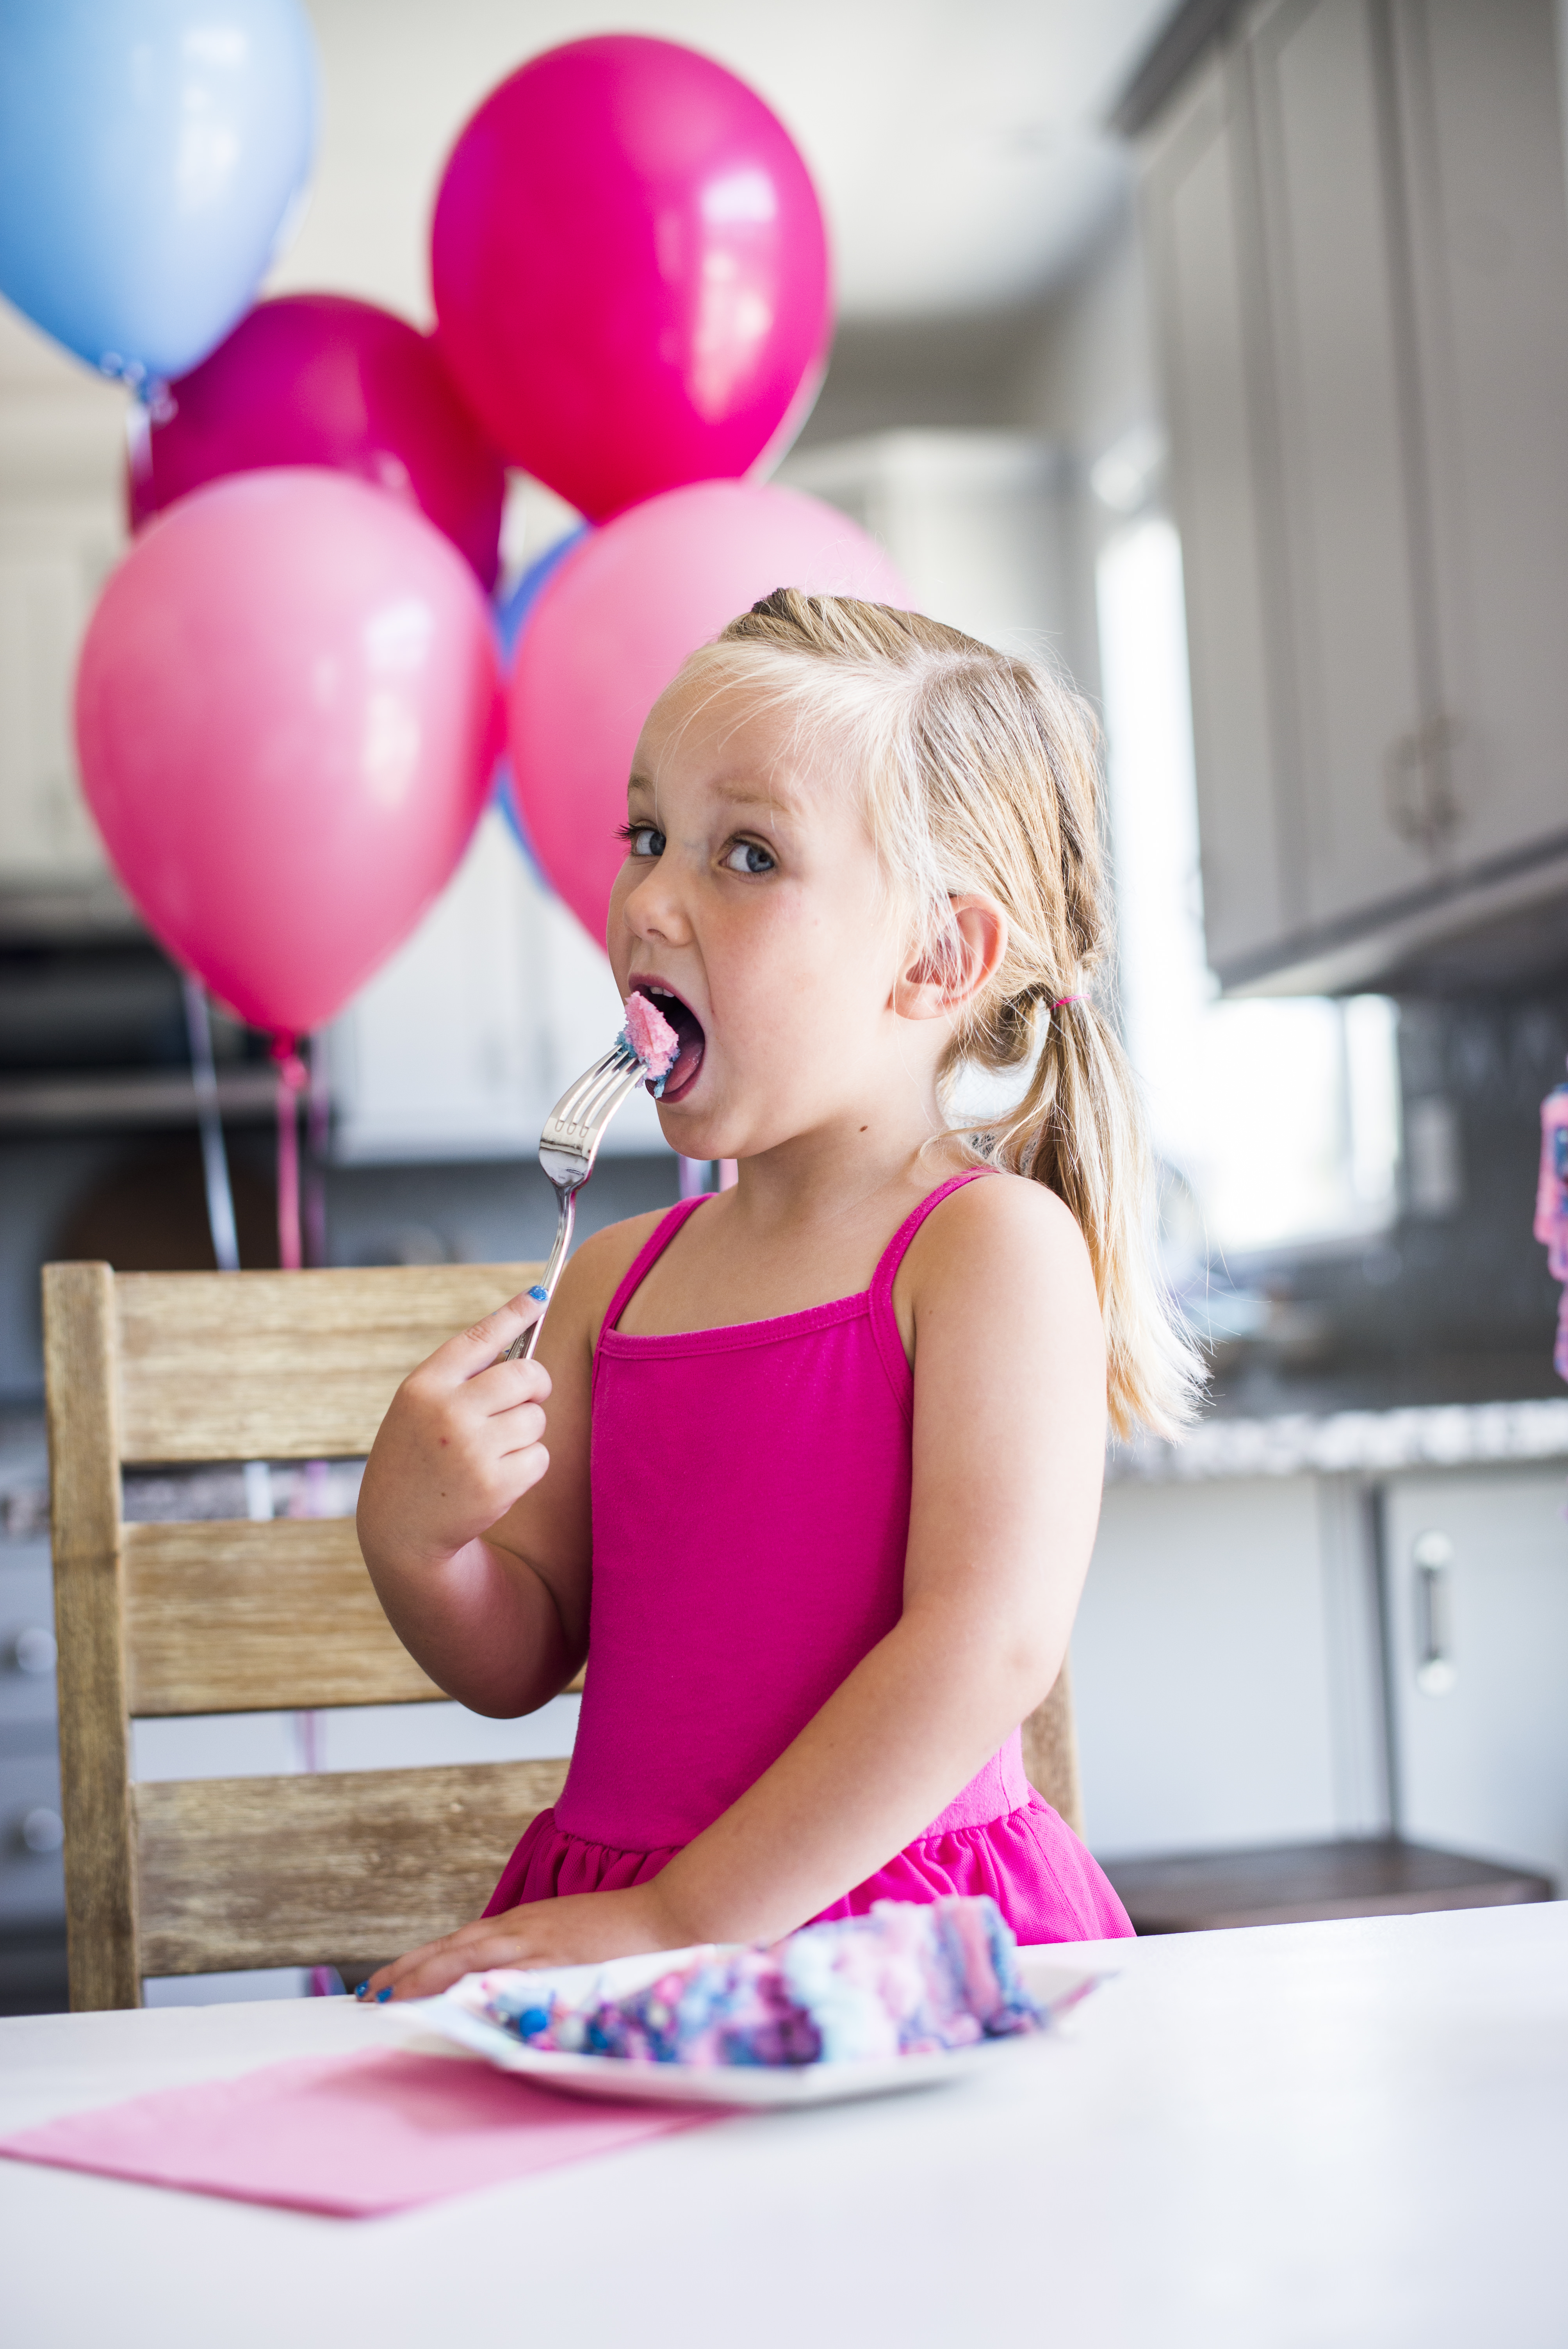
And what better time to give a cotton candy flavored a cake a test run than a kid’s birthday party! I actually had to convince Avery to let me make this cake for her birthday. She originally wanted a pink, blue and purple Red Velvet Cake. I loved the idea of all her favorite colors on the cake, but having a red velvet cake on the inside just didn’t feel right.
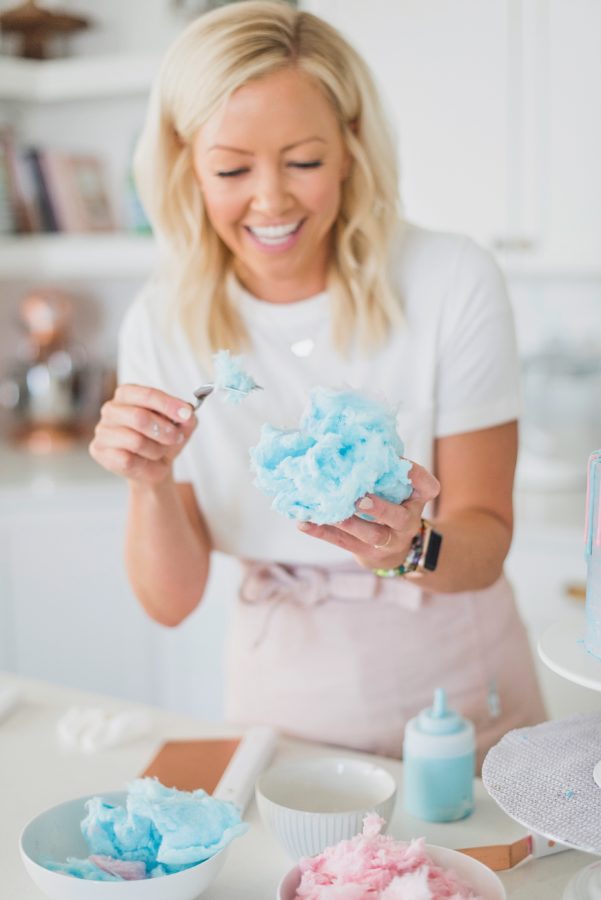
Luckily, kids love cotton candy and Avery is no exception. Convincing her to switch cake flavors ended up being easy as pie. We also decided to throw out the purple and stick with blue and pink to match the cotton candy.
COTTON CANDY CAKE
For this recipe, I started with the vanilla cake I use for my Funfetti Cake. In my first round, I used Jelly Belly Cotton Candy Syrup. The cake was a little dense and the flavor was barely noticeable after the cake baked, so I decided to give it another go with the Lorann Cotton Candy Flavoring. The second round was a total winner. Avery devoured the cake scraps!
I used pink and blue food gel to tint the batter. When you do this, just make sure to gently stir the food gel into the batter. You don’t want to over mix the batter or you’ll find it doesn’t rise as well.
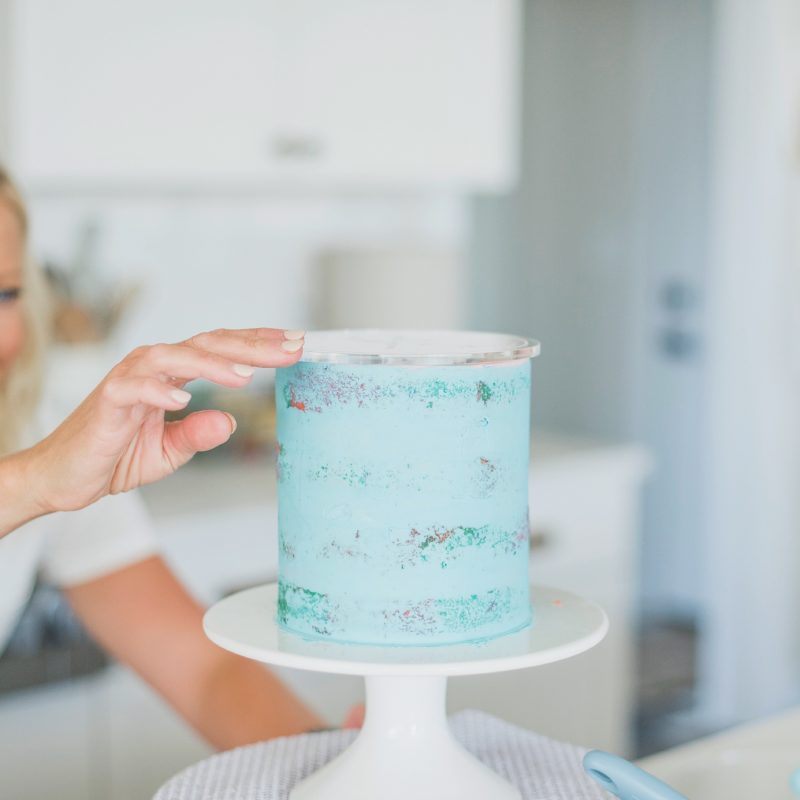
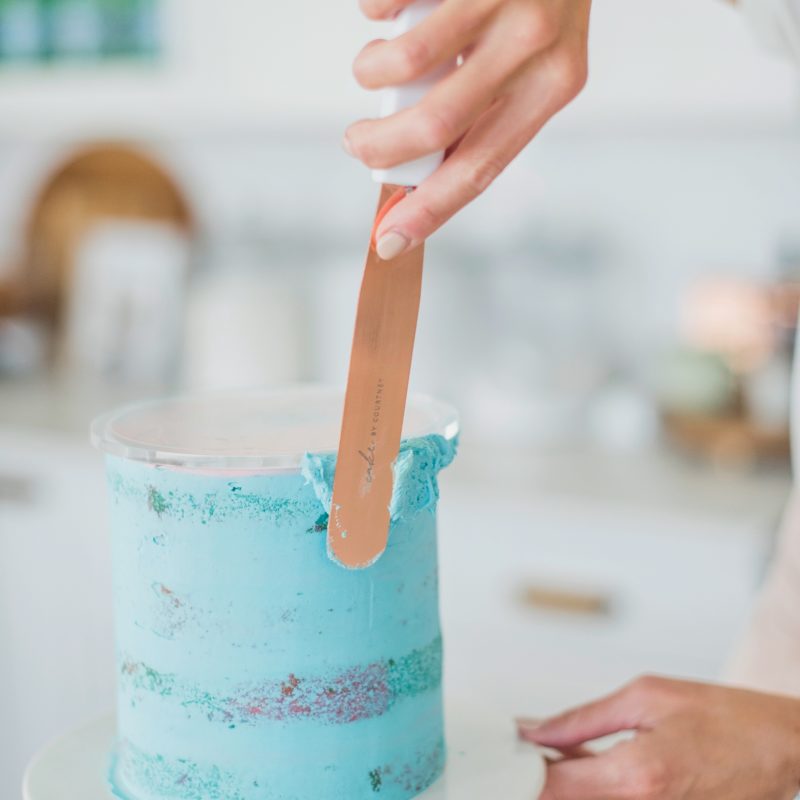
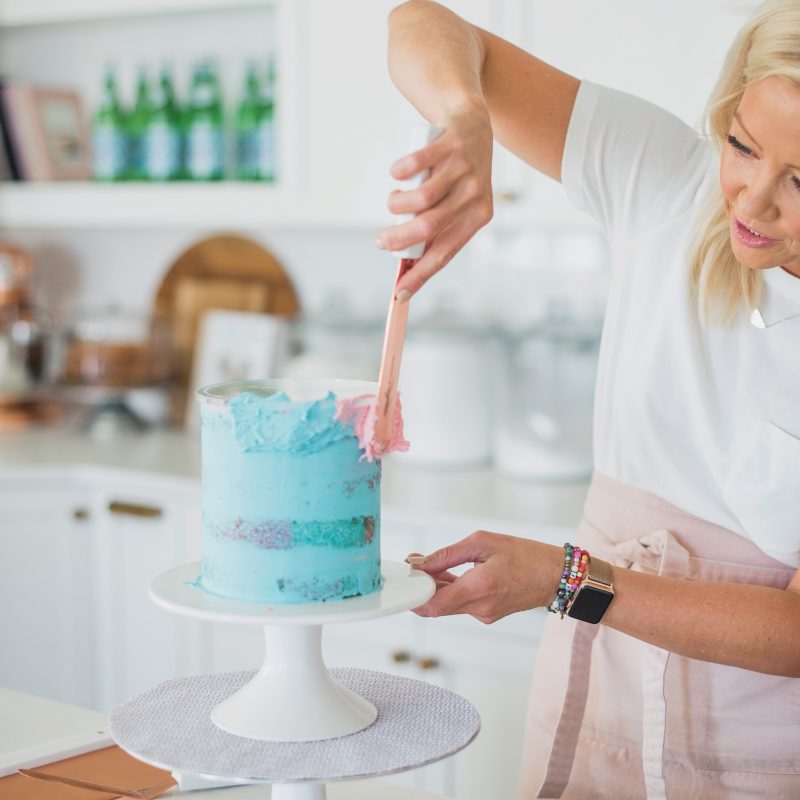
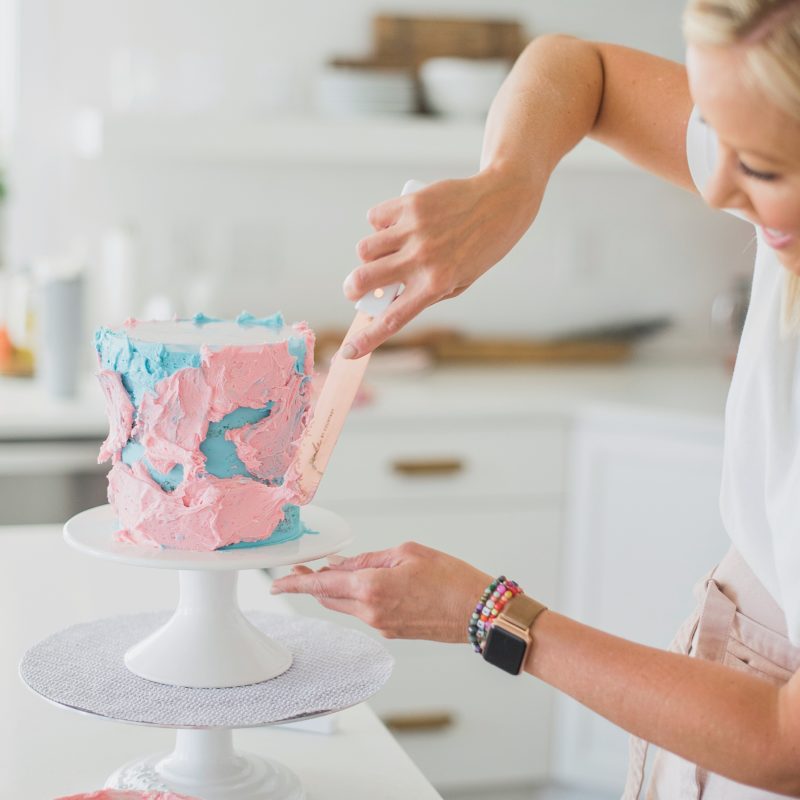
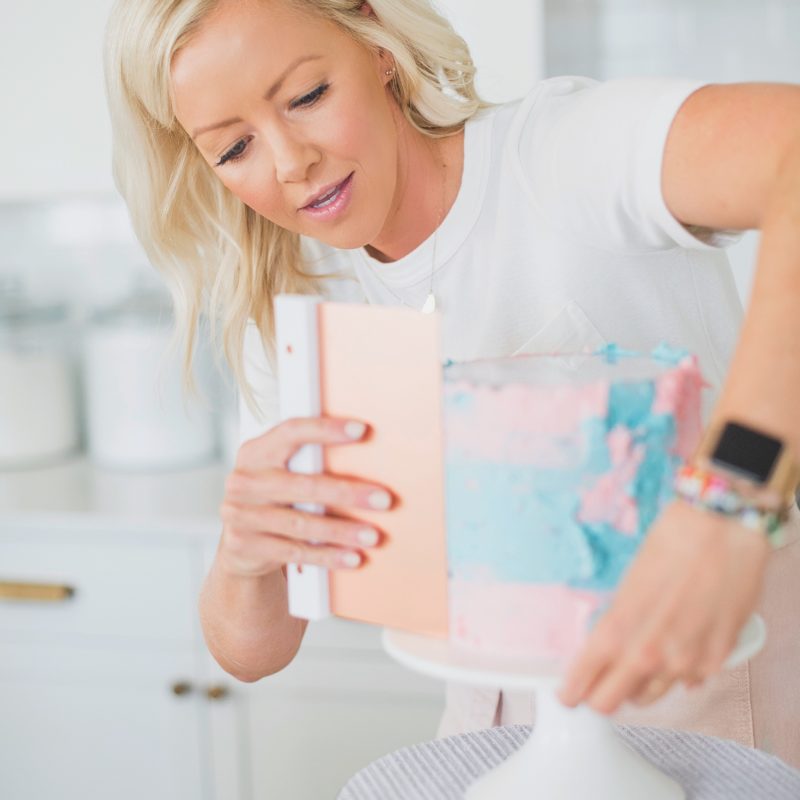
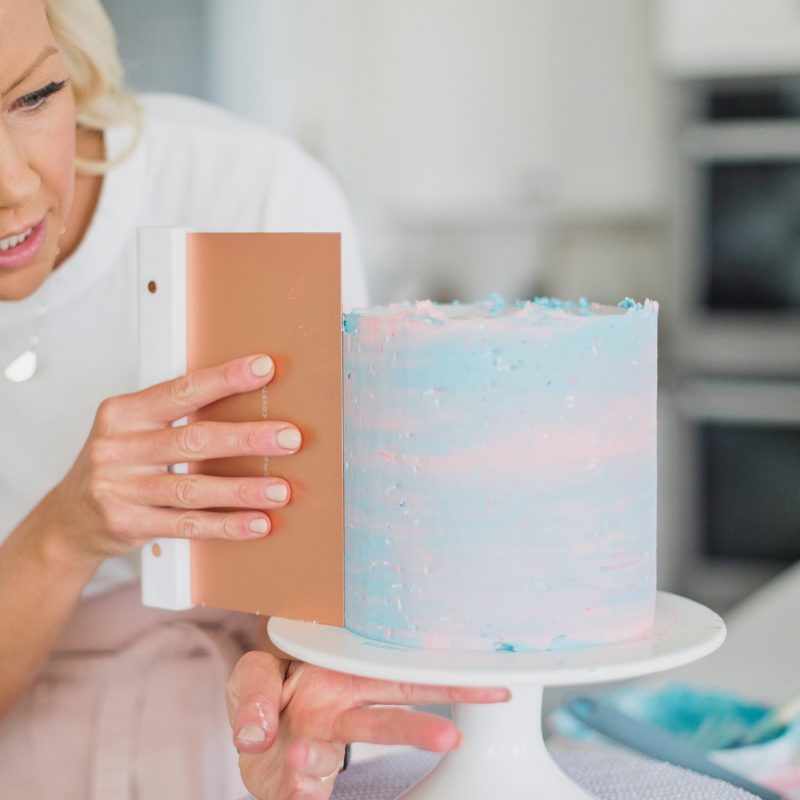
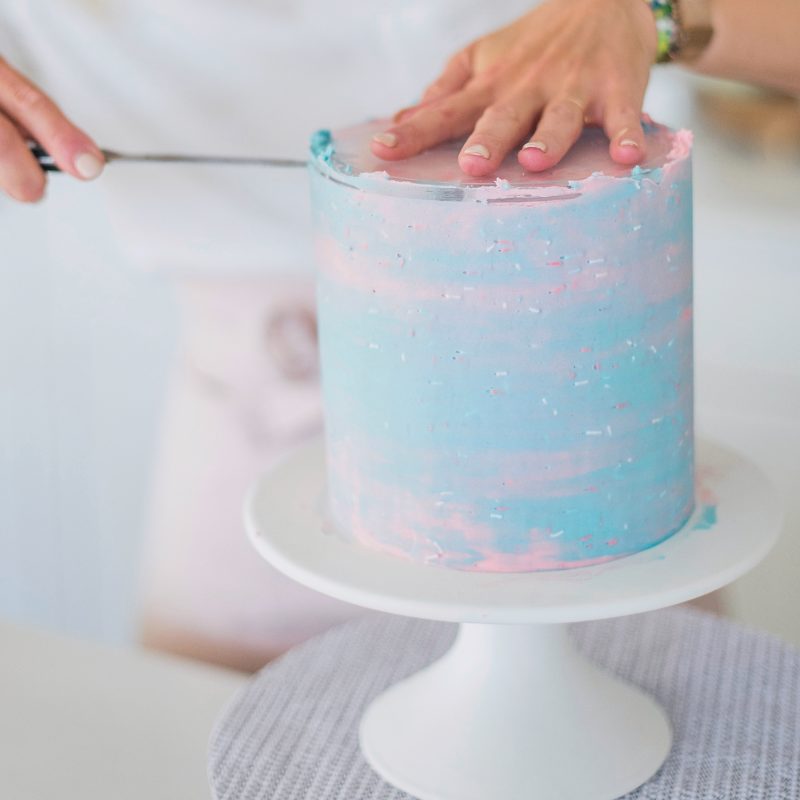
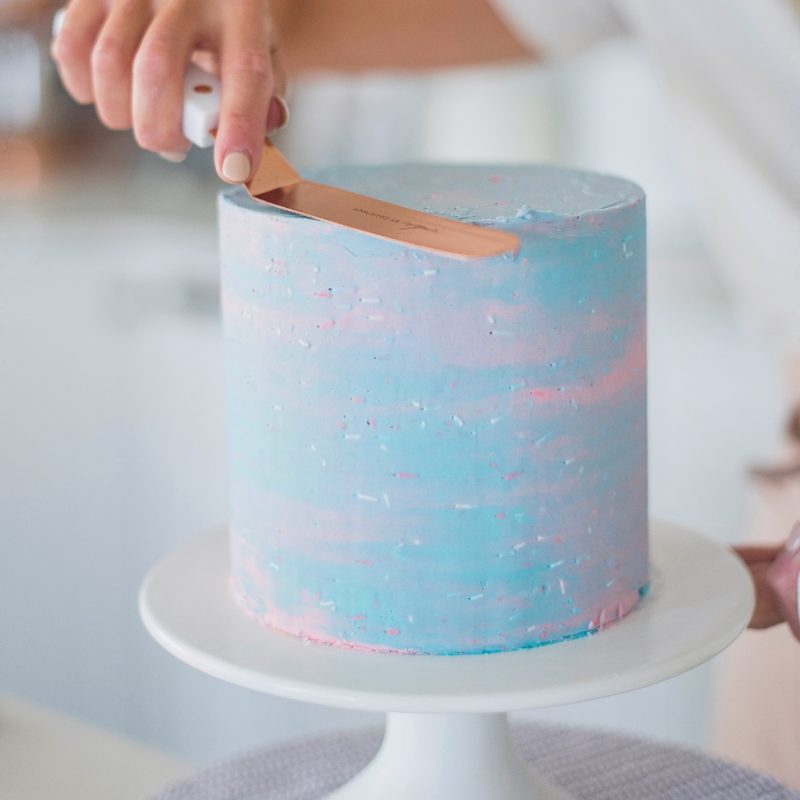
Frosting Tutorial
Once you’ve smoothed out the sides of your cake, freeze the cake for about 10 to 15 minutes.
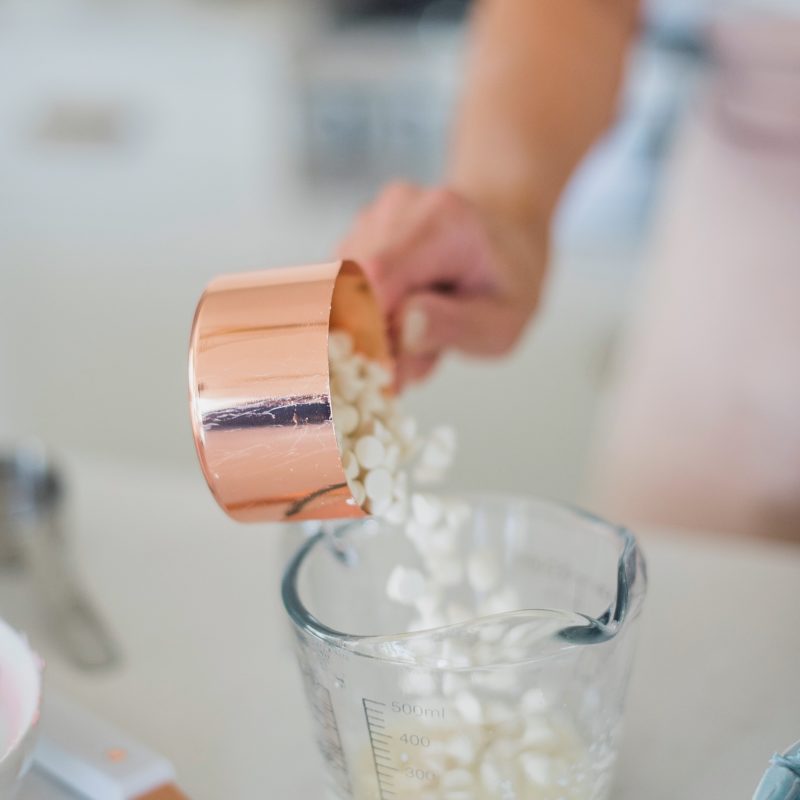
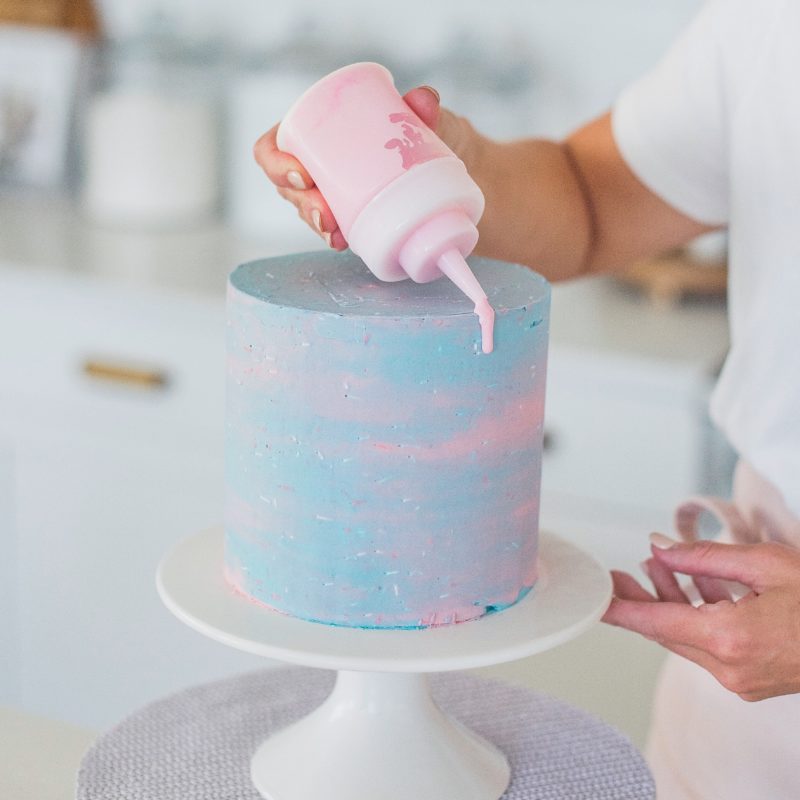
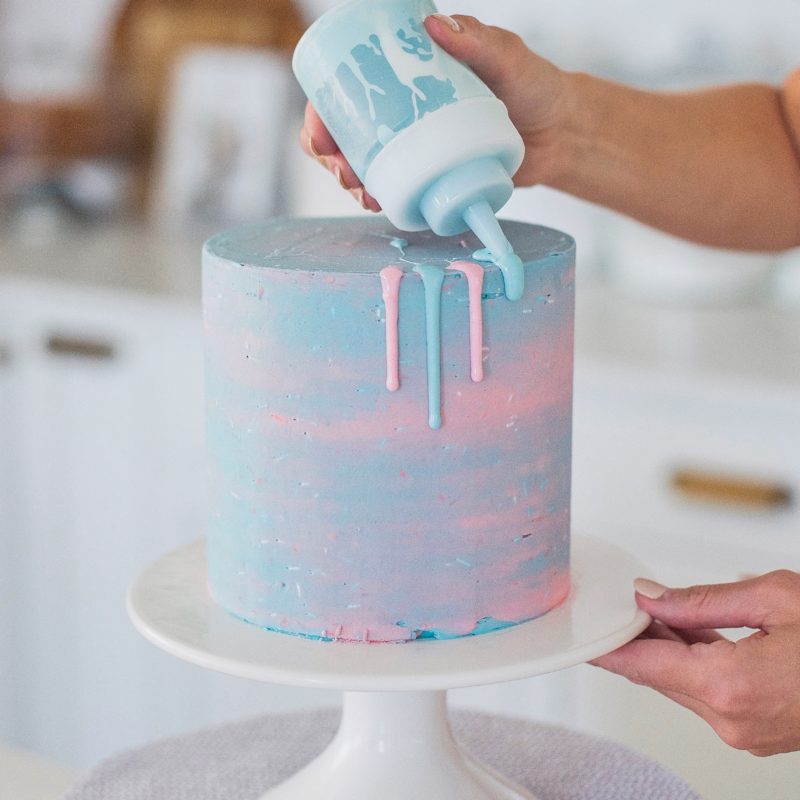
Drip Tutorial
For more tips and instruction on making the perfect drip, check out these two IGTV videos from my feed:
Birthday Cake or Gender Reveal Cake?
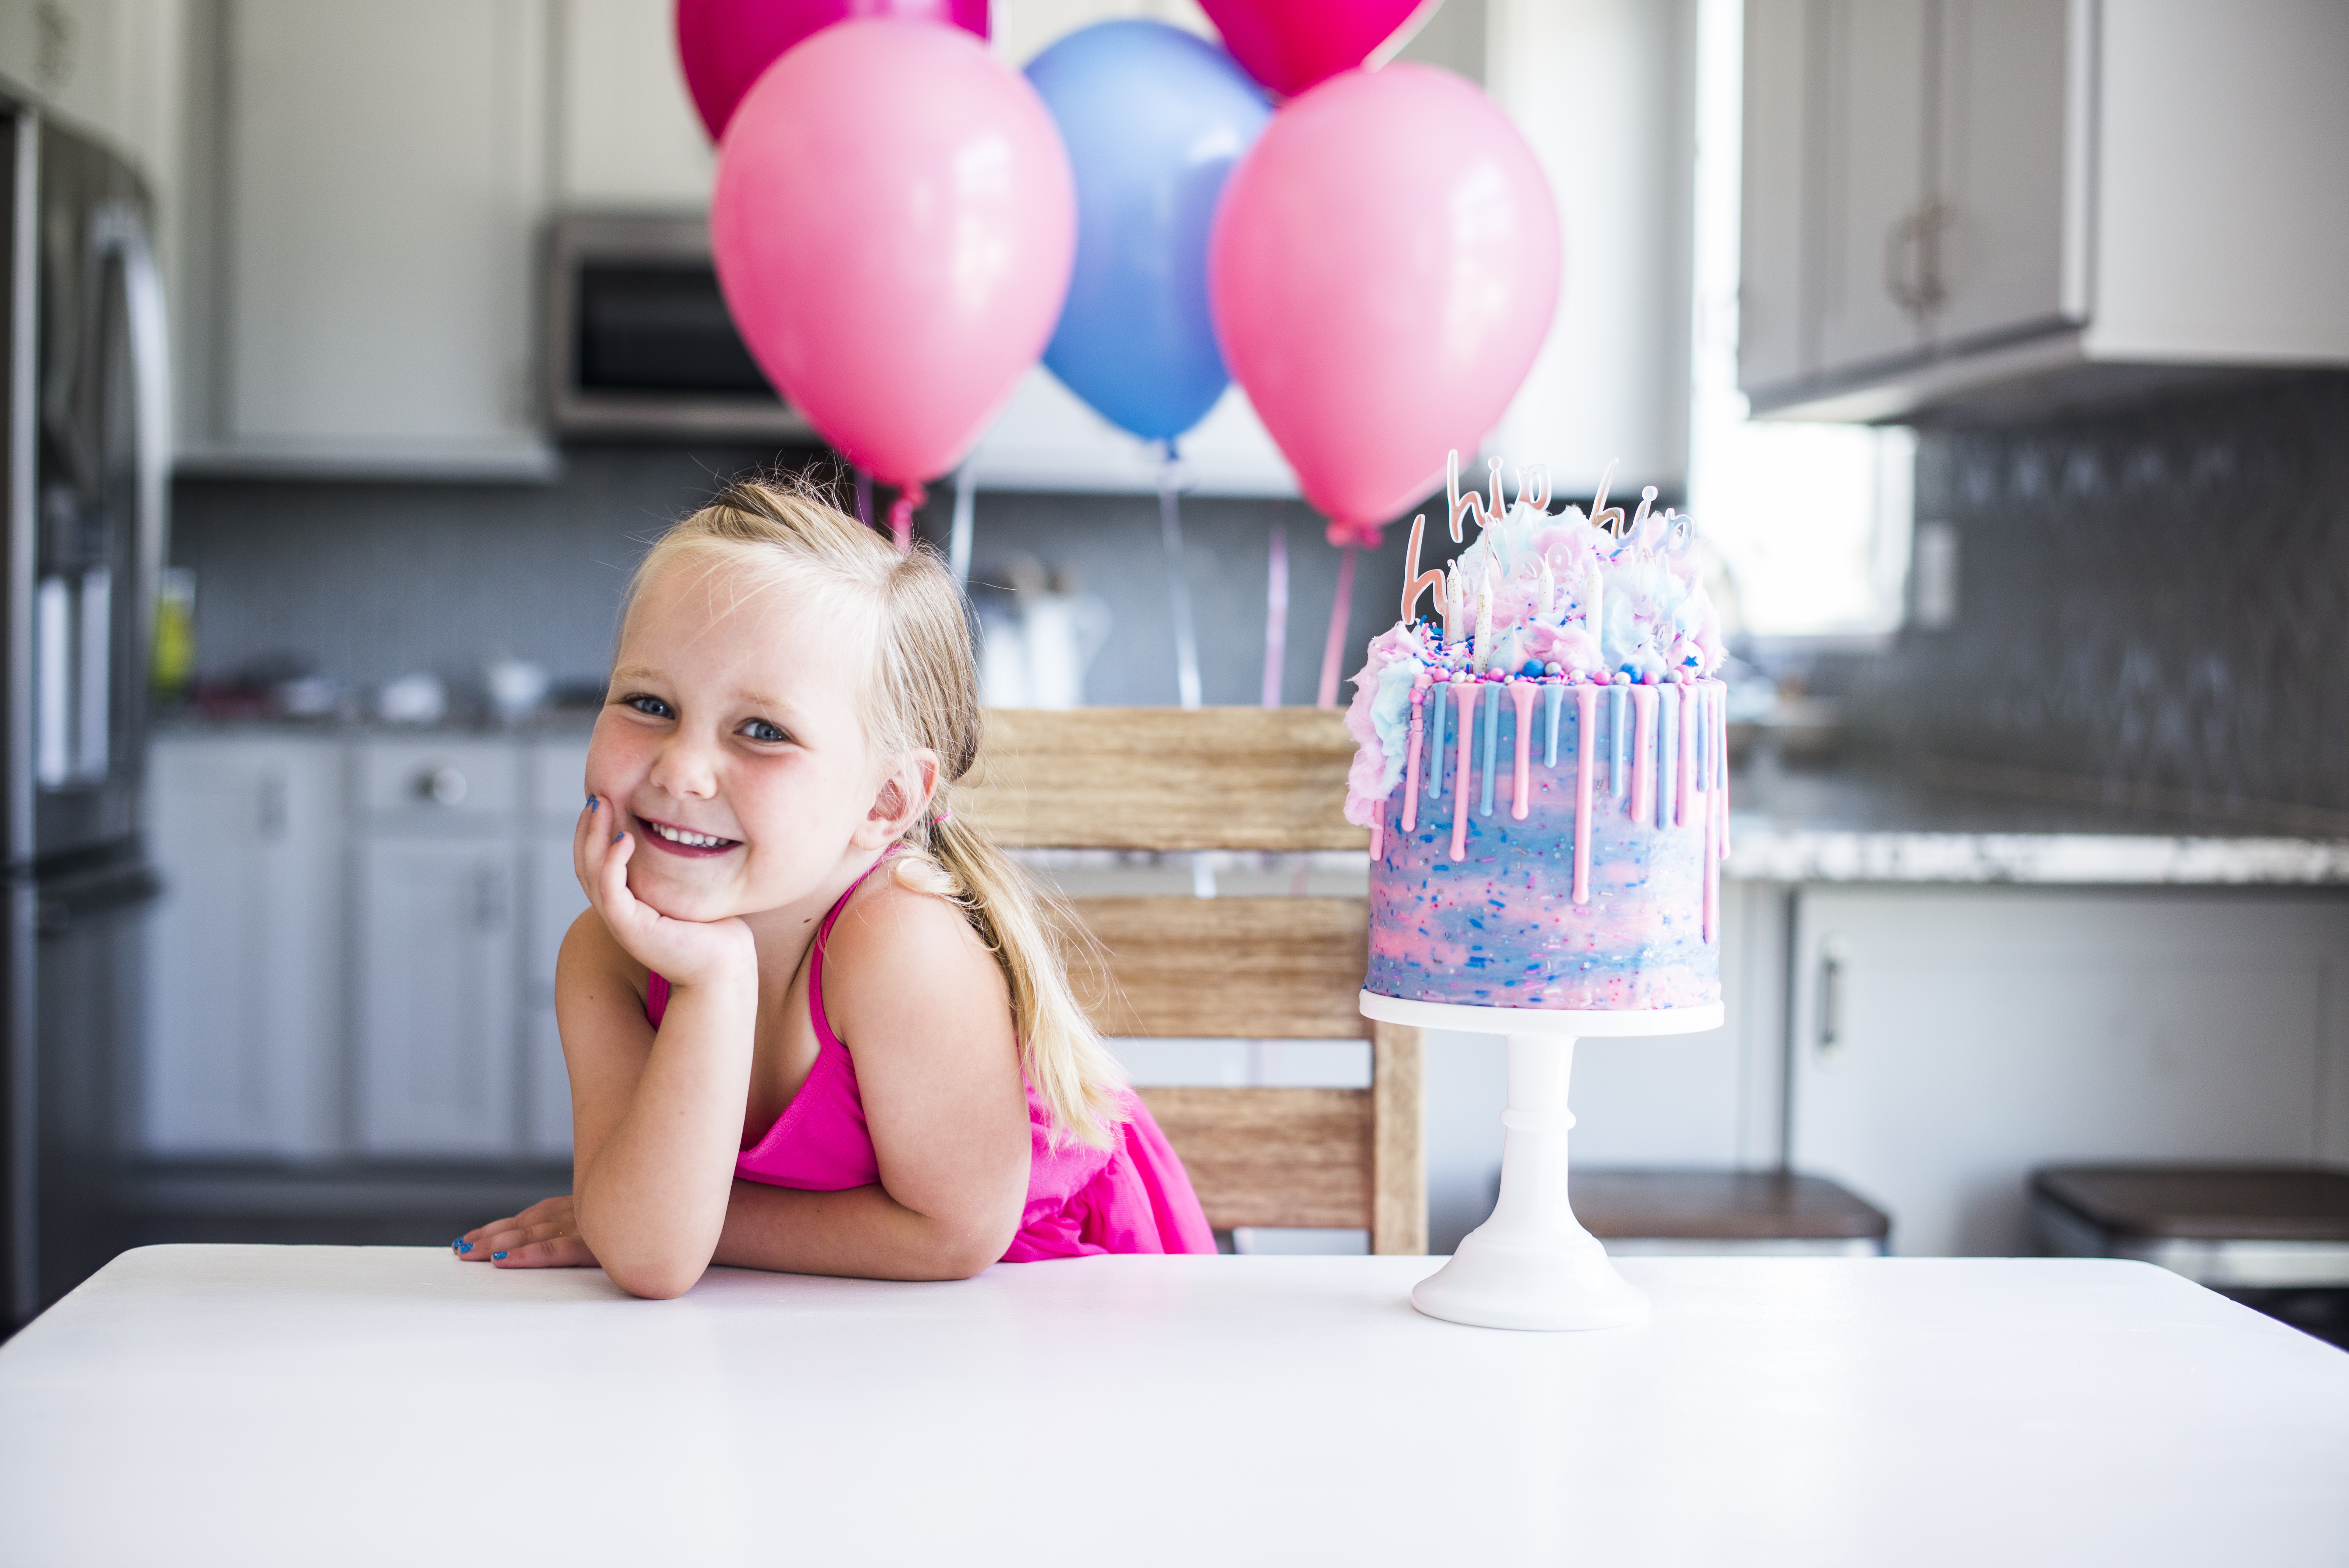
So the question is, birthday cake or gender reveal cake? I loved it as Avery’s birthday cake but it also make the perfect gender reveal cake, don’t you think?
The Old Cotton Candy Cake
And rather than wiping this post of all the old photos, I had to keep at least one so you could see the original cake and my cute little Aves!
Tip
One note about the actual cotton candy – don’t add it to the cake until you’re ready to display the cake. The cotton candy won’t hold up well in the freezer, refrigerator or at room temperature for too long.
Tools
Click on the item below to check it out!
Thank you to Trina Harris Photography for the gorgeous photos.
Cotton Candy Cake
Yield 1 4-layer, 6-inch cake or 3 layer 8-inch round cake
Light and fluffy, cotton candy flavored cake and frosting.
Ingredients
For the Cake
- 1 whole egg (I use extra large), at room temperature
- 3 egg whites (also extra large), at room temperature
- 1 cup (240 g) buttermilk, room temperature
- 1 tablespoon (13 g) Lorann Cotton Candy Flavoring
- 3 cups, plus 2 tablespoons (366.6 g) cake flour
- 1 3/4 cups (350 g) granulated sugar
- 1 tablespoon plus 1 teaspoon (16 g) baking powder
- 3/4 teaspoon (4.2 g) salt
- 1 cup (226 g) unsalted butter, room temperature
- Pink and blue food gel (optional)
For the Frosting
- 2 cups (452 g) unsalted butter, slightly chilled
- 6 cups (750 g) powdered sugar, measured then sifted
- 3 tablespoons (43.3 g) heavy cream
- 2 teaspoons (8 g) Lorann Cotton Candy Flavoring
- Pinch of salt
- Pink and blue food gel (optional)
- Cosmic Rush Twinkle Sprinkle Medley (optional)
- *This buttercream recipe makes enough to fill and cover your cake. If you want to add additional piping, you’ll want to make an extra 1/2 batch.
Instructions
For the Cake
- Preheat your oven to 350 degrees F. Prepare four 6-inch round cake pans or three 8-inch round cake pans by spraying each pan with non-stick spray, covering the bottom of the pan with parchment paper and spraying the parchment paper with the non-stick spray as well. Set aside.
- In a medium-sized mixing bowl, combine the whole egg, egg whites and Lorann flavoring. Set aside.
- In the bowl of a stand mixer fitted with the paddle attachment, combine the cake flour, sugar, baking powder and salt. Mix on low speed for about 30 seconds.
- With the mixer on low speed, add the butter and buttermilk. Continue to mix on low until just combined and then increase to medium speed and mix for 1-2 minutes, until light and fluffy.
- Scrape down the sides of the bowl and add the egg mixture in two additions, beating on medium speed for about 20 seconds after each addition until just combined and all the ingredients are thoroughly incorporated.
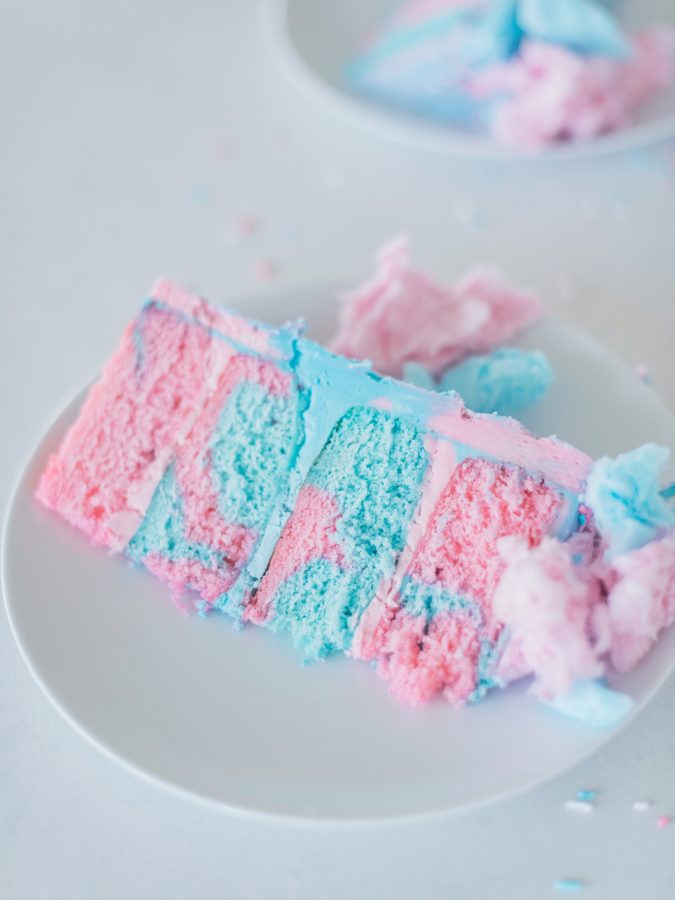
- Divide the batter in half. Tint half of the batter pink and half of the batter blue. Stir lightly by hand as to not over mix the batter.
- Divide the batter into the four 6-inch pans or three 8-inch prepared cake pans, using a kitchen scale to measure equal parts in each pan. (Use about 11 to 12 ounces of batter in each of the four 6-inch pans or 15 to 16 ounces of batter in each of the three 8-inch pans). I dolloped scoops of batter in each pan, overlapping the colors a little, to create a tie-dye look.
- Bake for 20-23 minutes (my cakes took 20 minutes), or until a toothpick inserted into the center of the cake comes out clean.
- Let the cakes cool in the pans for 10 minutes and then invert onto wire racks until completely cool.
For the Frosting
- In the bowl of a stand mixer fitted with the paddle attachment, beat the butter on medium speed for about 3 minutes, until the mixture is light and fluffy.
- With the mixer on low speed, slowly add the powdered sugar, followed by the heavy cream, Lorann flavoring and salt.
- Continue to beat the frosting on medium-high speed for an additional 5 minutes.
- Divide the frosting in half and tint each batch with blue or pink food gel.
- Stir by hand to push out any air pockets.
Assembly
- After leveling each of the cake layers with a cake leveler or serrated knife, place the first cake layer, top side up (crumb side up) on a cake board or cake plate. For the 6-inch cake, add about 1/2 cup of frosting on the cake layer. For the 8-inch version, add about 1 cup of frosting. Spread over the cake layer as evenly as possible.
- Repeat this step until you get to the final cake layer, which you will lay top side down.
- Apply a thin coat of frosting around the entire cake to lock in the crumbs. Freeze for 10 minutes.
- After the crumb coat is set, continue frosting and decorating the cake.
- If using cotton candy to decorate, do not add it to the cake until you're ready to display the cake. The cotton candy will not hold up in the freezer or refrigerator.




Hi there! I’m making this for my daughter’s birthday! 🥳 I also plan to do cake pops… any reason why this recipe wouldn’t work for pops?
Nope!