Last updated on
How to Make the Perfect Birthday Cake
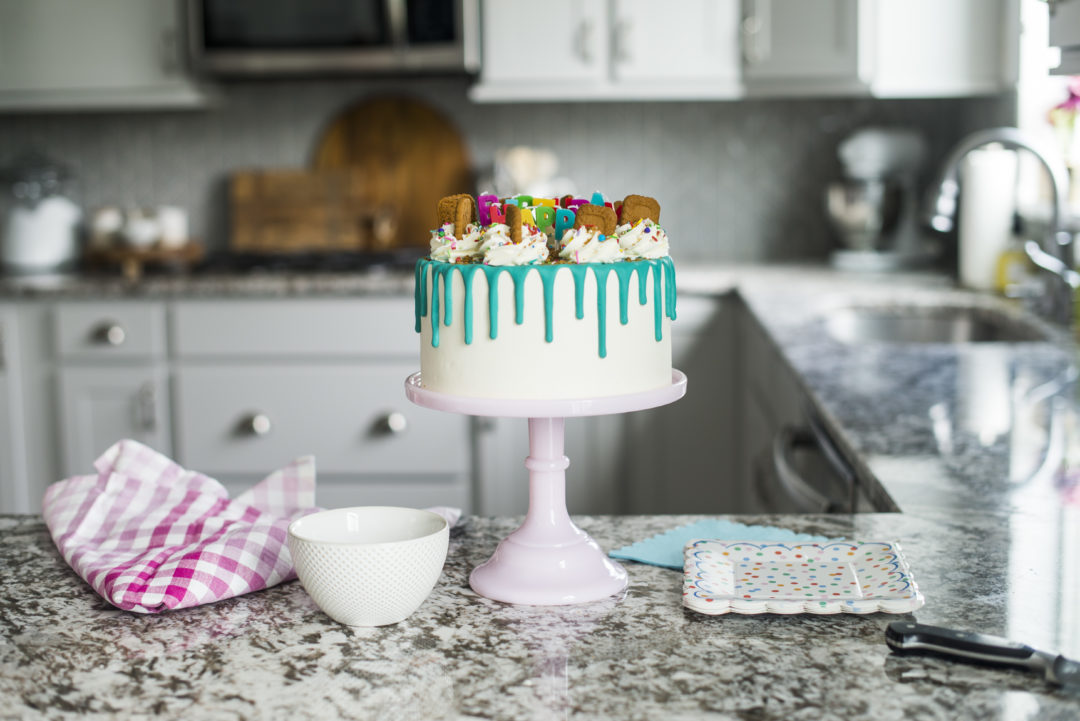
In honor of Wilton’s new birthday page, “Bake the Happiest Birthday Ever,” I’m breaking down all the steps of cake decorating to show you how to make the perfect birthday cake!
The New Wilton
If you’ve been in your local craft store, Wal-Mart, or even browsing Amazon for cake decorating tools, you may have noticed some changes to the Wilton brand. From first glance, you’ll see they said goodbye to purple and hello to yellow – but that’s not the only change they’ve made. Wilton has really stepped up their game when it comes to customer experience. Their website and social media accounts are full of new and on-trend baking inspiration, with helpful tutorials and how-to’s for so many creative and easy baking projects.
Bake the Happiest Birthday Ever
One of the new changes I noticed on Wilton.com are the categorized pages they put together for each of your baking needs (i.e. Occasion, Wedding, Baby Shower, Graduation, Birthday, Cupcakes, Piping Techniques, Cake Ideas, etc.). It’s kinda like a one-stop shop. You can buy your products and get ideas for your next dessert. Win, win!
To celebrate the launch of their new “Birthday” page, Wilton asked if I’d share one of my favorite birthday cakes.
Of course! It was my son’s first birthday that sparked my love affair with cake in the first place! While my decorating skills were a bit scary back then, over the years I’ve been able to teach myself (through a lot of trial and error) how make a the perfect birthday cake – one that not only looks fabulous, but also (and more importantly) tastes amazing! And today, I’m going to show you how you can make the perfect birthday cake too.
The Perfect Birthday Cake
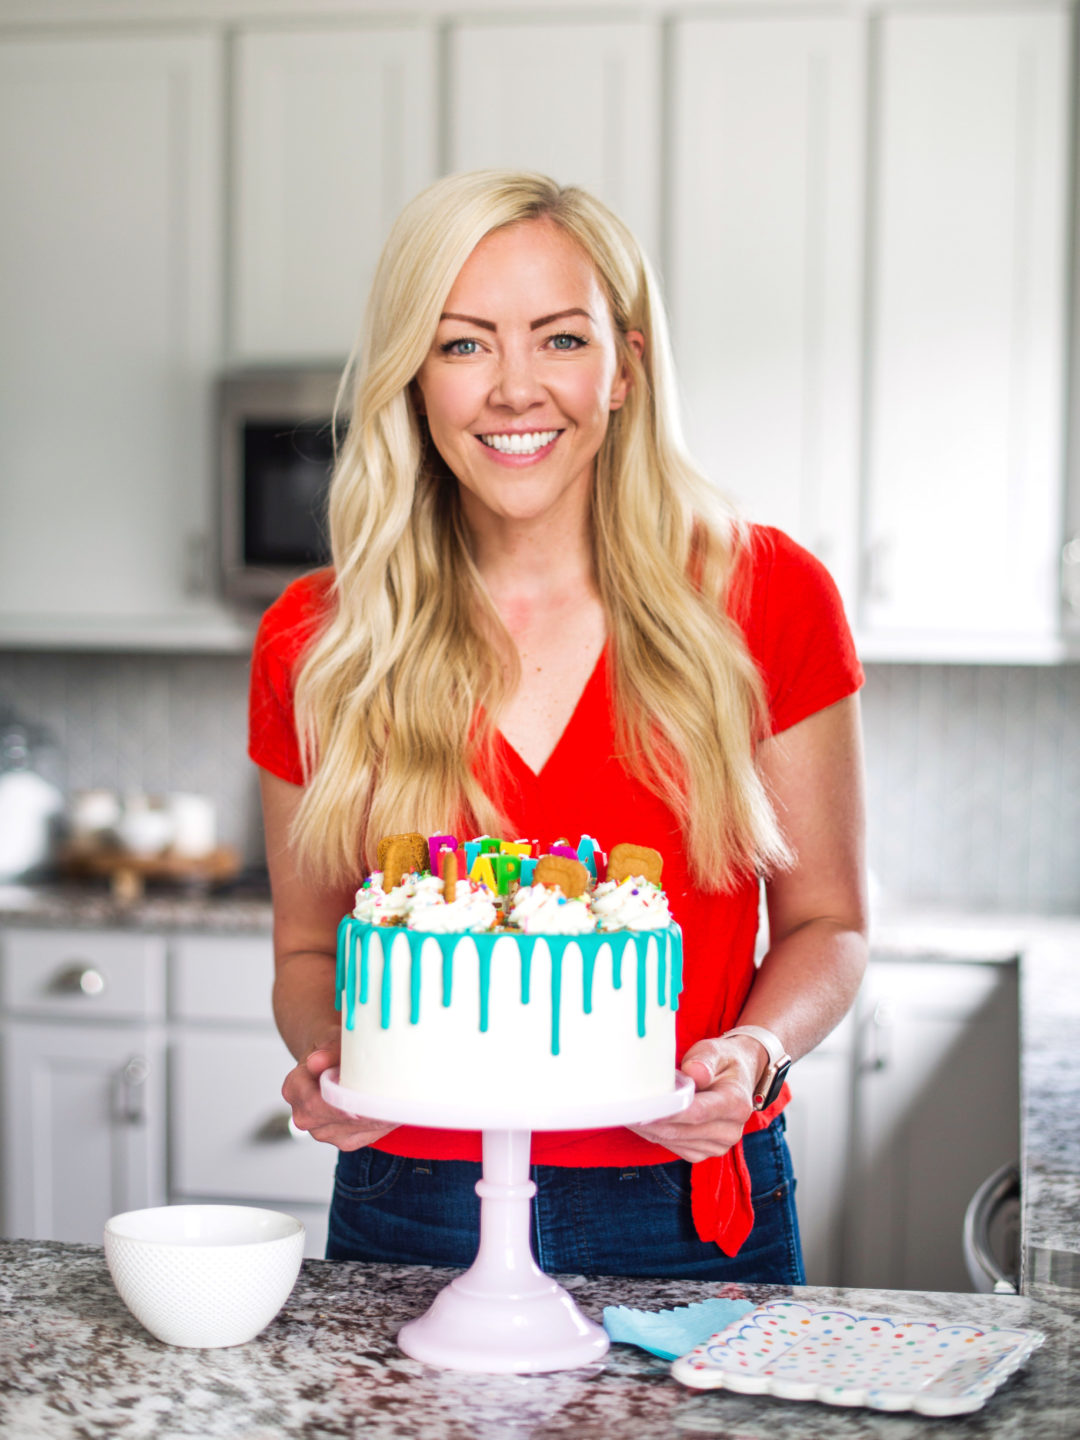
To make my perfect birthday cake, I’m using my popular Biscoff Cake. This cake is one of my personal favorites and one I constantly get rave reviews about from you! I’m so thrilled to know you love it as much as I do.
Get Ready
As you get ready to stack and decorate your cake, there’s a couple cake prep items to check off your to-do list:
- Tape a cardboard cake board (the size of your cake) to a cardboard cake board that’s slightly larger than your cake. This gives you a board to hold on to while moving your cake in and out of the freezer during some of my steps to follow.
- If your cake layers don’t bake evenly, use a cake leveler to level the top of the cake. We’re looking to stack an even cake, not the leaning tower of Pisa 😉
The Perfect Buttercream
Before we stack and frost the cake, let’s make sure you’re also making the perfect buttercream. With all of my recipes, I also suggest the following:
- Use semi-cold butter – which I cut into cubes and beat on medium speed in my stand mixer fitted with the paddle attachment to soften. You do not want to start with butter that is too soft.
- Sift your powdered sugar – which will make your buttercream much silkier and smoother when you frost your cake.
- Add a little heavy whipping cream – which will help to lighten the texture of the frosting IF you turn the mixer to medium-high and let the frosting beat for about 5 minutes.
- Mix the frosting by hand with a wooden spoon – which will help to push out the air pockets created by the electric mixer.
Don’t Skip the Crumb Coat
After you’ve stacked your cake layers and filled each layer with frosting, apply a small layer of frosting around the entire cake to lock in the crumbs. At this point, you’ll want to move your cake into the freezer for about 10 to 15 minutes to set the crumb coat. This ensures that no crumbs will get in your final coat of frosting.
Perfecting the Final Coat of Frosting
Once your crumb coat is set, you’re ready to put your final coat of frosting on the cake. To get the perfect coat of frosting, I actually put another cake board on top of my cake (right on the cold crumb coat) to help me achieve straight sides and a sharp edge. If you’re new to my site and have no idea what I’m talking about, I’ve included a video below to give you a visual of what I’m talking about 🙂 You’ll find additional tutorials on my YouTube page: Cake by Courtney.
With the board on top of the cake, apply frosting around the top cake board to keep it in place. Then, frost the rest of the cake, making sure to cover the bottom cake board (the one the size of your cake).
Using a cake scraper, I prefer a metal one, you’ll then want to smooth out the frosting to see where you need to fill in and even out the sides with more frosting. You end up repeating these steps a few times until your sides are even.
Cake Scraper Tips
When it comes to using a cake scraper, I have a few tips that I think will make using the scraper a lot easier:
- Use a light touch – if you press too hard against your cake, you’ll run the risk of pulling cake up with the frosting. You’ll also get a lot of “holes” in your frosting. We also don’t want to take away a ton of frosting, we’re just trying to smooth it out at this point.
- Watch the angle of your cake scraper – I always start with the cake scraper and my free hand on the opposite side of the turn table from where I’m standing. The goal is to bring your hands together in one motion so you don’t have a bunch of stop lines from the scraper. I also hold the cake scraper at about a 45 degree angle as it rotates the cake. Keeping the scraper close to the cake, rather than perpendicular to the cake, will also help your final coat of frosting get much smoother. You may need to watch this in my videos a few times, and it takes some practice, but once you get it, it’s a game changer!
- After you’re done with the sides of the cake, freeze the cake for another 20 to 30 minutes to set the frosting. Once chilled, you can cut the cake board off the top of the cake by running a sharp knife under the board to create a sharp edge. From there, just fill in the top with buttercream.
My Favorite Wilton Decorating Tools
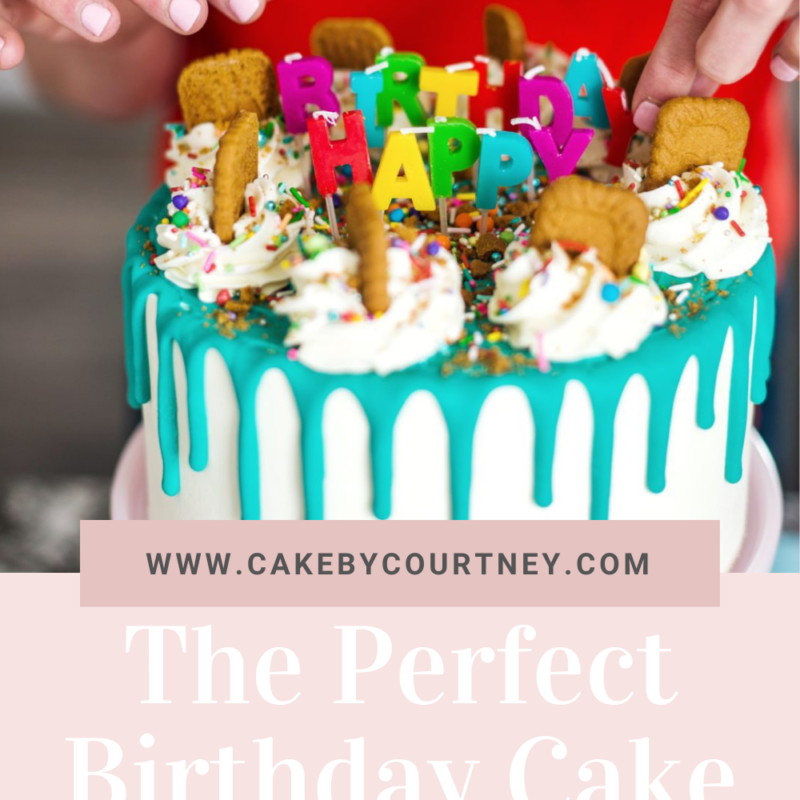
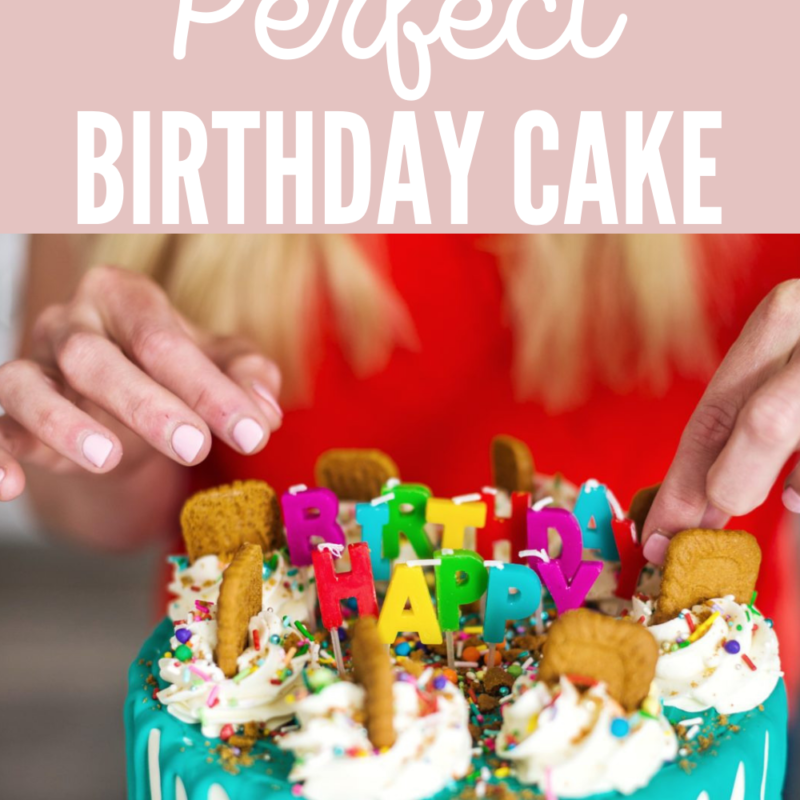
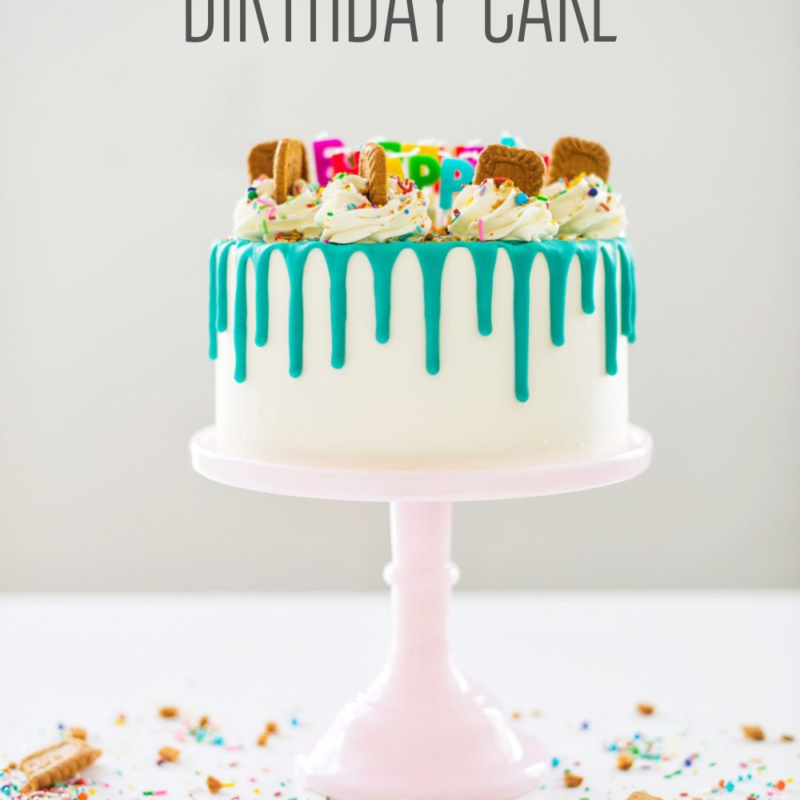
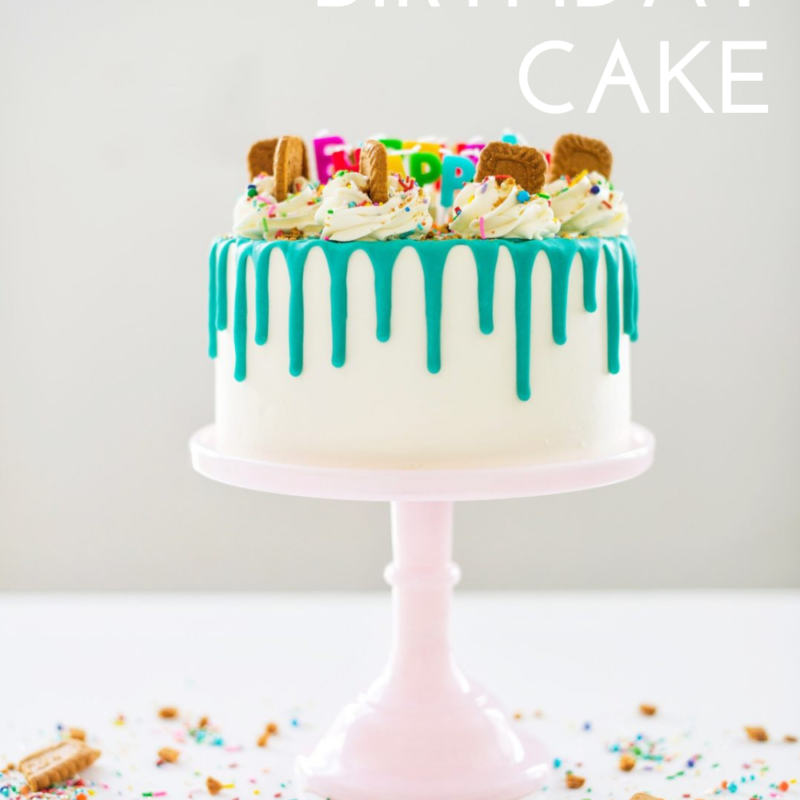
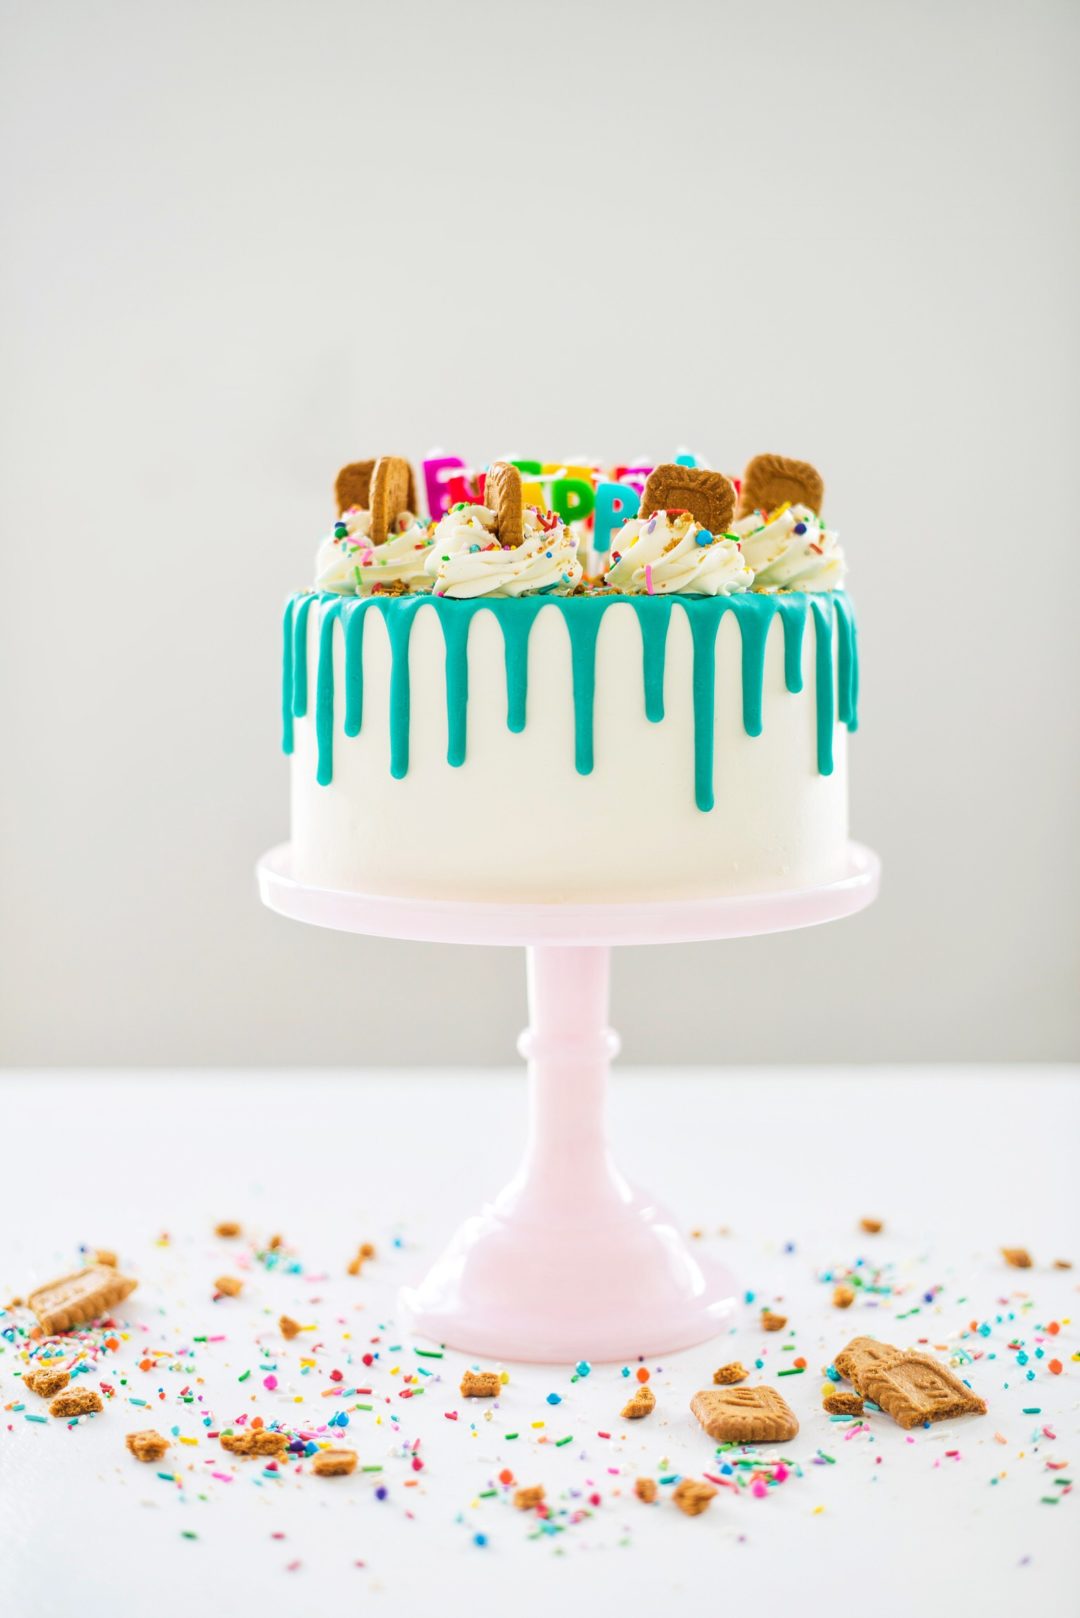
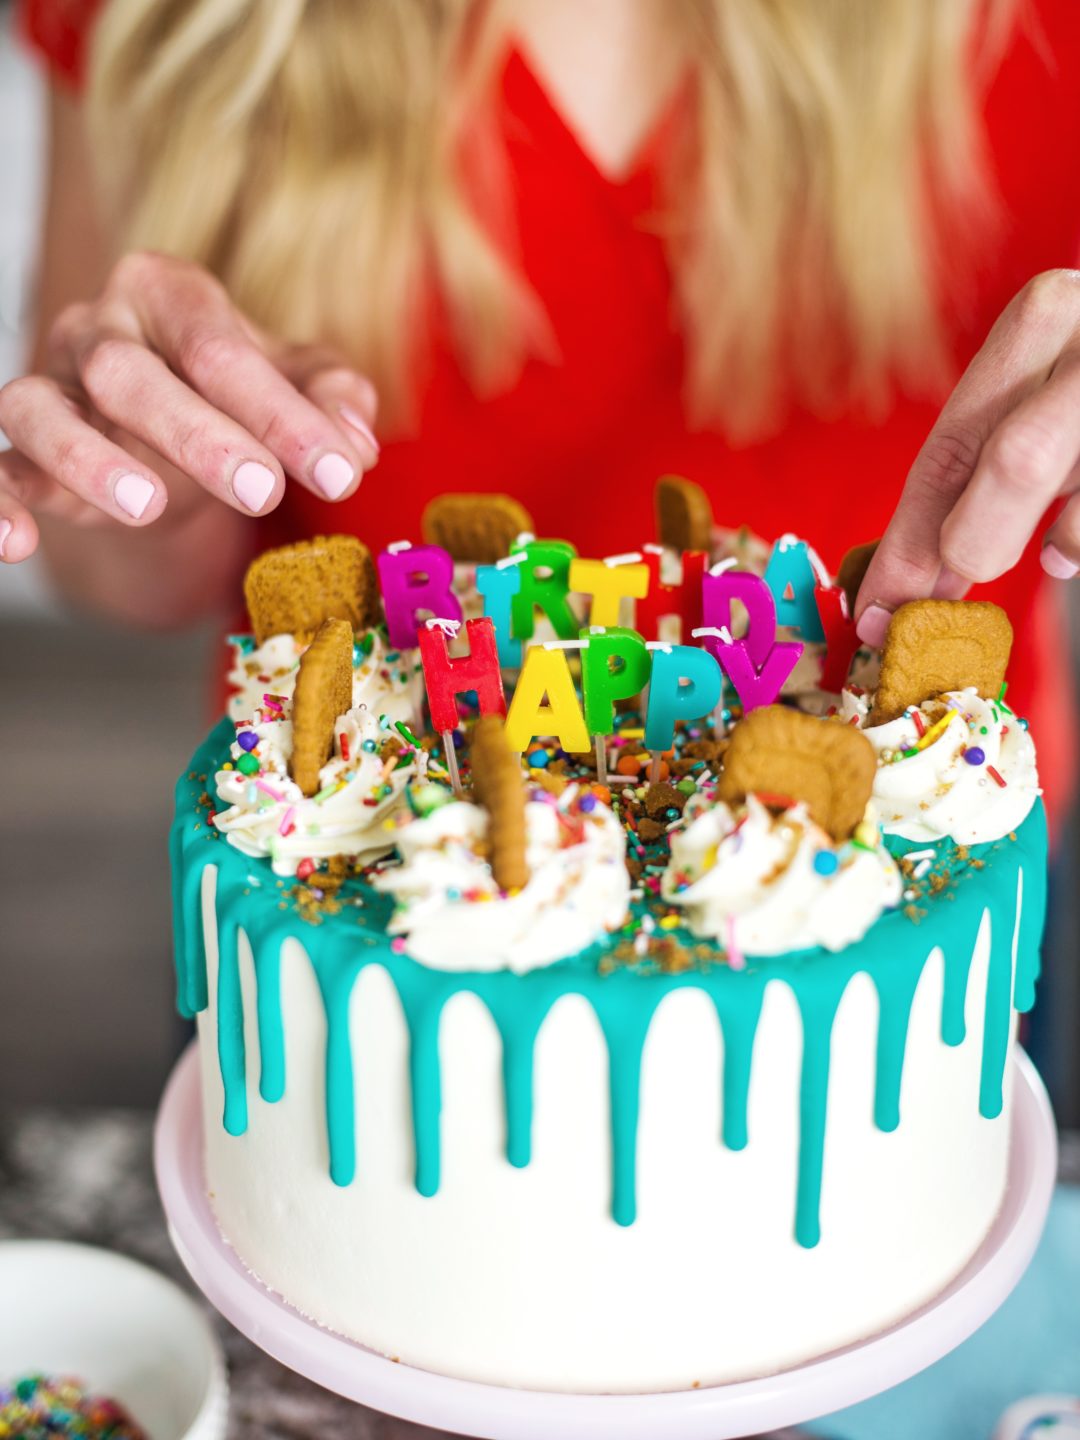
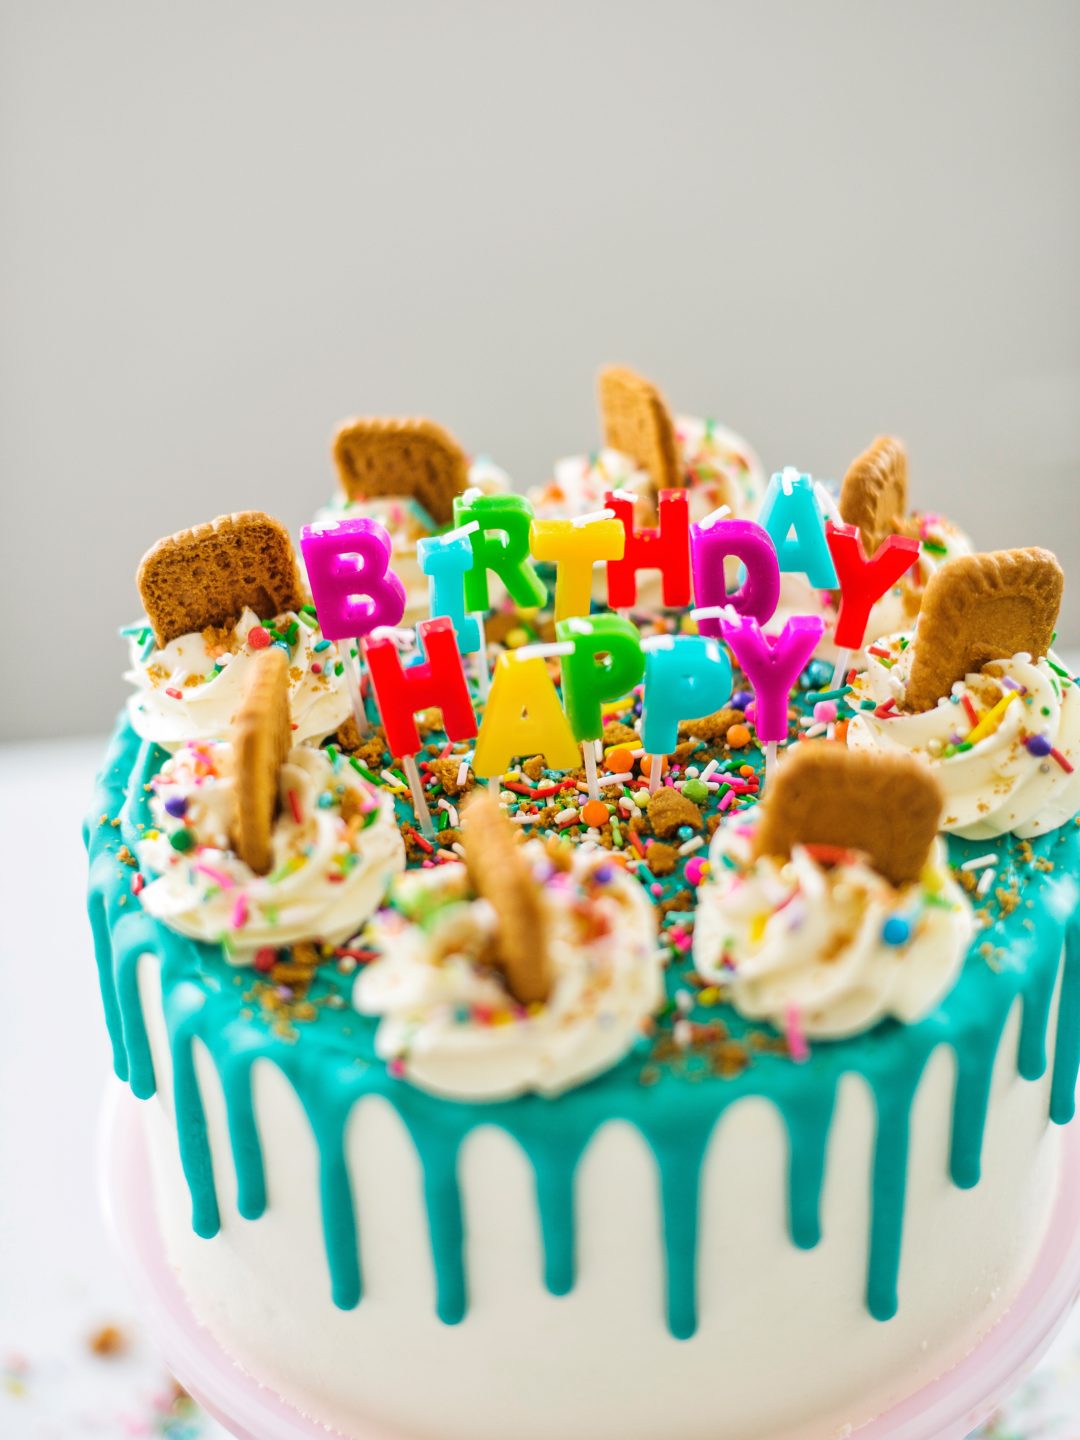
After you’ve added frosting to the top of the cake, it’s time to get to the fun – decorating! In my mind, the perfect birthday cake has a bright colorful drip, silky buttercream swirls, vibrant sprinkles, and of course, candles!
For the Drip
I love using Wilton’s Candy Melts because they come in so many fun colors. I often hear from readers that tinting a white chocolate drip gets a little tricky. With any drip, you always want to add some heavy cream to the chocolate or candy melts. Here’s a couple rules of thumb when it comes to cream and chocolate ratio:
- For semi sweet or dark chocolate, use one cup heavy whipping cream with one cup chocolate chips
- For white chocolate or any kind of candy melts, you only need ¼ cup cream with one cup of chips.
It’s also important to remember that the drip will thicken a little as it sits out and cools. If your drip starts to thicken, reheat it in the microwave for 10 seconds and add a couple teaspoons of cream.
For the Buttercream Swirls
When it comes to piping on my cakes, my favorite piping tip is the Wilton 1M tip. I use it on nearly all of my cakes. It’s just so cute! I also love using the Wilton disposable piping bags because it’s an easy cleanup. Simple as that!
A quick note about piping these swirls, try to keep your piping bag as straight as possible. If you slant the piping bag as you make the swirls, they’ll definitely come out slanted.
Finishing Touches
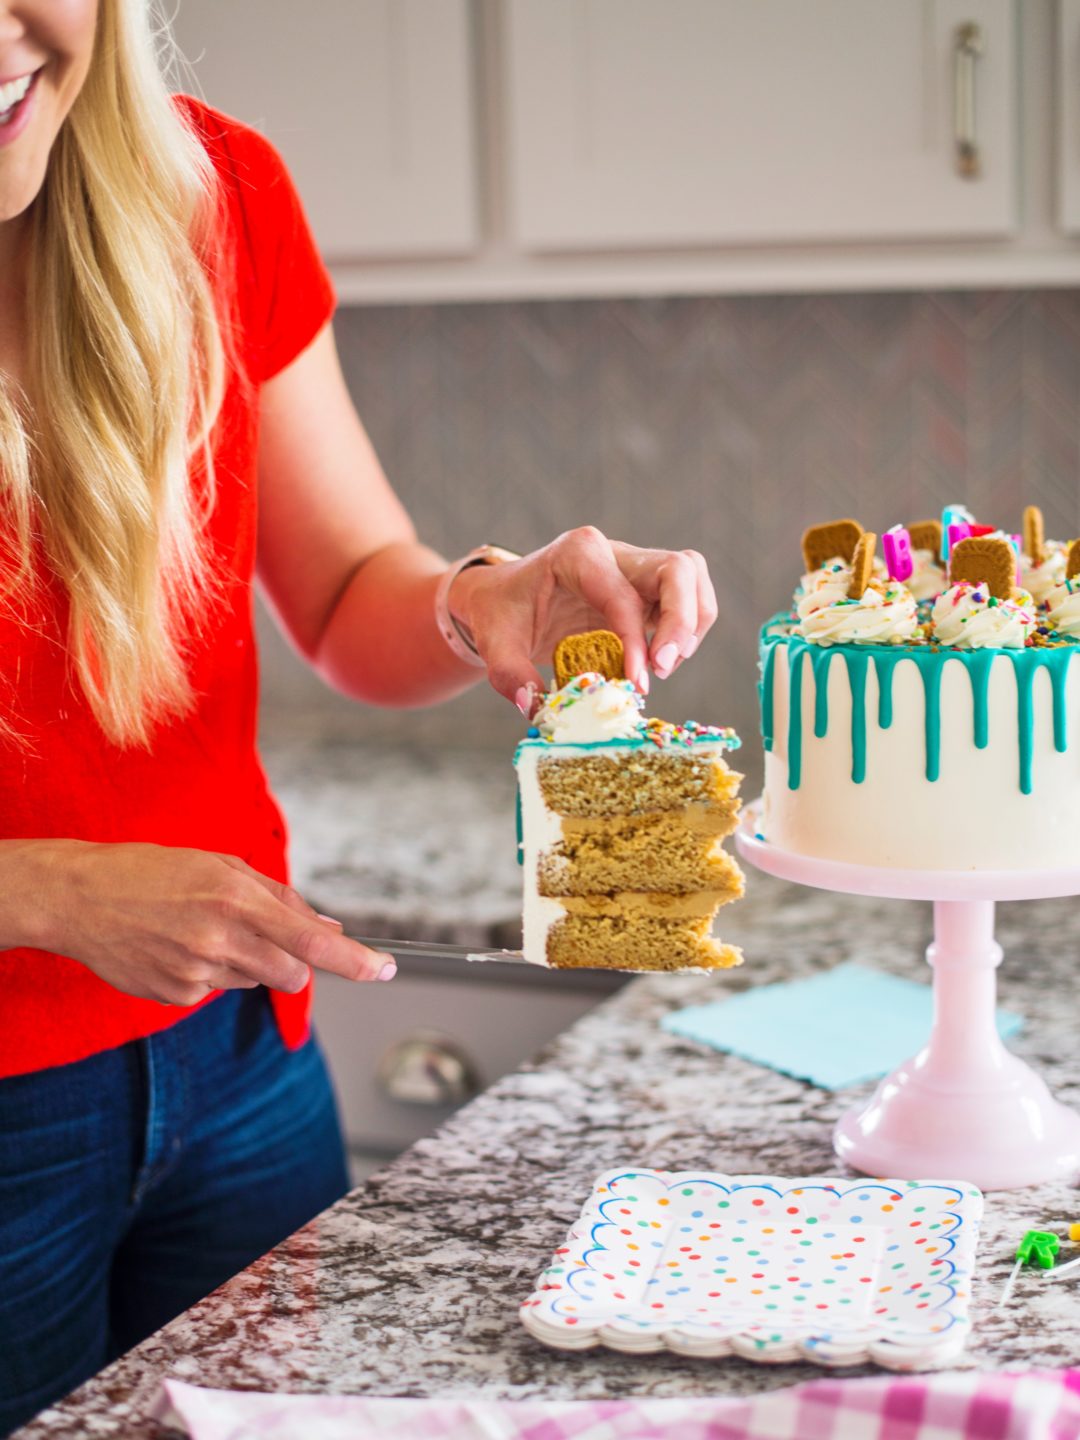
For a couple finishing touches, and to really make this cake feel worthy of a birthday celebration, I added these darling “Happy Birthday” candles and a handful of some Sweetapolita sprinkles. The Wilton candles actually inspired the color scheme of the cake. They also come in pink or blue, if you’re looking for a more monochromatic look.
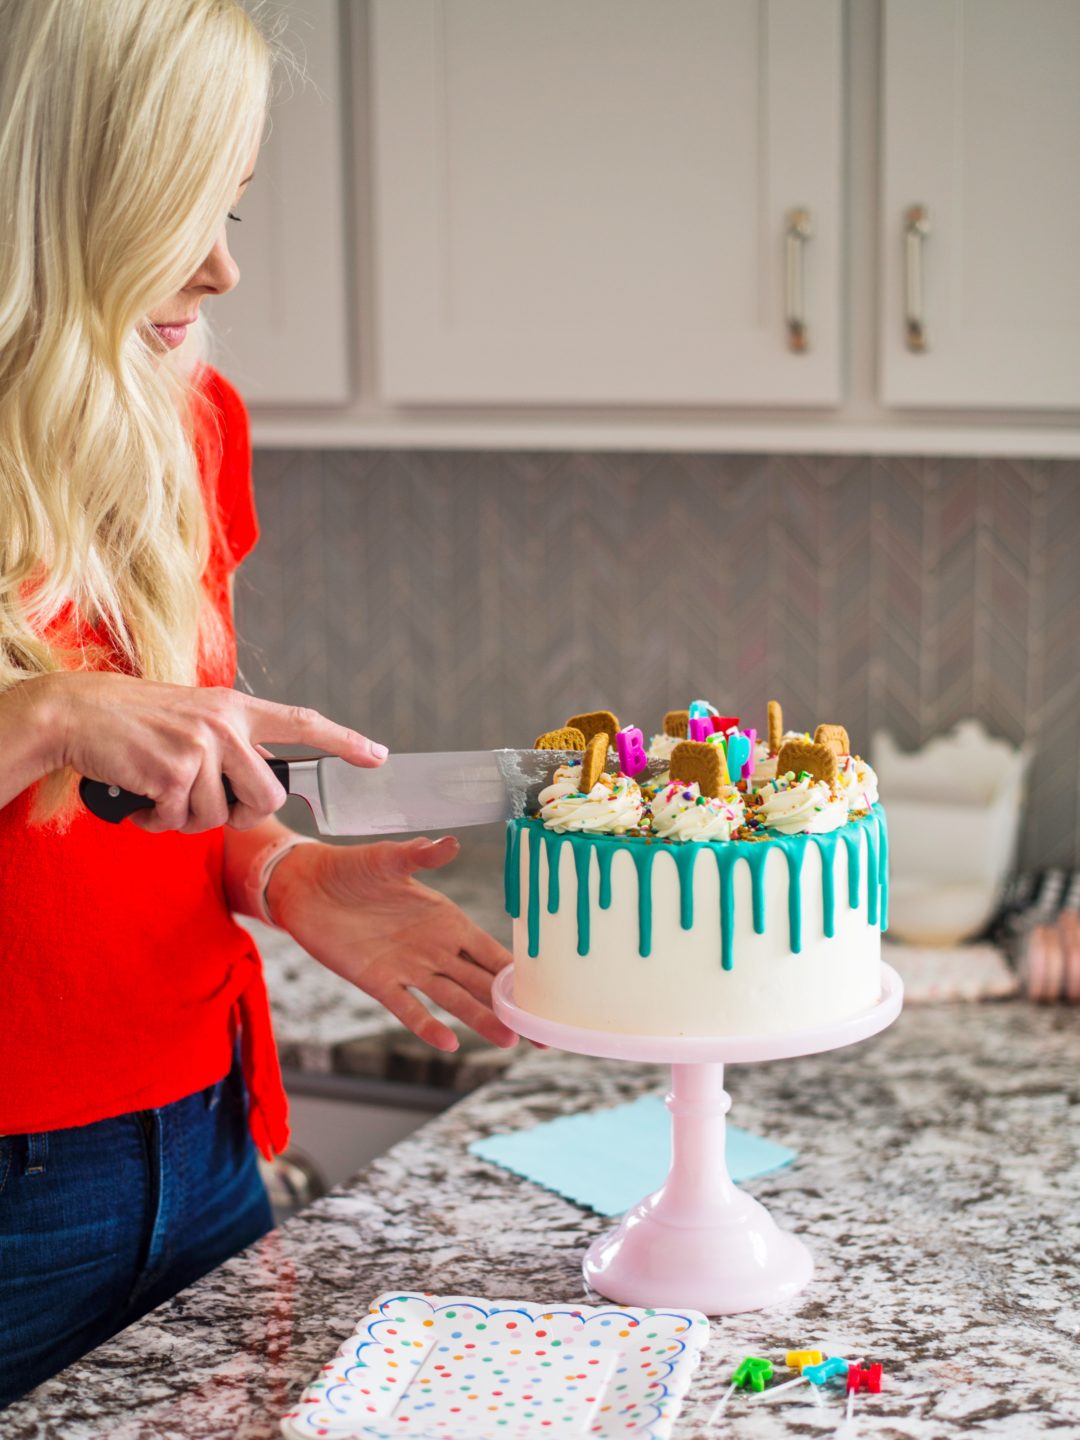
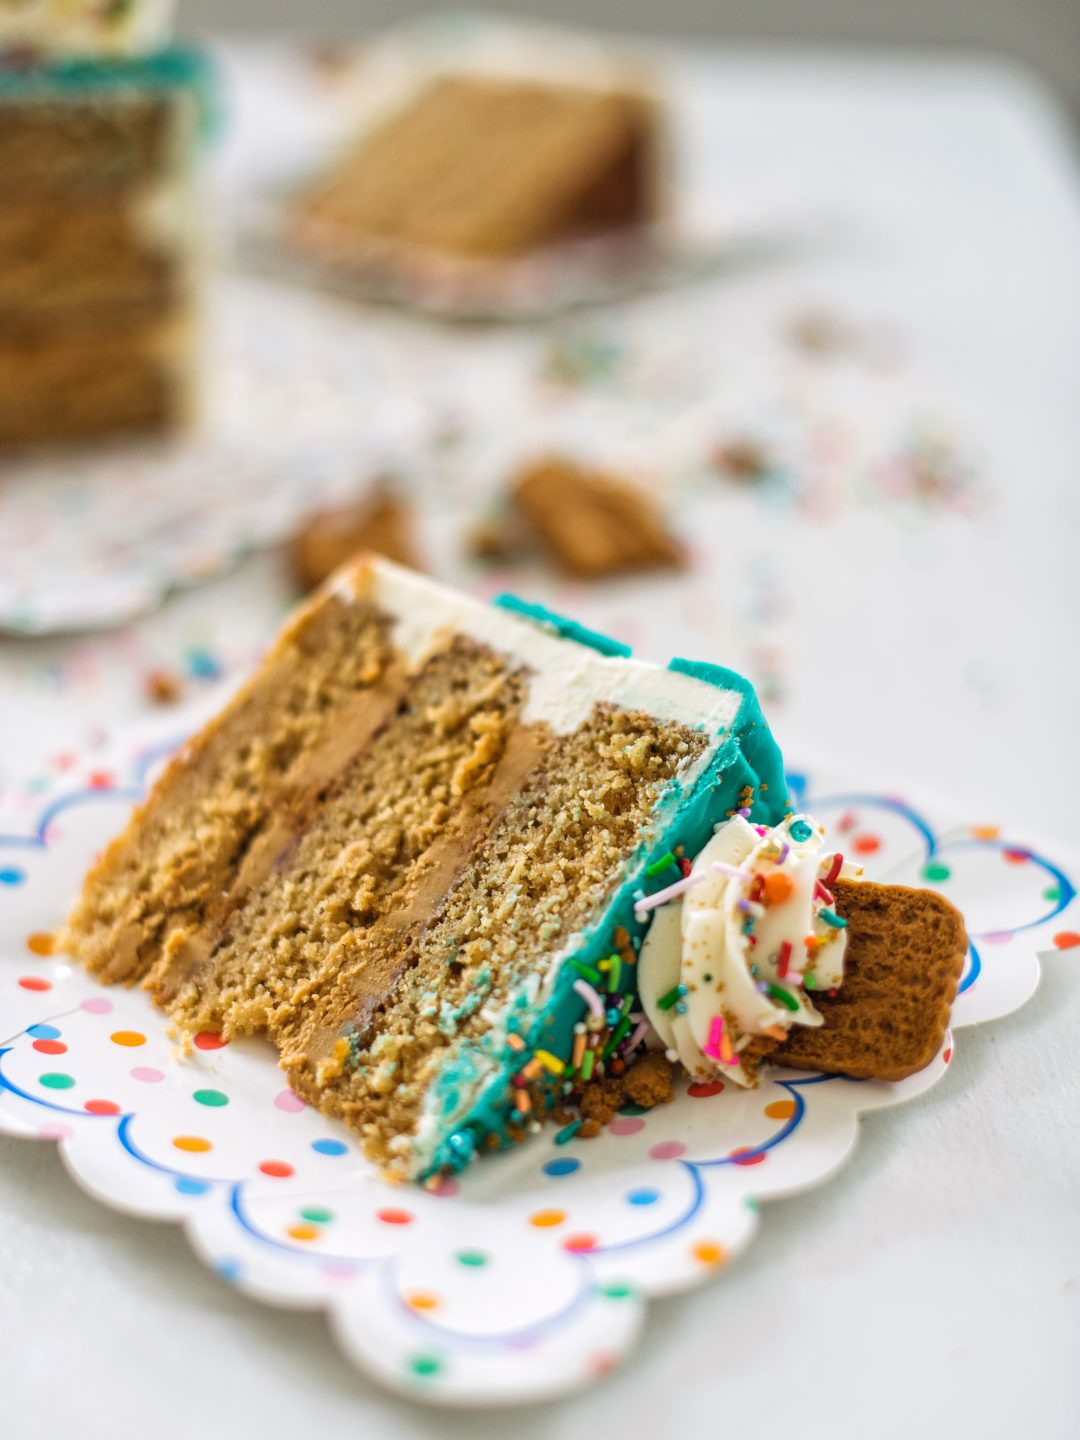
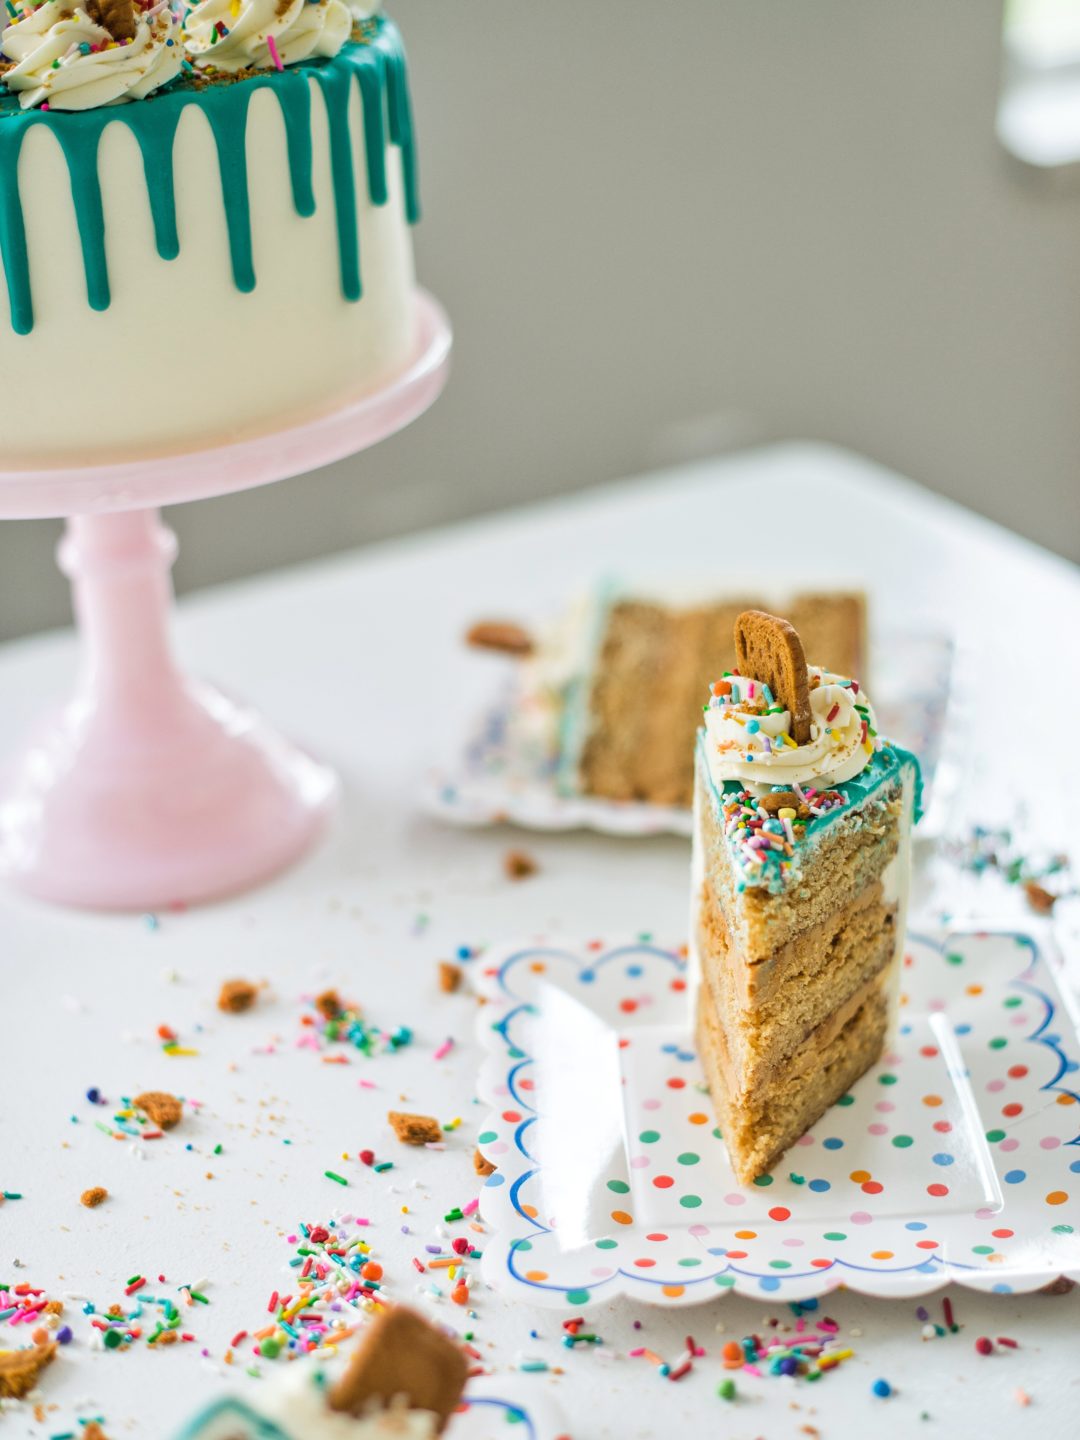
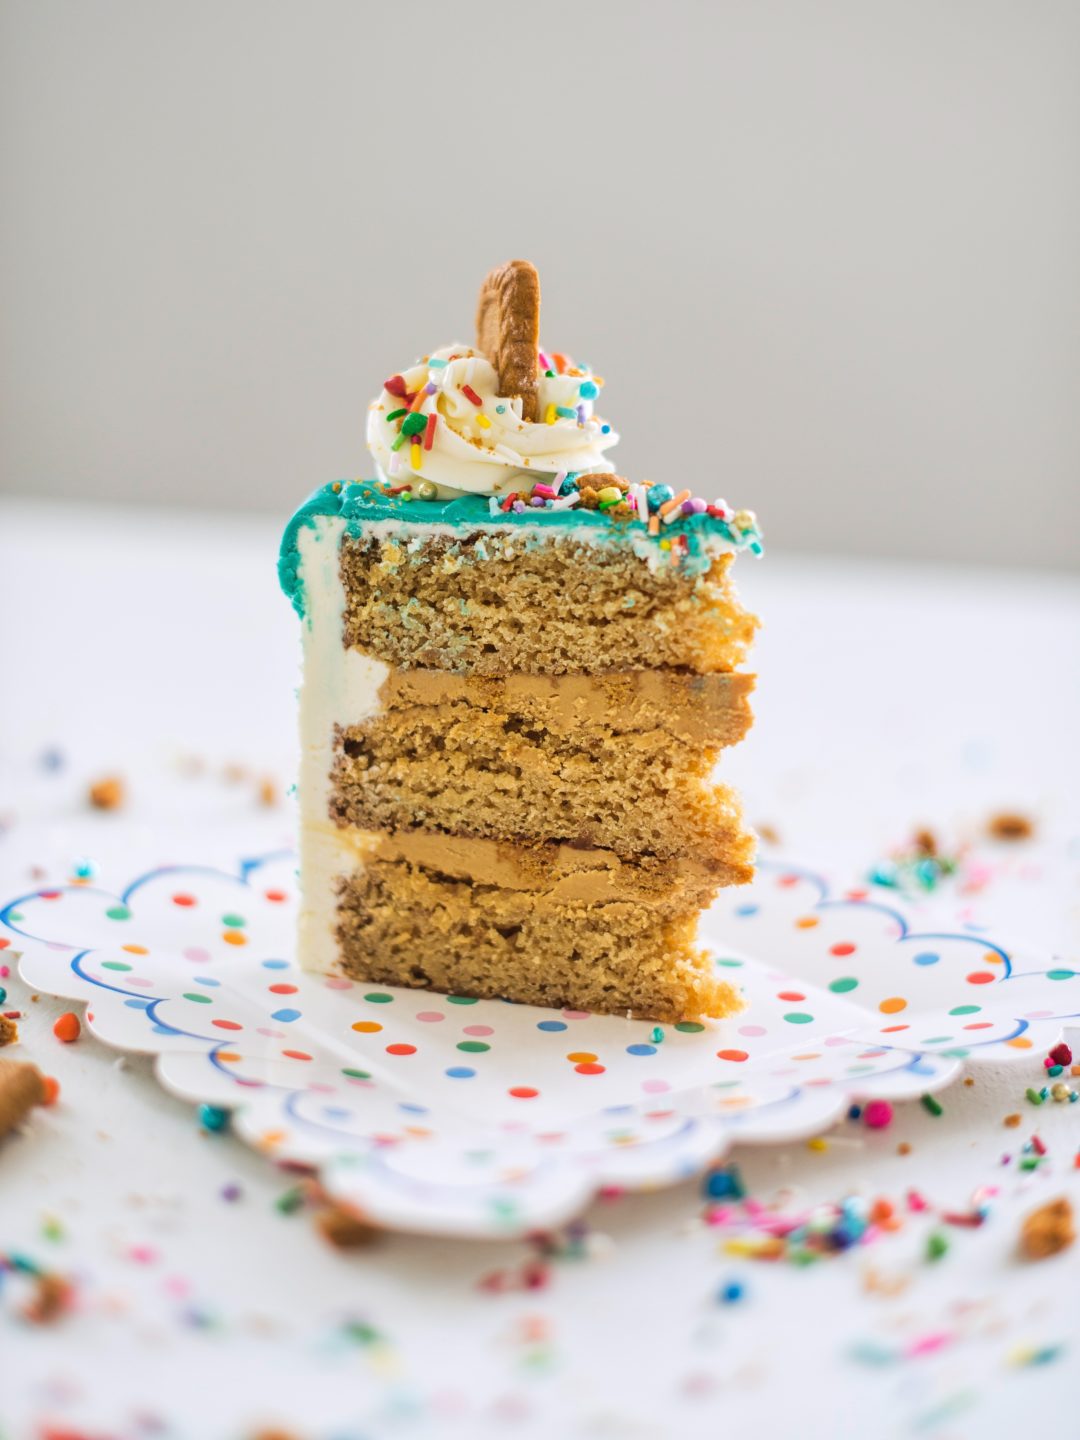
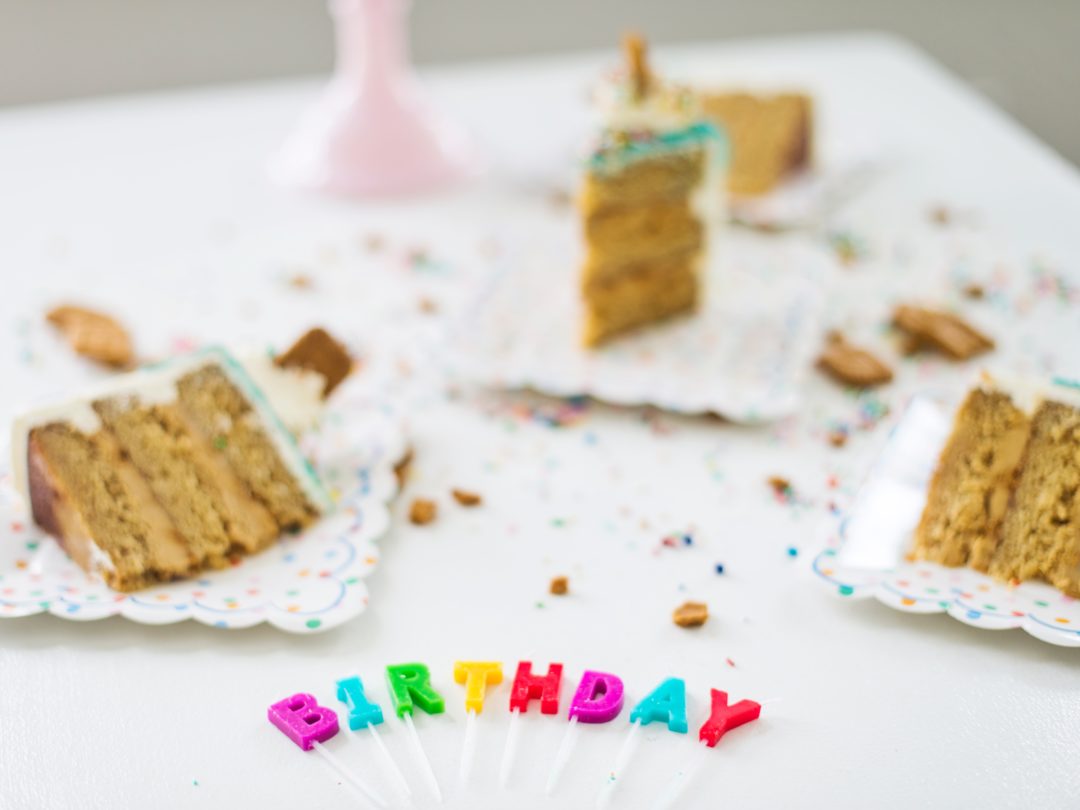
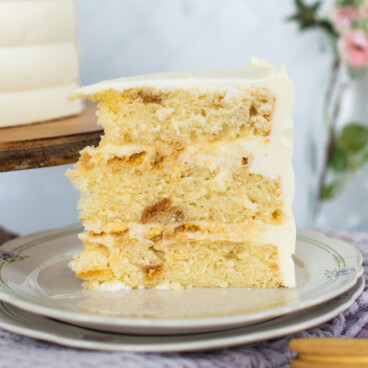
Cutting into any cake is by far my favorite part. Take a look at these gorgeous Biscoff Cake layers with Biscoff cookie butter filling and white chocolate frosting.
Make sure to check out the full recipe HERE.
A special thanks to Wilton for providing the candy melts, birthday candles, piping bags and piping tip. As always, all the opinions expressed on my site are from yours truly 🙂
Enjoy!
Pictures by @trinaharrisphotography





I loving baking & am known for my desserts … but have had to go GF many years ago.
GF products have come a long way. For example, I am a committed King Athur products…there measure for measure flour is the BEST, hands down.
I not aware of what to do if a recipe calls for cake flour… as yours… SUGGESTIONS?
Also, will you be selling GF cake kits?
I use GF flour in place of cake flour one for one as well. I’ll be selling GF cake boxes with Bob’s Red Mill One for One Baking GF flour. That and Cup4Cup have been my absolute favorites. I tried KA and many many others, but didn’t love them as much personally.
Loving your site, lots of great info! Do have a question though, currently making icing and there were still chunks of butter after lots of mixing on med-high speeed. Any tips for this?
What kind of attachment are you using? The whisk usually doesn’t blend well enough. I use a paddle attachment.
I love your perfect cakes
Hi-Where is your beautiful pink cake stand from? I’d love to purchase.
I got it at Gygi.com
How much batter would you suggest for a 6in cake with a dozen cupcakes?
Im looking to do a 6in “smash cake” for my daughter and then have cupcakes as well.
Would it be too small of a cake if i just did a 2-tier 6in cake, and then used the remaining batter for cupcakes?
Sorry, I’m a cake newbie!!
I think a 2 layer 6 inch cake would be perfect for a smash cake. The rest of the batter can be made into the cupcakes!
Do you have a tutorial on the drip? I can’t seem to get the right consistency to have a pretty drip…
Go check out my instagram! I have a three part IGTV series on how to master it!
I love your perfect work
Which Wilton tip did you use for the swirl decoration on the top?
this is the wilton 1 m tip.