Last updated on
5 Easy Halloween Cakes
With Halloween just around the corner, I’ve created 5 new fun and easy Halloween cakes for all types of bakers.
The Halloween Cake Roundup
The Bat Cake
First up on my list of easy Halloween cakes is my Bat Cake. This cake was the first one I sketched out and planned to make for the season. It feels very much like “my style” of cakes and my style in general.
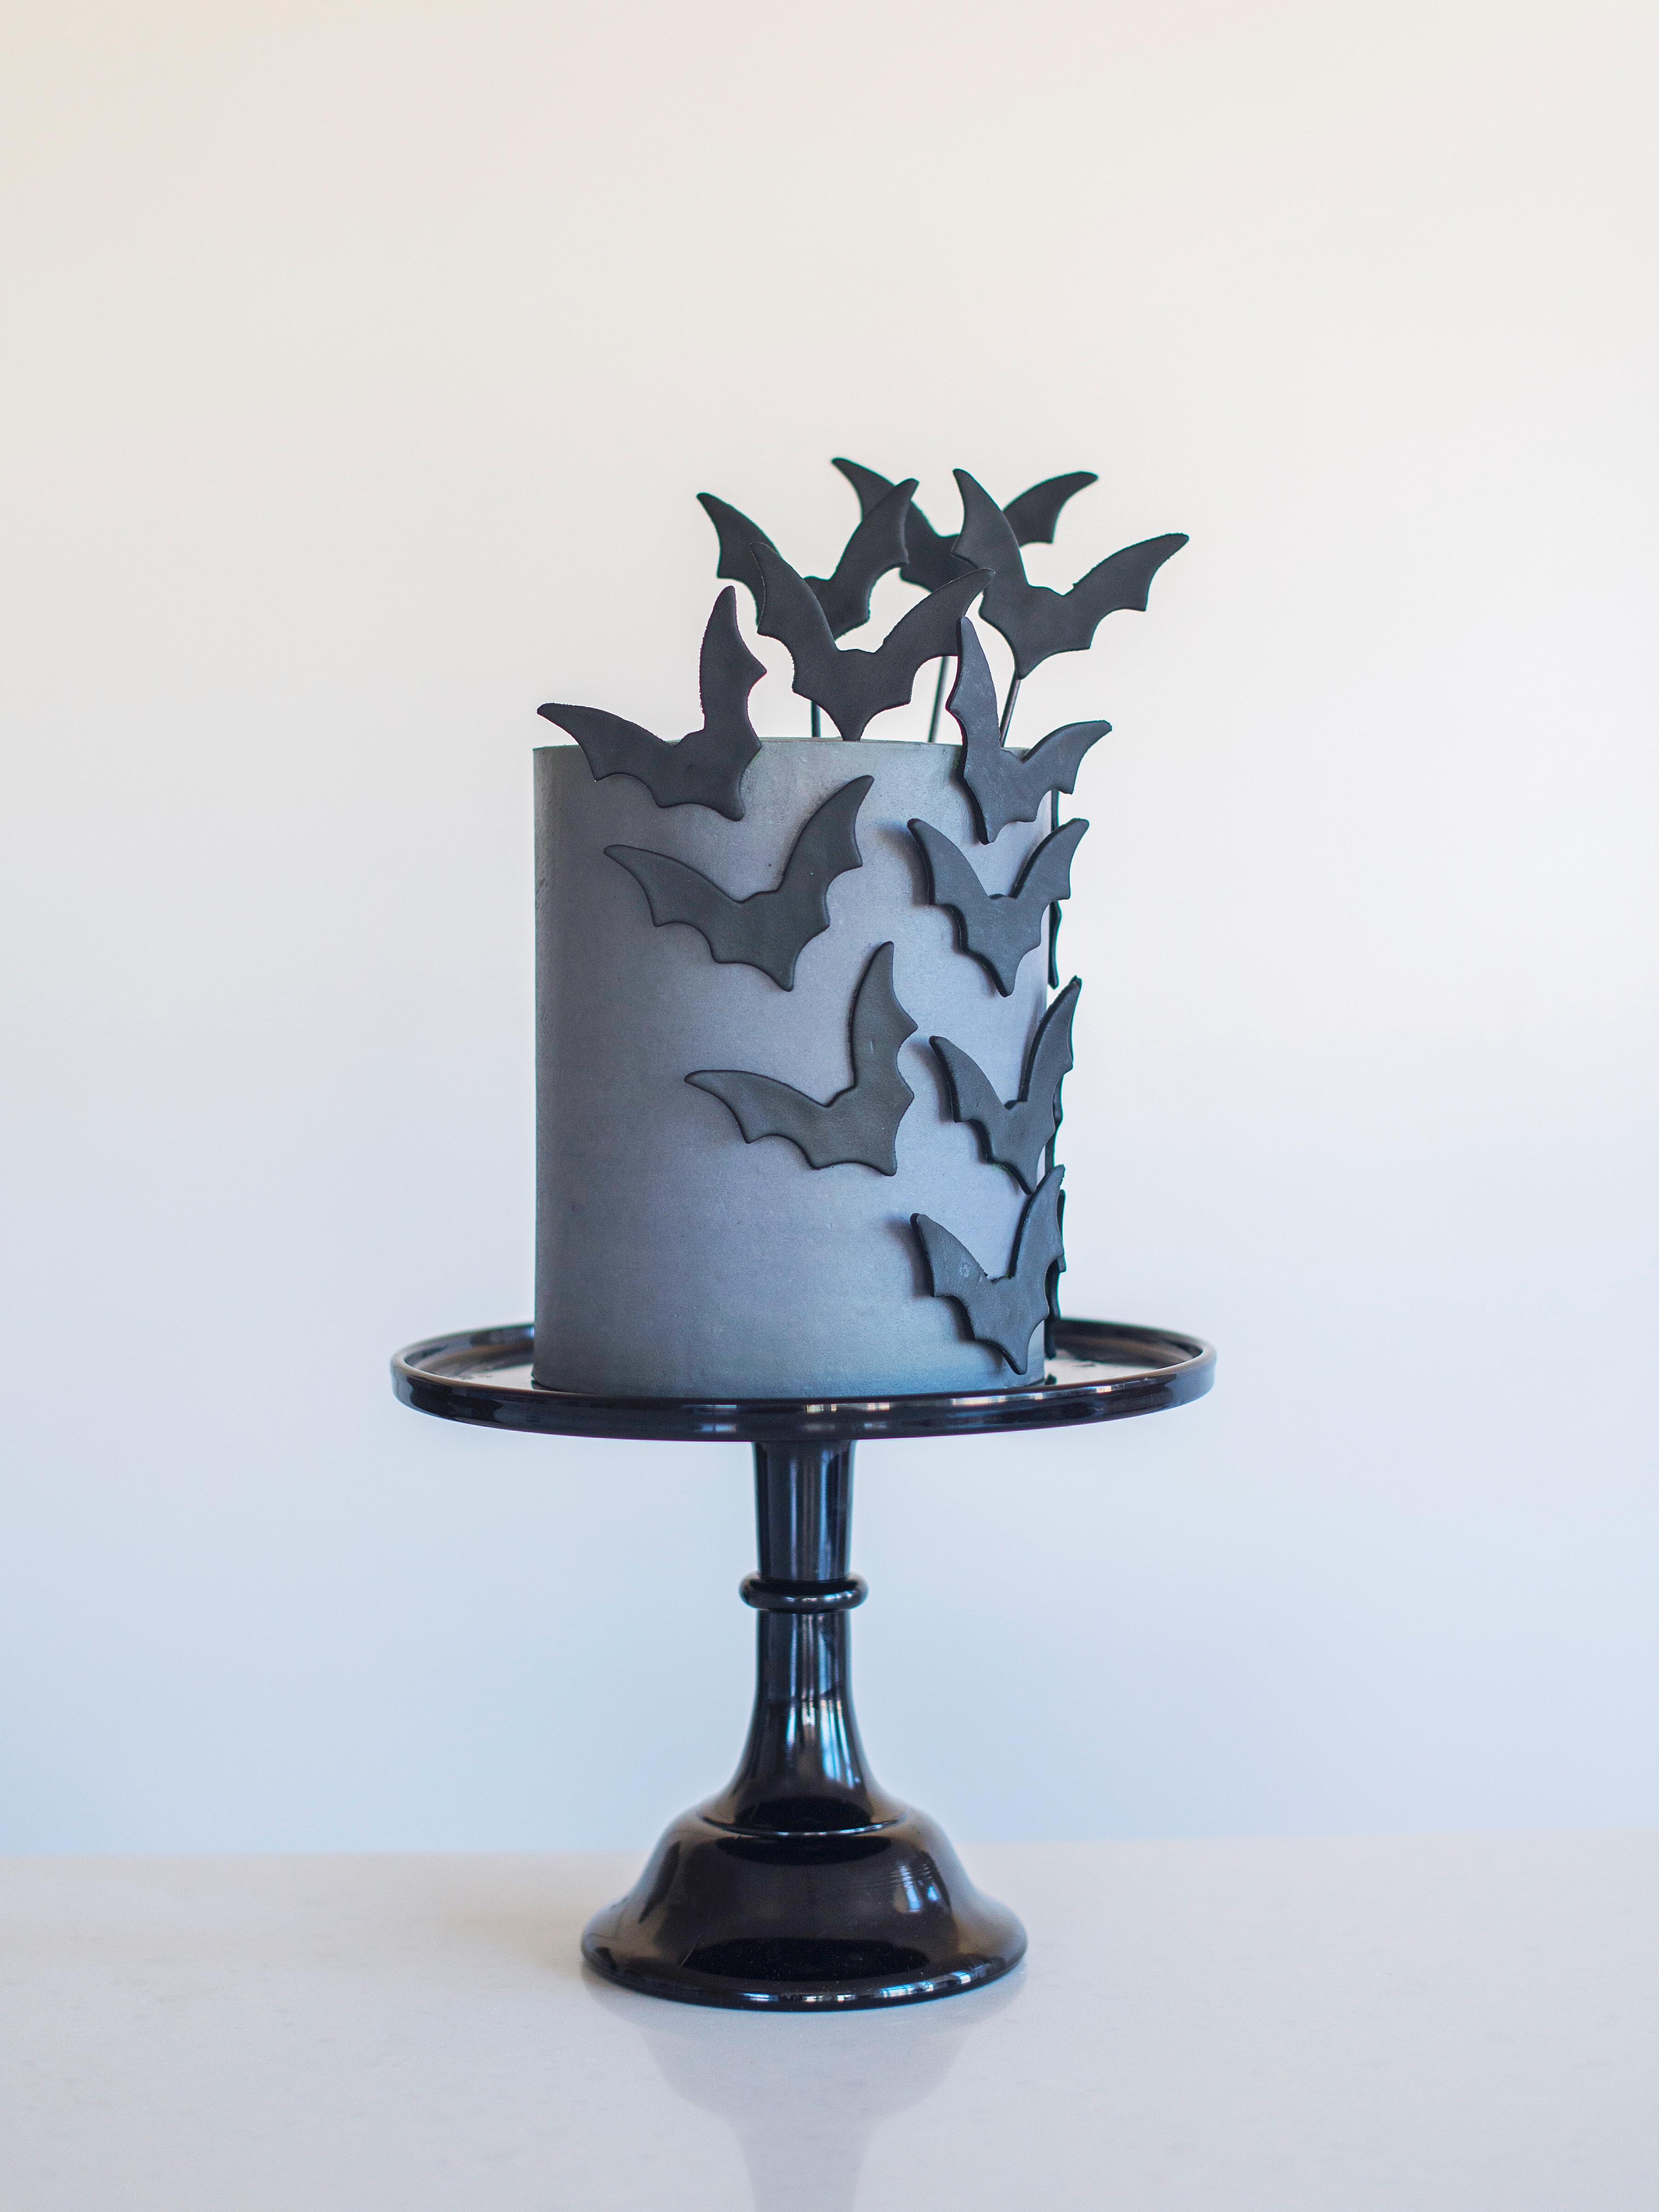
For this cake, you’ll just need a few things:
- One batch vanilla buttercream
- Black food gel
- Black fondant
- Bat cookie cutter
- Candy sticks
How to make your bat cake:
- The day before you want to make your cake, roll out your black fondant to 1/4″ thick. Use the bat cookie cutter to create the bats. Lay them on parchment paper overnight to dry out a little.
- On the day you plan to assemble your cake, make the vanilla buttercream according to instructions and then add black food coloring to the buttercream. Just one or two drops of black is all you need to create grey.
- Frost the sides and top of your cake.
- Freeze your cake for about 15 minutes.
- Use buttercream to “glue” your bats onto the sides of your cake.
- Place a few of the bats on candy sticks (I used a sharpie to color mine black) and use hot glue to hold them into place on the stick.
Bloody Brains Cake
Heads up (no pun intended), this cake is going to gross you out! Or at least it did to my 6-year-old! Man, oh man, did Avery hate this cake! But I think in a good way – if that’s possible 🙂
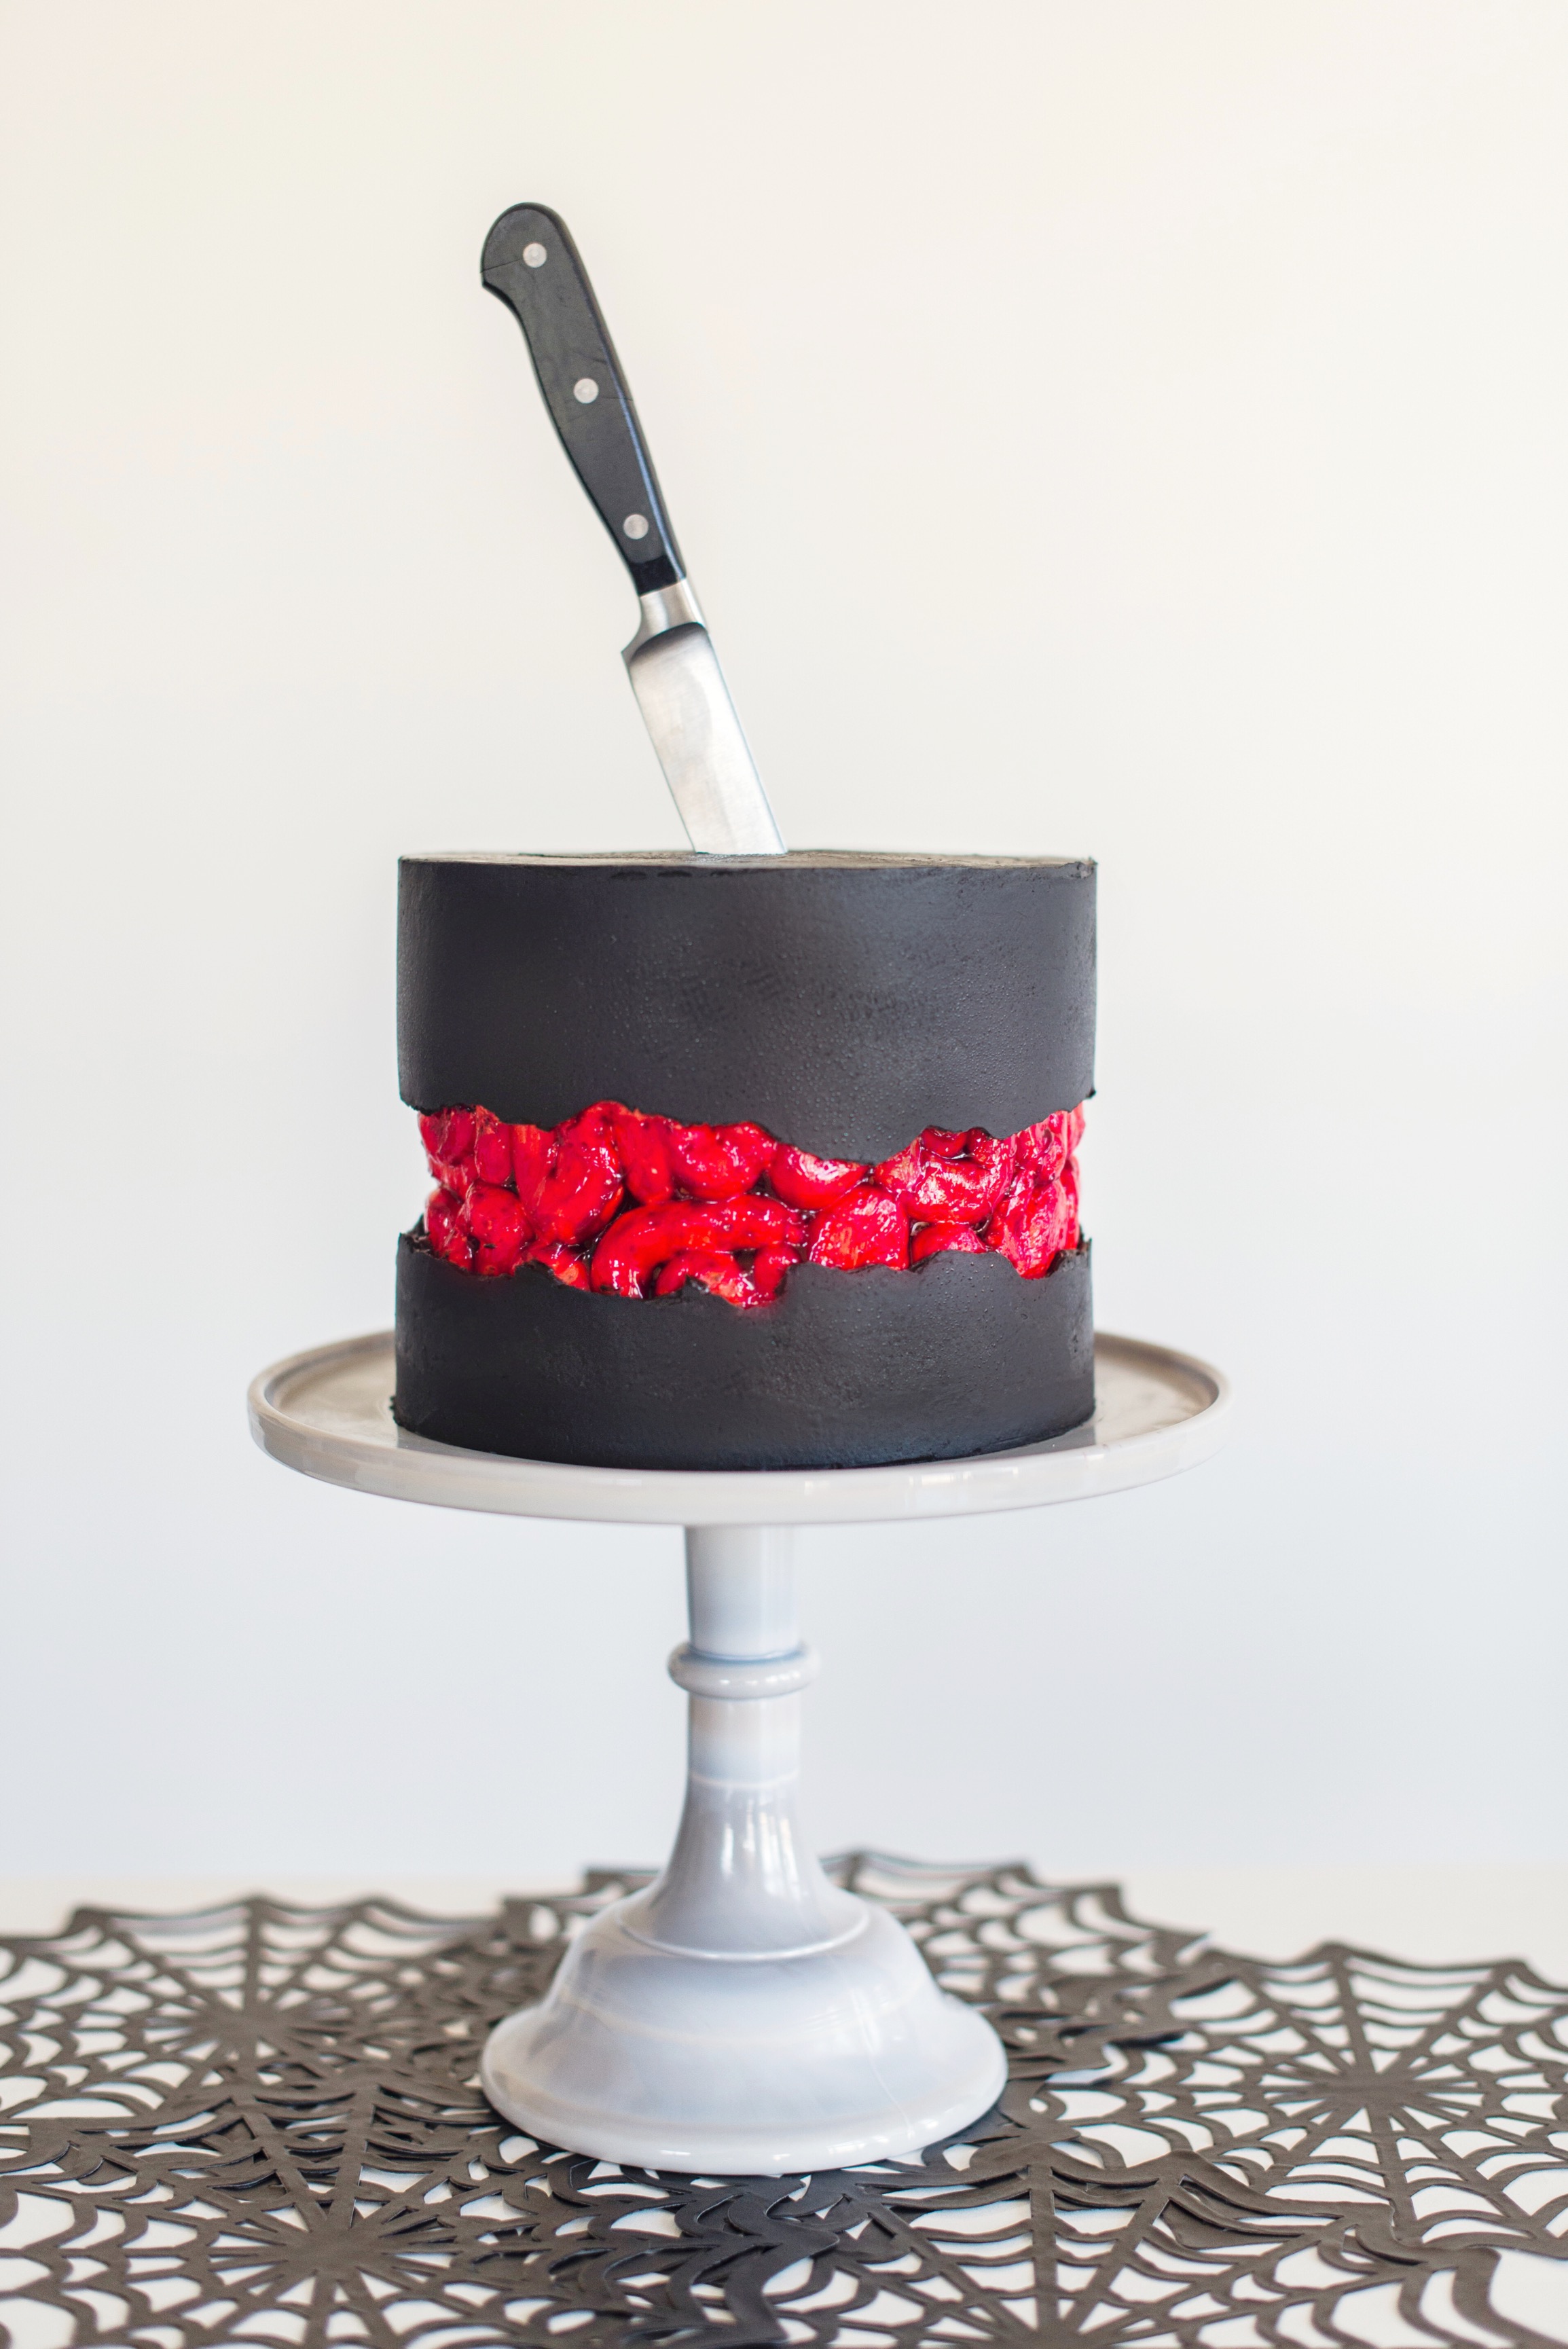
So what are you thinking? Love it or hate it? I totally love it! I’m not usually one for gory things, but this one was really fun to make. Here’s what you need:
- Red food coloring (I like the gel kind)
- Red food gel (the cheap kind you get at the grocery store)
- Black frosting recipe
- Vanilla frosting recipe
- 2 Piping bags with round tips
- Paint brush
This one is a lot easier than it looks. Here are the step-by-step instructions, along with a quick video to walk you through the process:
- Crumb coat your cake and freeze for 15 minutes.
- Using your piping bag, swirl frosting on the center of your cake to create a brain shape.
- Freeze the cake for another 15 minutes.
- Using another piping bag with the black buttercream in it, piping frosting at the top and bottom of the cake, overlapping the piped brain area just a bit.
- Use a cake scraper to smooth the black buttercream. Don’t worry about rigid edges. That’s what you want!
- Once the black buttercream is smooth, freeze the cake again for about 15 minutes.
- Finish the cake by combining the food gel with the food coloring and painting it on the white buttercream brain area.
Monster Cake
Looking for something a little less scary? My next cake is perfect for you! This Monster cake is just as fun to make as it is easy to make! In fact, I just taught Kelly Clarkson and country music artists, Little Big Town how to make it! (Stay tuned for the air date for this episode of the Kelly Clarkson Show).

What you’ll need for this cake:
- Food coloring of your choice
- White fondant
- Candy eyes
- Toothpicks
- Wilton #234 grass piping tip
- Piping bag
This cake is a great one to do with your kids. They’ll love helping you create a goofy, monster face. Here’s what to do:
- After you’ve crumbed coated and frozen your cake for 15 minutes, load your piping bag with the #234 tip and frosting.
- Starting at the bottom of your cake, pipe the frosting into the cake. This is best done by placing the piping bag nearly on the cake, applying pressure to the bag to get frosting onto the cake and then pulling the piping bag away. You’ll let the “monster hair” fall down the side of the cake.
- Continue doing this, making sure to work your way up the cake so the hair overlaps the bottom layers.
- After the hair is complete, add eyes, and fondant teeth. For the fondant teeth, you’ll just roll the fondant to about 1/4″ thick and use a paring knife to cut triangles.
- To complete this monster cake, roll fondant in your hands to create the horns and stick them onto the cake with toothpicks.
Striped Witch Cake
My Striped Witch Cake is another favorite of mine this year. I love the modern simplicity. And you can have a lot of fun with this one by changing up the colors in the stripes or even adding a face with a pointy nose to the front!
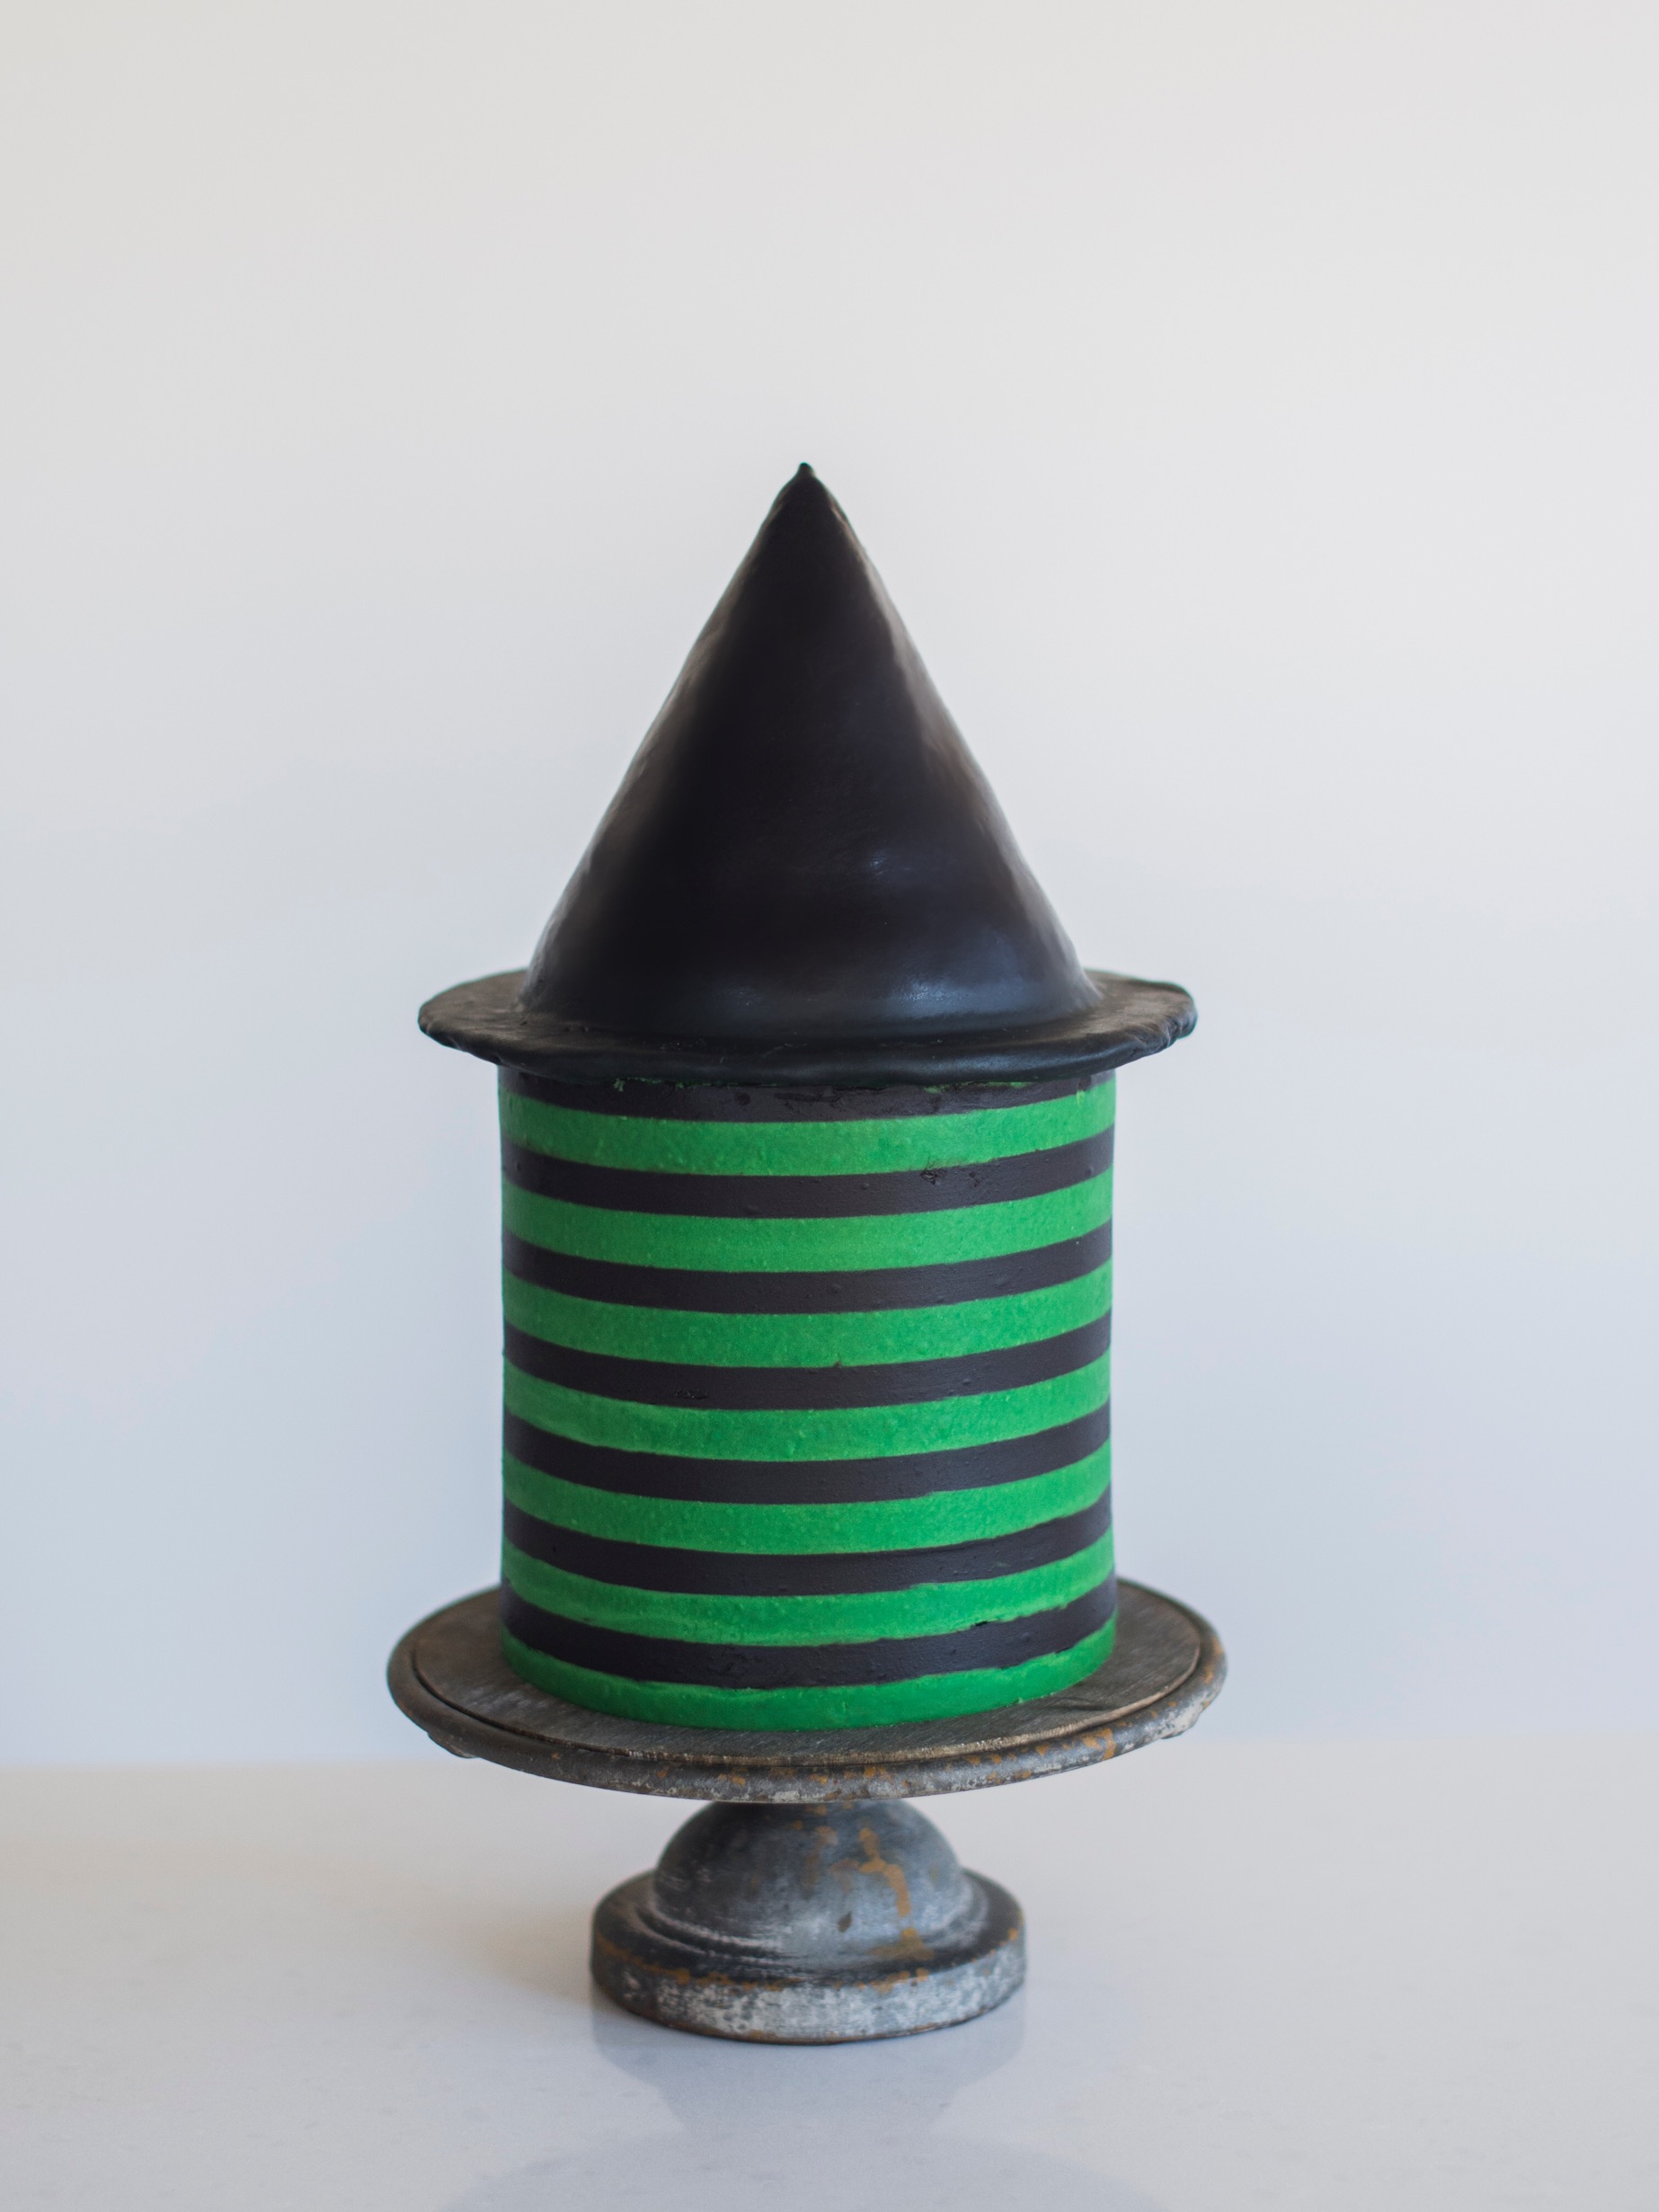
Here’s what you need for this cake:
- Wide set icing comb
- Black frosting
- Half batch of vanilla frosting
- Green food gel
- Black fondant
- Rice Krispie Treats
My Striped Witch Cake is a little more advanced but with these helpful steps, you’ll have no problem creating this festive Halloween cake:
- After your cake is crumb coated and frozen for 15 minutes, apply a thick layer of black buttercream around the sides and top of your cake. Use a straight icing spatula to smooth and even the sides of the cake.
- Using the icing comb, create stripes on the side of your cake.
- Freeze the cake for 20 minutes.
- Using a piping bag, pipe the green frosting into the open stripes. Use your straight icing spatula to smooth out the green frosting. You’ll scrape several times so that you get the green frosting off the black frosting
- To make the witch hat, use Rice Krispie Treats to mold a witch hat. Freeze the shape for about 30 minutes and then cover in black fondant.
Pumpkin Cake
One more simple and festive Halloween cake to finish this year’s Halloween cake round up!

For this cake, I simply used my favorite icing tip and created a pumpkin shape using the frosting. I first “sketched” the face with a toothpick and then gently piped within my lines.
More Halloween Cake Ideas
Need more Halloween cake ideas? Don’t worry, I’ve got you covered! Last year I created three cakes in a really fun color-coordinated collection. You can check them all out HERE.


Your monster cakes are adorable! I just watched your segment on Kelly Clarkson. Would you please post your red velvet cake and black icing recipes? Thank you.
You can search for my red velvet cake! It’s on the site with a chocolate sour cream frosting. If you search black frosting you will also find that recipe! Enjoy!