Published on
How to Perfect Your Chocolate Drip Technique
How to Perfect Your Chocolate Drip Technique
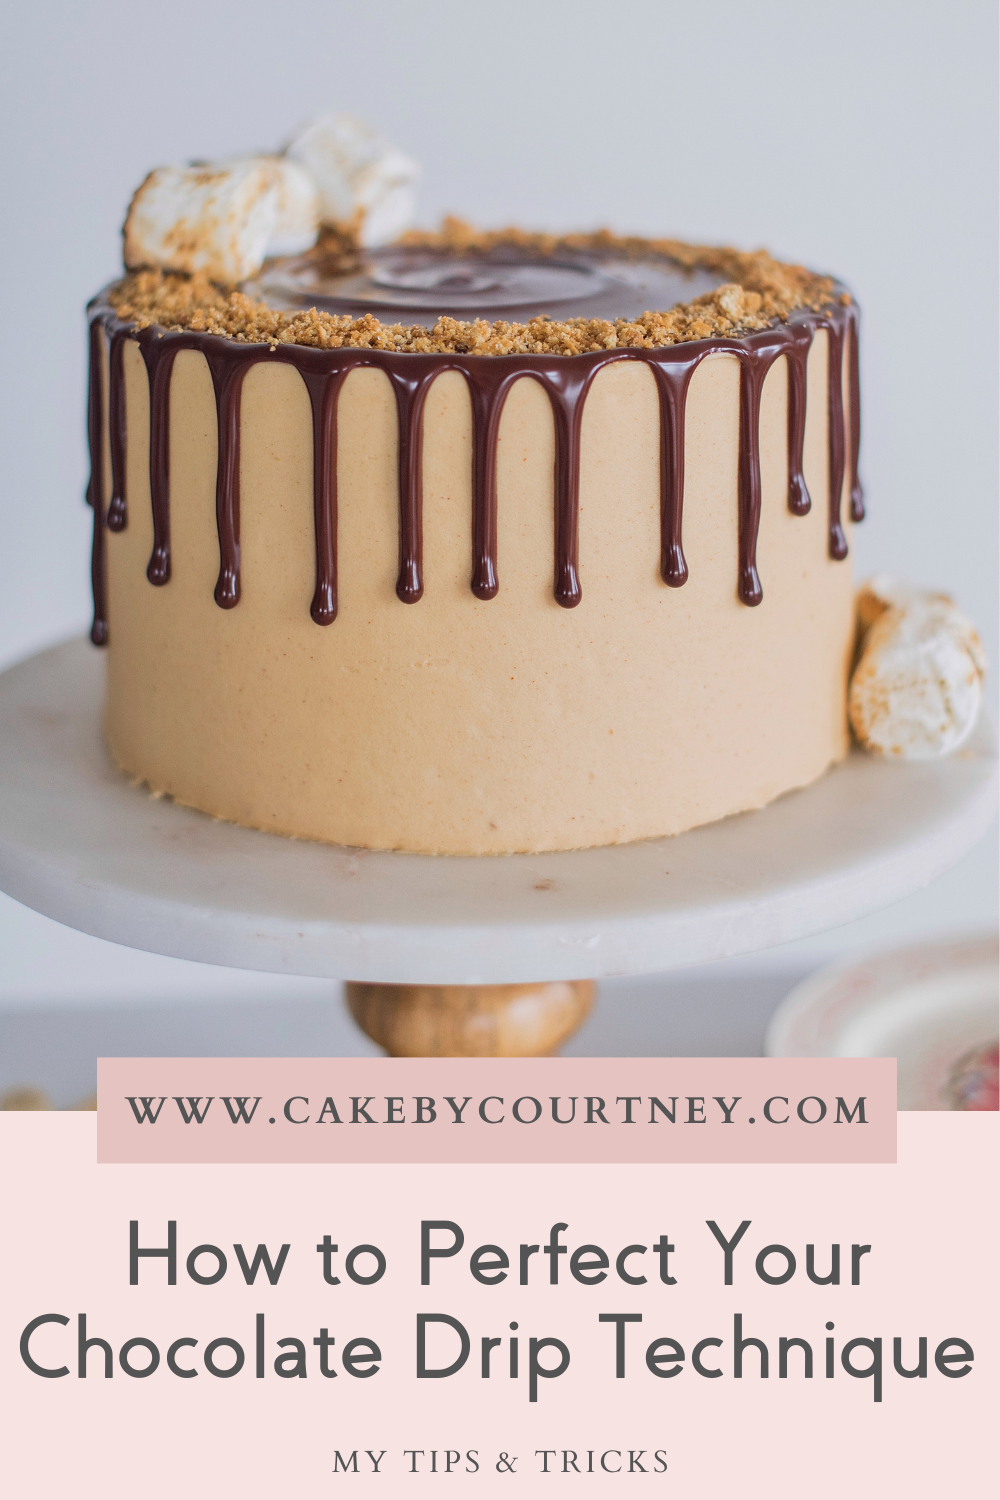
Are you ready to take on the chocolate drip for your cake? I know it may seem a little nerve-racking when trying this technique on your cake, but it’s not as hard as it looks! Plus, it gets a lot easier with practice. It really comes down to these 3 tips showing how to perfect your chocolate drip technique. These tips will help you nail your chocolate drip every single time.
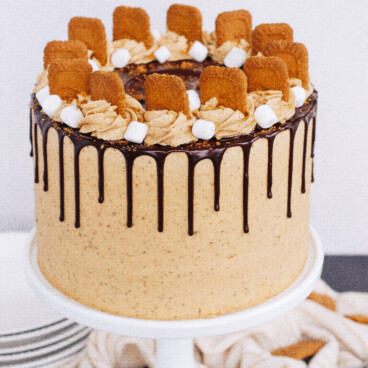
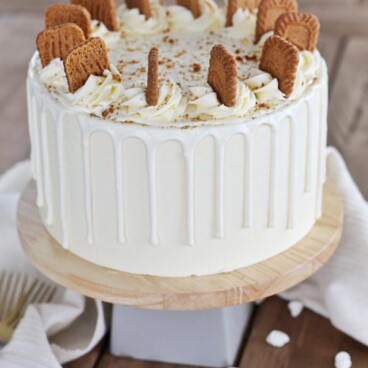
I’ve used the chocolate drip technique on many of my cakes. I love the look that it gives a cake and of course, the chocolate ganache tastes so good, so it’s a nice element to add all throughout a cake! I even did a white chocolate ganache for my Biscoff Cake, which you can learn more about HERE.
Alright, let’s get started with my 3 best tips for perfecting your chocolate drip technique! I really hope these tips help you get what you’re expecting. Again, I know it’s tricky to get the angle and everything just right when you’re first starting out, but the more you practice the better your cakes will be!
How to Perfect Your Chocolate Drip Technique
Chocolate Drip Tip #1: Make sure your chocolate ganache is a perfect consistency.
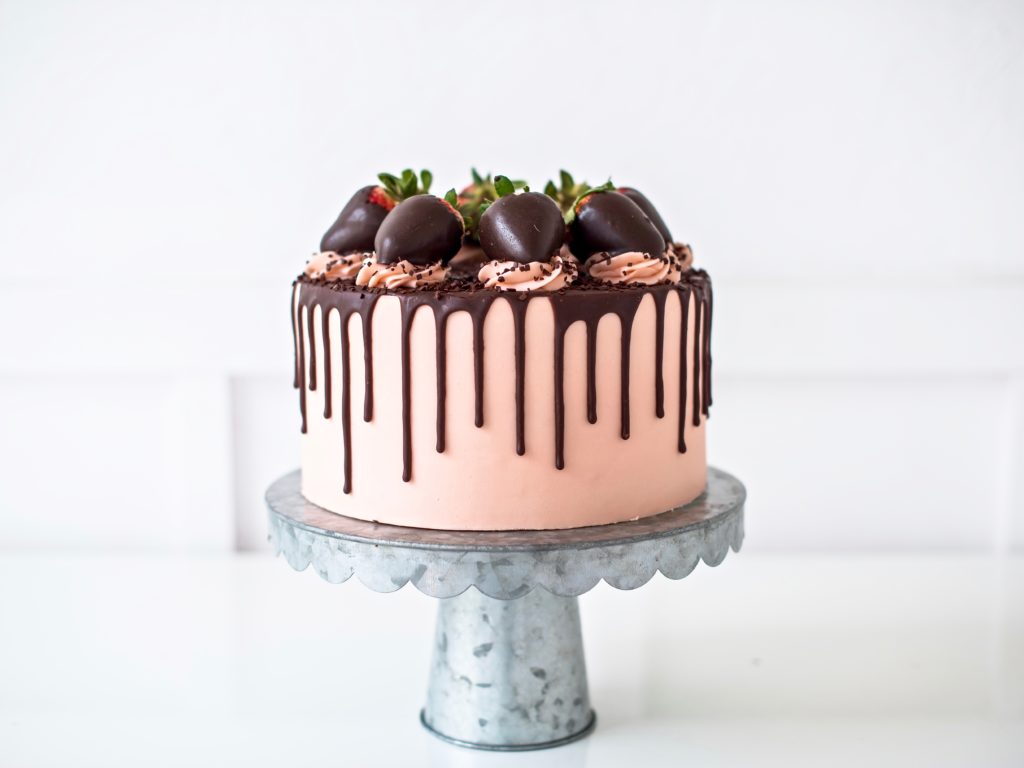
Chocolate ganache is made up of just two ingredients–chocolate chips and heavy whipping cream. You heat them up and mix them together and you’ve got your chocolate ganache. But the trick is to heat up the heavy cream for about one minute in the microwave. Then, you add the cream to your chocolate chips. Let it sit there for a few minutes before you stir it together.
The warm heavy cream will help melt the chocolate chips and mix the two together nicely. Warming the mixture this way (rather than mixing them and putting them in the microwave together) is what will give you the perfect consistency. When you warm up chocolate in the microwave you run the risk of it seizing up and not giving you that smooth, creamy texture you’re going for.
Chocolate Drip Tip #2: Use a drip bottle and turntable.
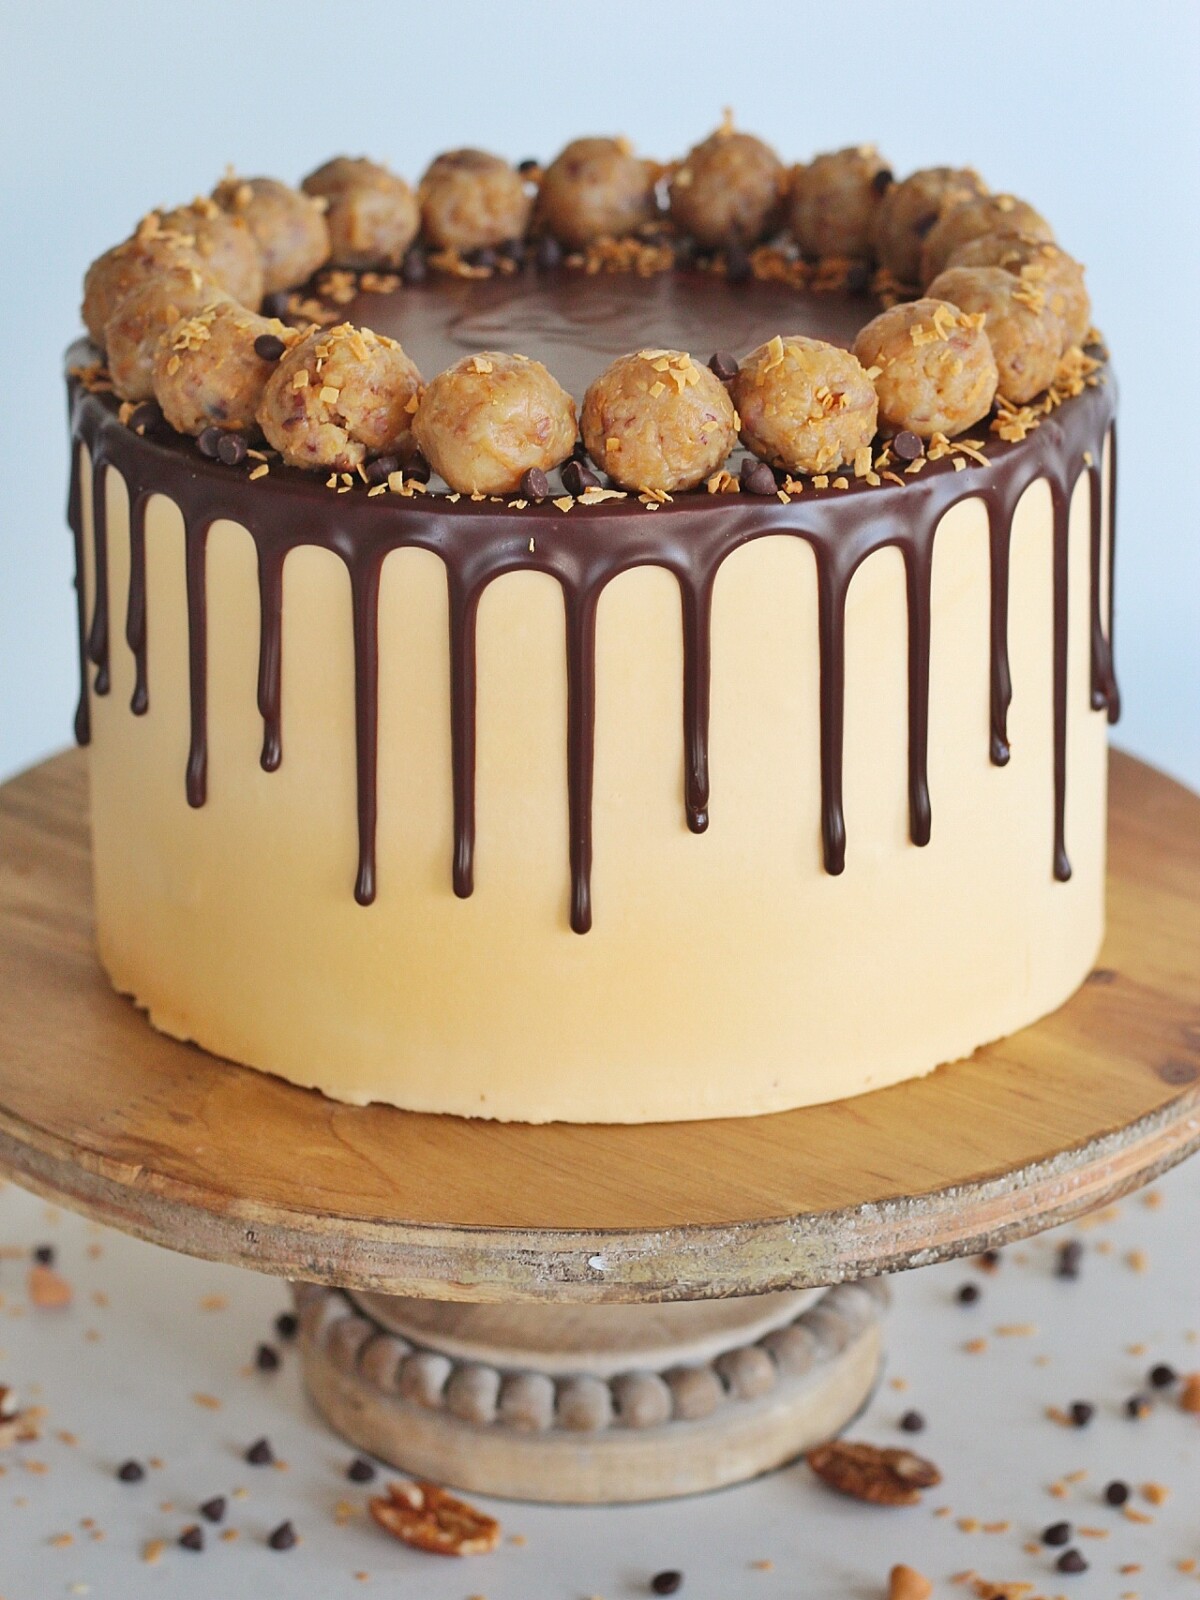
There are a few different ways you can add a drip to a cake, but my absolute favorite way to do it is with a drip bottle. I recommend THIS drip bottle. It makes it so it’s super easy to hold and control the chocolate as it drips onto your cake.
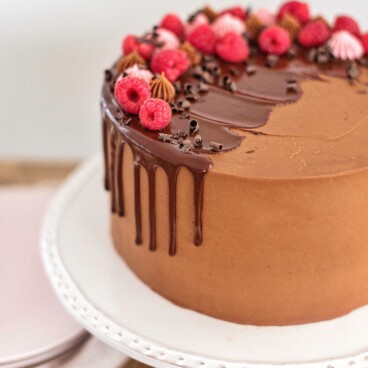
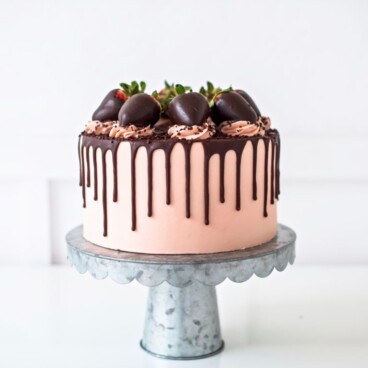
As you’re making the drips onto your cake, be sure to hold the bottle at an angle so the drip falls off the cake like a waterfall. If you want some drips to be shorter than others, have the bottle a little bit closer to the center of your cake. When you’re done with your chocolate drip you can simply take the lid off your drip bottle and pour the remaining chocolate ganache onto the top of your cake to blend in with the border you made with the drips!
Applying the chocolate drip will also be MUCH easier with your cake on a turn table. You can have one hand holding the drip bottle and the other hand turning your table to make sure all the drips fall exactly the way you want them. I love using THIS turntable for my cake assembly!
Chocolate Drip Tip #3: Keep track of the temperature of your chocolate drip and cake.
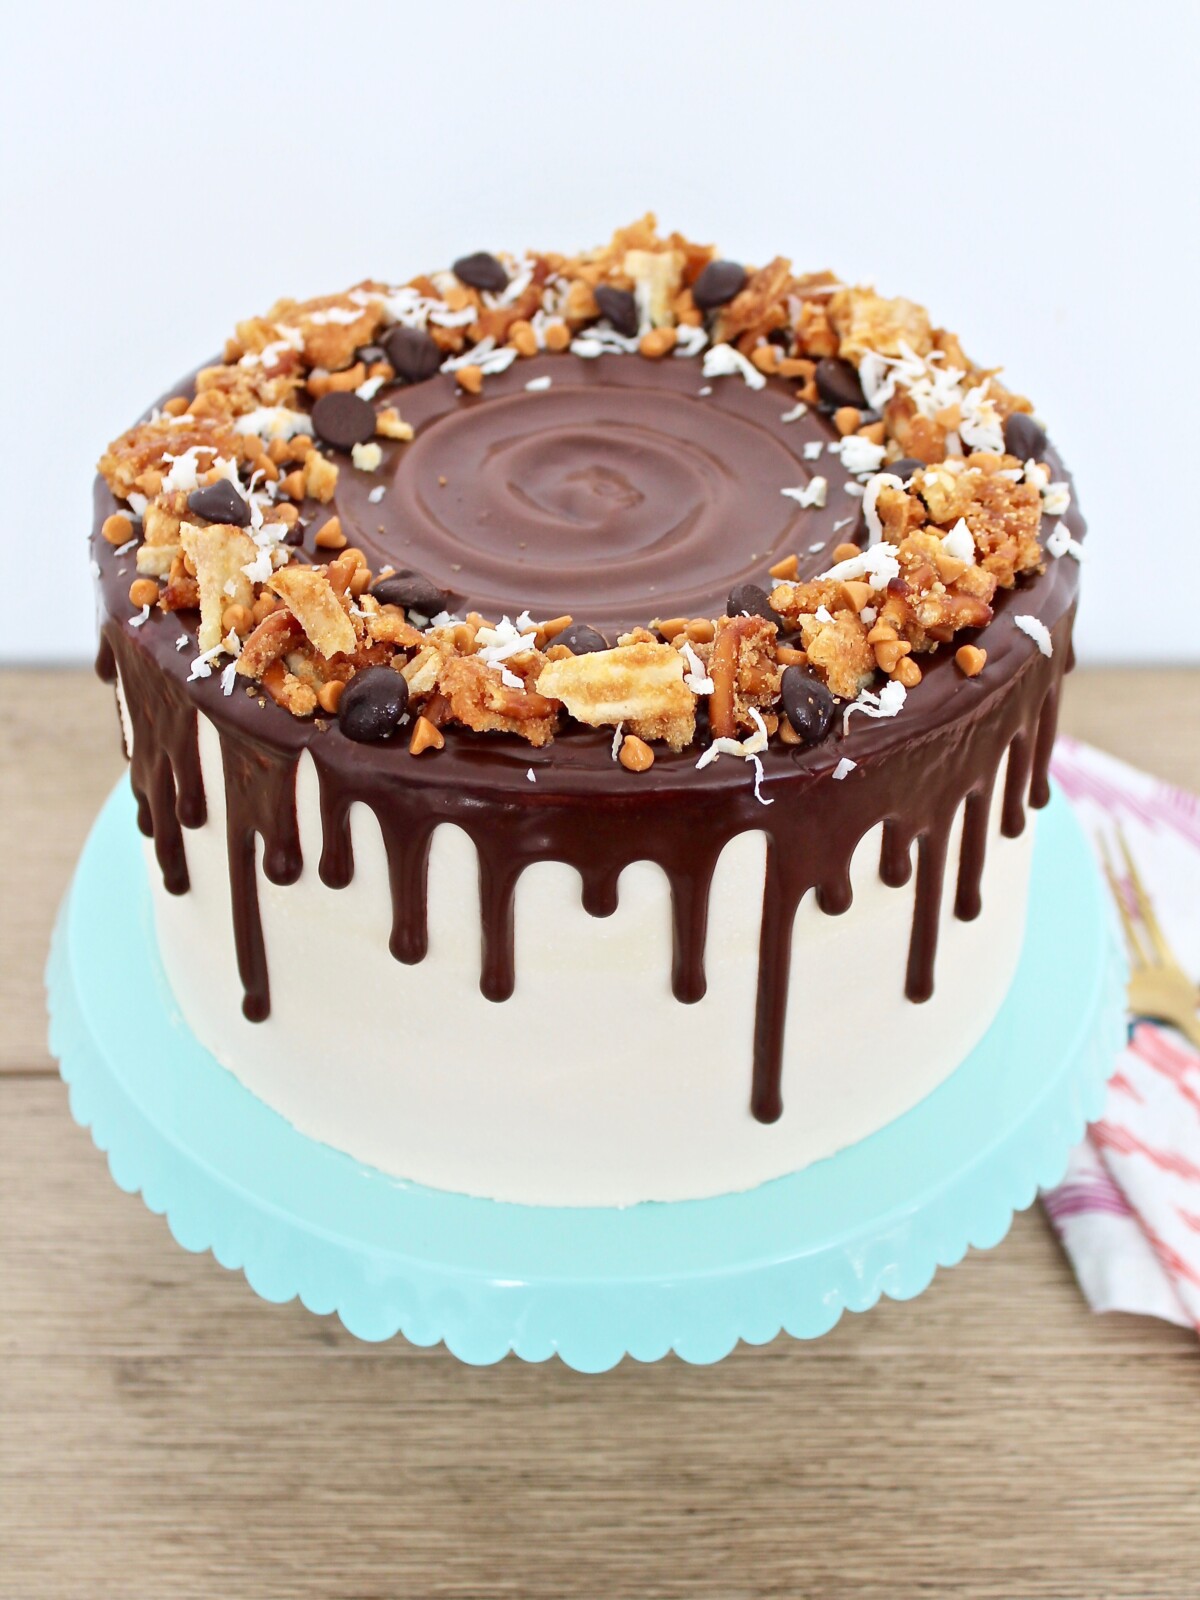
This one is important because usually, you use chocolate ganache in your cake layers and on the outside of your cake for the drip–and each place requires a different temperature for the ganache.
If you’re spreading the ganache in between your cake layers, you want it to be at room temperature so it stays in place. When it hits room temperature the mixture is a bit thicker, which makes it easier to work with when spreading on your cake layers. If it’s too warm it can seep down the sides of the cake or make your cake too warm. (A cold cake is super important for assembly!)
But you want your chocolate ganache to be warm when you’re doing the chocolate drip. When it’s warm, the consistency is thinner and smoother, making for the perfect drips down the side of your cake. What I like to do is heat up an extra ¼ cup of heavy cream by boiling it on the stove and then pouring it into my drip bottle to warm up the ganache again.
How to Perfect Your Chocolate Drip Technique
And that’s how to perfect your chocolate drip technique! If you’ve been having any issues with your chocolate drip, start here with these three tips and hopefully, that’ll solve any issues you’ve been having. I also have a post where I share the 5 steps to adding a chocolate drip to a cake that you may like as well! Check that out HERE. And come follow me on Instagram @cakebycourtney where I share the best tips and recipes on all things cake!
