Published on
5 Tips for Decorating Your First Cake
5 Tips for Decorating Your First Cake
Are you planning to decorate your first-ever cake? I am so excited for you! This is a big deal. I wish I could be there to see you do it! I know you’ll do amazing. There are usually a few things first-time cake decorators need to know to help them get started off on the right foot, so I put together this list of my top 5 tips for decorating your first cake. These will help you a ton!
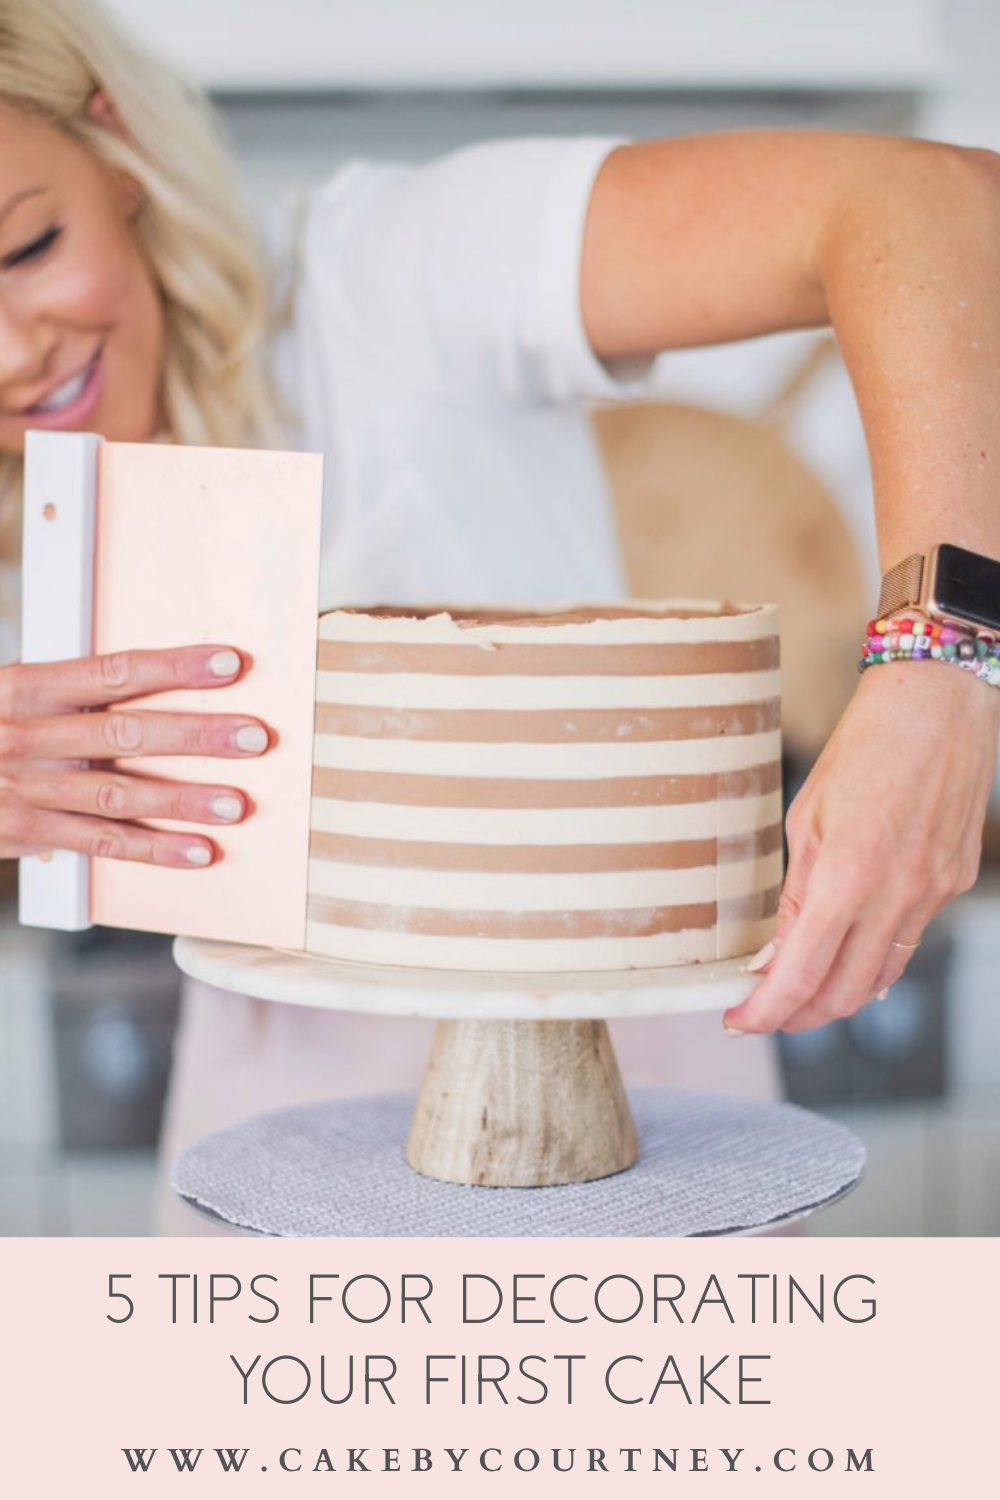
Whether you’re testing your skills at making your child’s birthday cake, making a cake for a friend’s wedding, or you just want to find a new hobby, these tips will help you out so much on your cake decorating journey. And if you like what you learn, I have SO many more tips for you! Click HERE for all of my posts dedicated to beginners. (Just open it in a new tab and then check it out after you read these 5 tips!)
These 5 tips will save you a lot of hassle and time as you take the brave step of decorating your first cake. This will be a lot of fun, so I’m excited for you! I hope you have a successful experience or at least learn a thing or two through this process. And I know these tips will get you prepped for that first experience decorating a cake. Alright, let’s get started!
5 Tips for Decorating Your First Cake
Cake Decorating Tip #1: Make sure your buttercream is silky smooth.
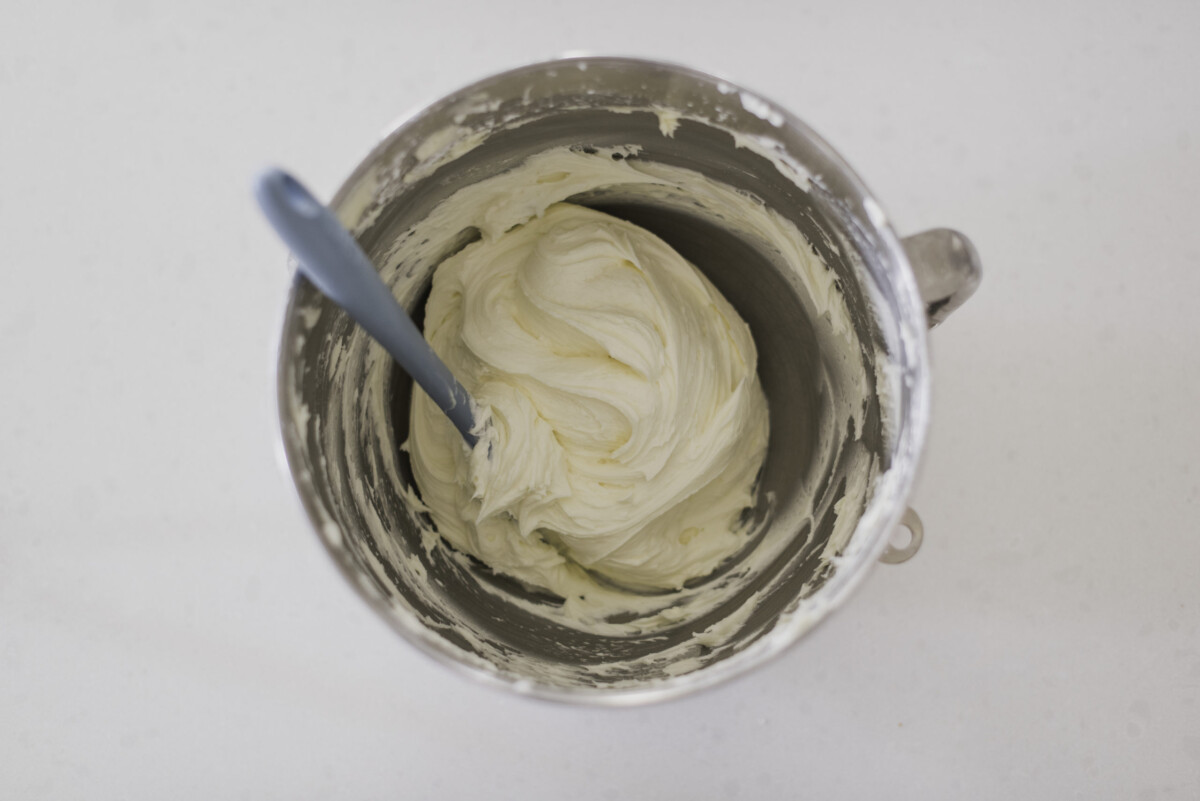
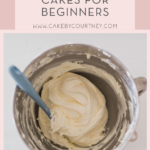
This tip is really key to having a successfully decorated cake. The smoother your buttercream, the easier it will be to work with. I have the perfect vanilla buttercream recipe you can check out HERE. (Click here for my chocolate buttercream recipe that’s just as good.) The trick is to mix it just the right amount of time at the suggested speed. So take note of that in my recipe and you will have the silkiest buttercream you’ve ever made. And it will taste absolutely amazing too!
Cake Decorating Tip #2: Use food gels rather than food coloring to dye your buttercream.
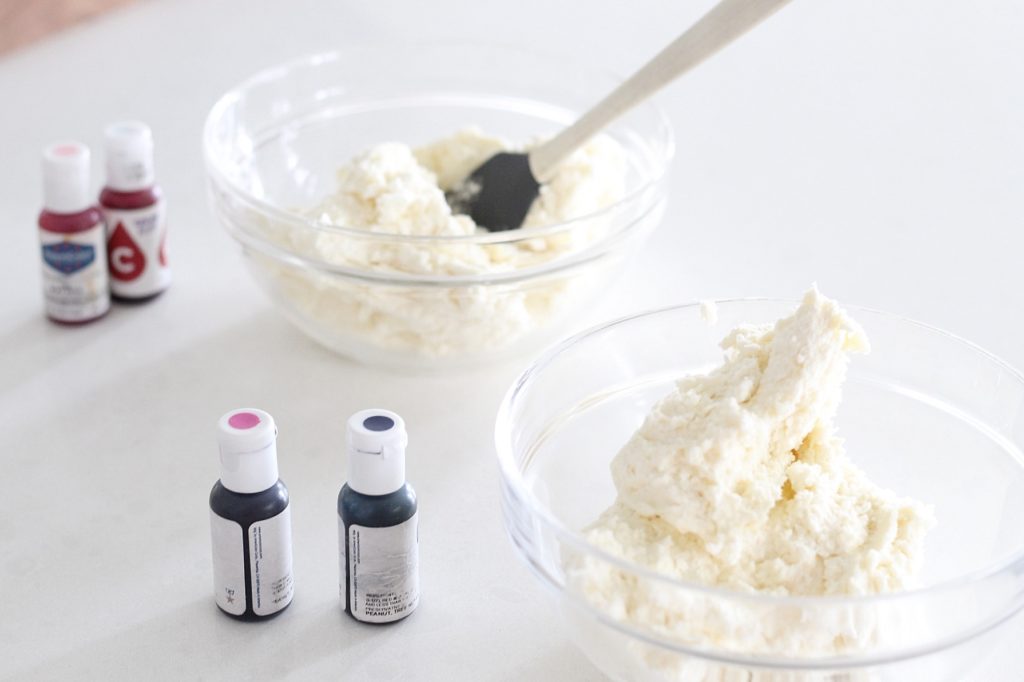
If you’re wanting to dye your buttercream to match a certain theme of your cake, I recommend using food gels rather than food coloring. The gels help keep your buttercream the consistency you want it. Plus, using gels prevents people from getting stained teeth! It’s a win-win for sure. I absolutely LOVE this brand HERE and it’s where I buy all of my food gels.
Also, depending on what color you’re wanting to dye your buttercream it may be better to start with vanilla or chocolate buttercream. Just think about which base color is closest to the desired color you’re wanting. You can check out my post HERE for more tips on how to properly dye your buttercream.
Cake Decorating Tip #3: Give your cake plenty of time in the freezer in between each layer of buttercream.
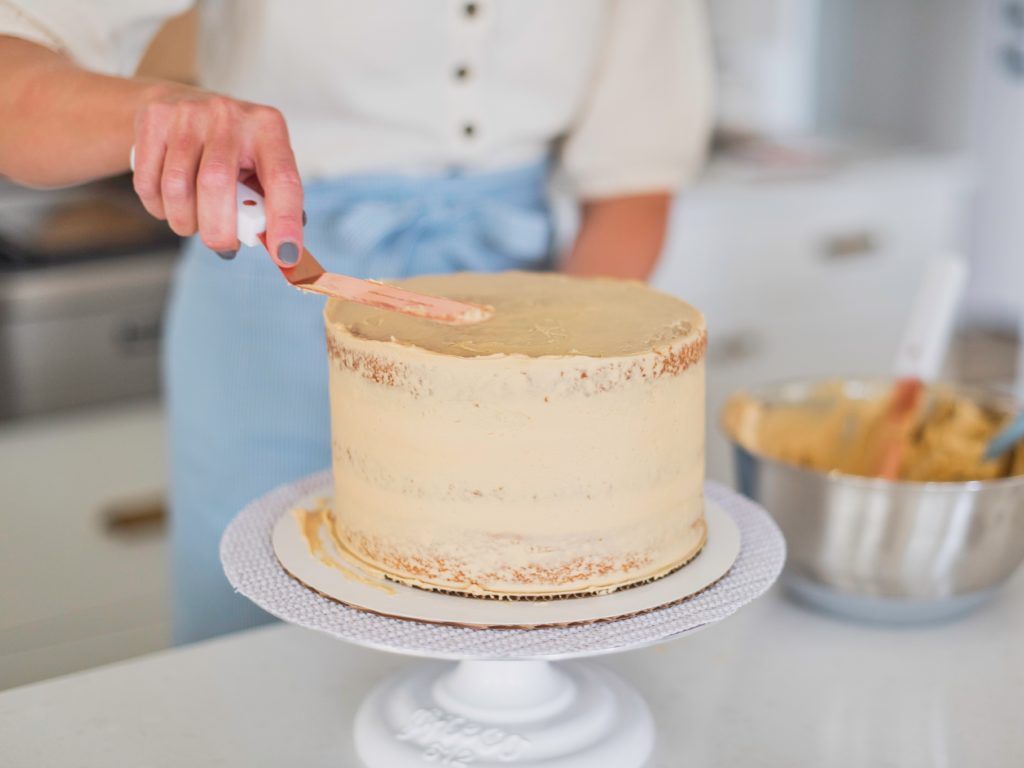
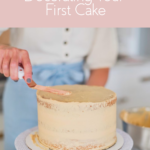
As soon as you put your crumb coat on, pop your cake into the freezer for at least 10-15 minutes. Your crumb coat is a very thin layer of buttercream spread all over the cake that helps hold your cake layers together. It also prevents any crumbs from getting mixed in with the remaining layers of buttercream you will be adding once your cake is cold and ready to go.
How many times you freeze your cake in the decorating process depends on the type of design you are going for. If you are using more than one color of buttercream, I recommend adding your base coat and then freezing it again before adding the other color. This will help keep your colors nice and neat and keep them from mixing in together. If you’re just doing one color, go ahead and add all of your design and then freeze your cake once you are finished to help everything set.
Cake Decorating Tip #4: Get eye level with your cake as much as possible.
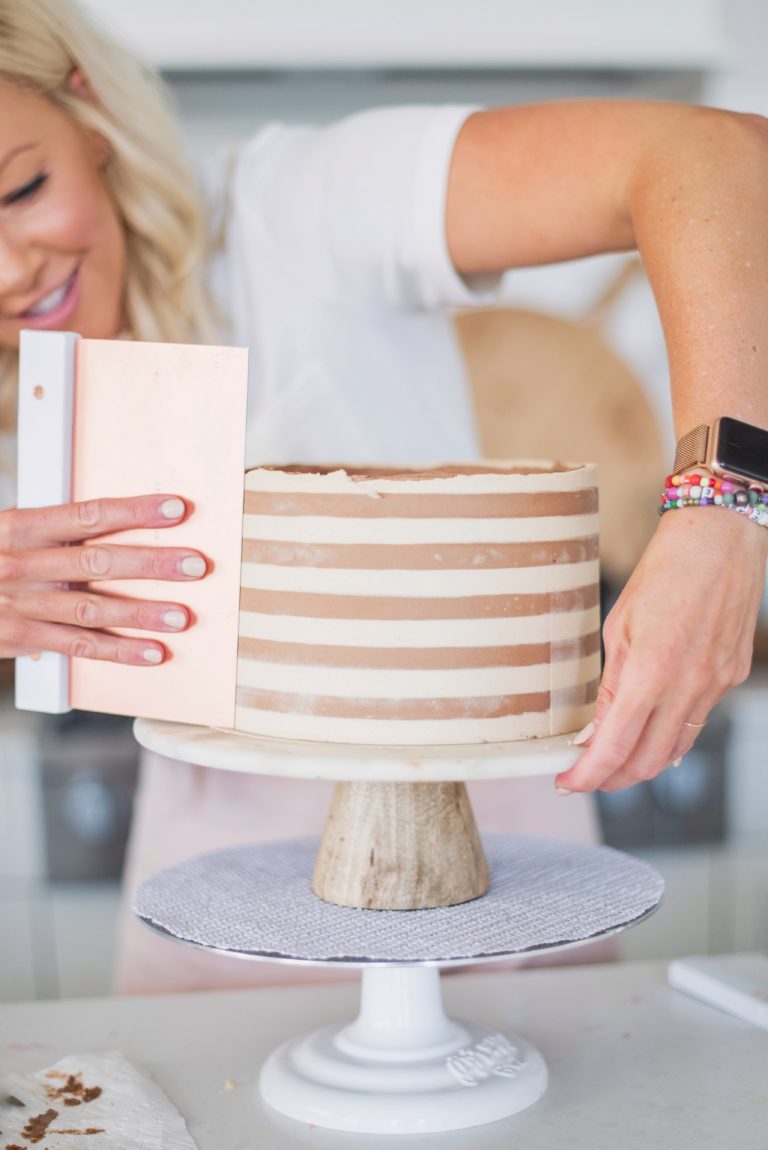
It will help you SO much to put your cake on a turntable and even on a cake stand to help raise the cake as close to eye level as possible. You will probably have to hunch over a bit, but raising it will help you not have to bend over as much. Getting eye level with your cake will help you notice every detail of what you’re adding.
And having it on that turn table is a game changer because you’ll be able to add your piping with one hand and turn the cake with the other which will help speed up the process. The turn table also helps when you are using your cake scraper to help smooth out the sides of your cake and get it all as even as possible. Check out my video HERE to see what I’m talking about.
Cake Decorating Tip #5: Do not rush the process.
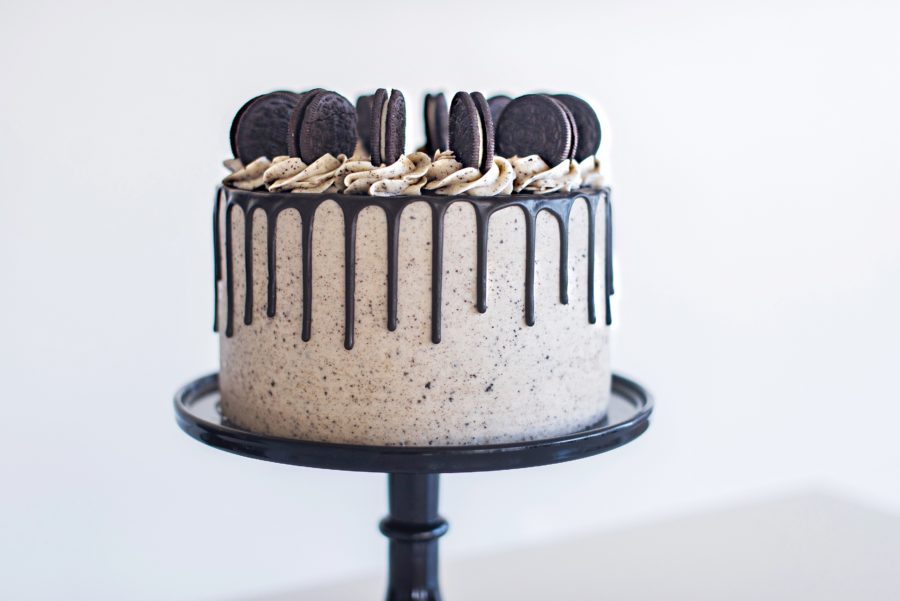
Take your time and enjoy each step of the cake-decorating process. It will take a little while, especially if this is one of your first times decorating a cake. But taking that time to carefully add the buttercream and giving your cake time to freeze and set throughout the process will be what brings you amazing results. And I want you to be blown away by what you’ve created if you’re putting in all that time and effort to do it.
5 Tips for Decorating Your First Cake
I hope these 5 tips for decorating your first cake will help you! It is such a fun experience to start baking and decorating your cakes and to see yourself get better and better over time. I wish you the best of luck with decorating your first cake and every cake after! You can follow me on Instagram @cakebycourtney for more tips and the best recipes on all things cake!
